Frank Lloyd Wright Virtual Classroom: Japanese Art Wood Block Print 3-Day Activity
Frank Lloyd Wright Foundation | Aug 5, 2020
Frank Lloyd Wright loved the arts from Japan. One of his favorite artistic techniques was a Japanese wood printing method called Ukiyo-e that historically required a collaboration between four people. In this 3-day Virtual Classroom activity, you’ll learn how to make your own Ukiyo-e style block print using fewer people!
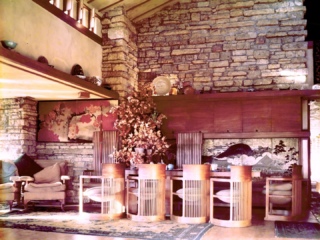
Frank Lloyd Wright greatly admired Japanese art and culture. He visited Japan and later constructed buildings there in the mid-1900s. Wright loved the way the culture effortlessly bridged nature and the human world. Based off those experiences, he created “organic architecture”—buildings that grow out of the ground and harmonize with their surroundings.
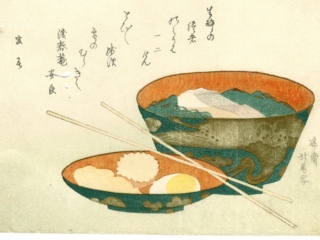
Wright also loved the arts from Japan. One of his favorites was the Japanese wood printing method called Ukiyo-e that he learned from two artists named Hiroshige and Hokusai. The Ukiyo-e method requires the collaboration between four people: the designer, the engraver, the printer, and the publisher. Please click on this link here below to learn more about the Ukiyo-e style of wood block printing before moving on:
UKIYO-E WOOD BLOCK PRINTING STYLE
In this is activity, which is a 3-day project, we are going to make our own Ukiyo-e style wood block print using fewer people. Adjacent is a list of materials and below are steps to guide you through the process of making one of Frank Lloyd Wright’s favorite pieces of Japanese Art.
INSTRUCTIONS
To download the activity below, click here:
DOWNLOAD WOOD BLOCK ACTIVITY PDF
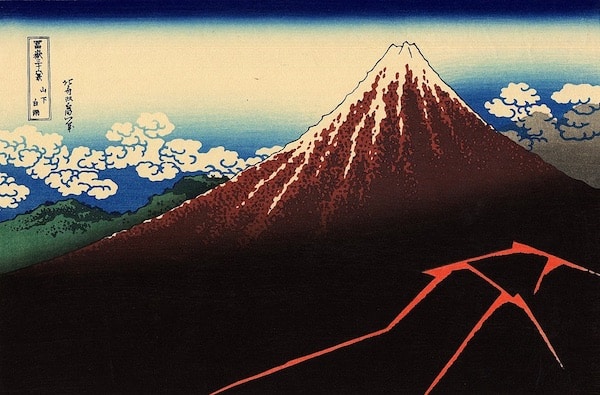
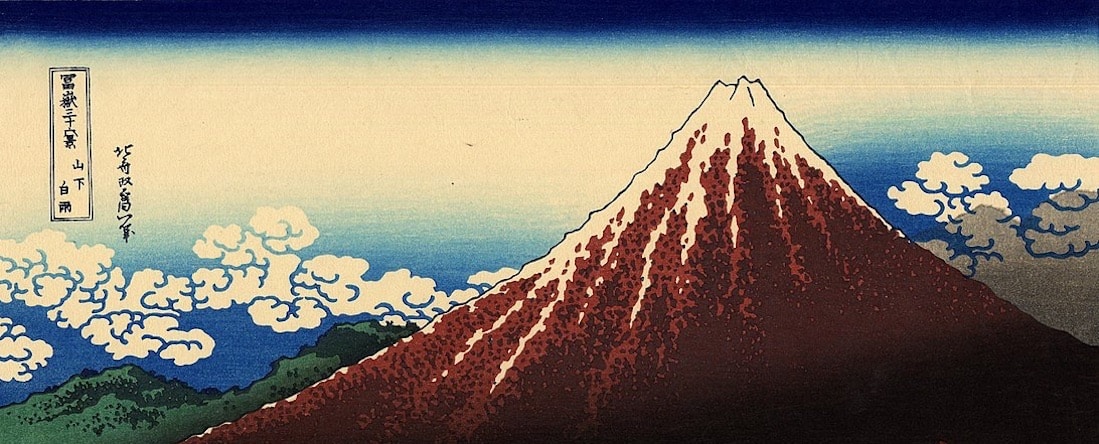
“Rainstorm Beneath the Summit” by Katsushika Hokusai.

Step 1 (Day 1):
1. Download and print the Mt. Fuji picture above, “Rainstorm Beneath the Summit” by Katsushika Hokusai. Look carefully at the background (the area or scenery behind the main object) and foreground (the part of a view that is nearest to the observer) in the picture. Observe the colors and how the artist blends the colors together.
2. Using a dull pencil, trace over the original printed picture. Next, lay a piece of graphite paper in between the traced picture and the watercolor paper (think of making a sandwich with the graphite paper in between two slices of bread) and then trace over the lines using a pencil to transfer the picture to the watercolor paper.
3. Use the original traced picture and only trace out Mt. Fuji onto a piece of cardboard, then do the same with the lightning bolt. These will be your “woodblocks” for this project. Next, cut them out.
4. Tip/Extra Time: Experiment with mixing colors and water together on a separate piece of watercolor paper before you begin applying the paint to your print.
Step 2 (Day 1):
5. Lay down a cloth towel under the watercolor paper and secure the ends with tape. The cloth towel will absorb any water from behind the print and protect the surface you will be working on.
6. Take the paints that you will be using and apply them onto a paper plate palette. Having your paints ready on a plate palette will make it easier to load up your paint brush.
7. Begin painting the “background,” which will be the blue horizon line and sky and leaving some white areas for clouds. Begin at the top of the paper, paint a dark blue line across the top, leaving a wide white space below the dark blue line.
8. Paint the horizon line, which is below the dark blue line, this will be where you will create a light blue sky (the horizon) and the clouds. Lightly brush and blend the water and paint the horizon leaving spaces in between the blue color to be clouds. Add detail to the inside of the clouds.
9. Create and paint the green mountains next to Mt. Fuji. Note: If you make a mistake with the paint, using a technique called “blending” will solve the problem. Watercolor paper absorbs water, so add a little water to the painted section on the watercolor paper and brush lightly to the desired color.
10. Let dry overnight. At this point your paper will start to fold up into itself, when dry put a book on it to flatten the paper to continue to Step 11.
Step 3 (Day 2):
11. At this step you will be creating the “foreground.”
12. Cut out Mt. Fuji, mark the side facing (the mountain is facing you), turn it around (the mountain facing away from you).
13. Get your paint ready on the paper plate palette.
14. Take the cardboard woodblock of Mt. Fuji and apply a coat of your desired paint to the back side of the cardboard woodblock and let dry. The cardboard will absorb the paint and it will dry quickly. This is the cardboard woodblock of Mt. Fuji.
15. Secure the watercolor paper with tape.
16. Making sure that the paint is dry to the touch, apply a second coat of paint to the cardboard woodblock. Gently turn it over and place the form on the paper and gently press the form onto the watercolor paper, make sure that the paint does not splash out from the sides. Let it sit for 30 seconds then remove.
17. Let dry completely overnight.
Step 4 (Day 3):
18. This step is identical to Step 12. Cut out the lightning bolt, mark the side facing you (the lightning bolt is facing you) and the back side (the lightning bolt is facing away from you).
19. Take the cardboard woodblock of the lightning bolt and apply a coat of your desired paint and let dry. The cardboard will absorb the paint and it will dry quickly. This is the cardboard woodblock of the orange lightning bolt.
20. Making sure that the paint is dry to the touch, apply a second coat of paint to the cardboard woodblock. Gently turn it over and place the form on the paper and gently press the form onto the watercolor paper, make sure that the paint does not splash out from the sides. Let it sit for 30 seconds then remove.
21. Let dry completely overnight. Remember when completely dry place a book on top of the print to flatten it.
22. You have created an Ukiyo-e print in four steps just like the expert artist Hokusai!
Don’t forget to share your projects with us!
Send images of your Ukiyo-e style prints that you created from this activity to the Frank Lloyd Wright Foundation Facebook page.
Return to the Virtual Classroom