As you probably know, Microsoft’s
.NET Multi-platform App UI (.NET MAUI - a development framework designed to target multiple platforms from a single shared codebase) is set to ship soon. If you are new to .NET MAUI, please refer to the following blog post for more information on our .NET MAUI/Xamarin development strategy:
Transition to .NET MAUI.
In this blog post, I’ll demonstrate how to build an elegant and intuitive iOS/Android app with .NET MAUI and our UI components. This sample application will display historical stock information (past three months) for companies listed on NASDAQ. The complete project is available here:
https://github.com/DevExpress-Examples/maui-stocks-mini.
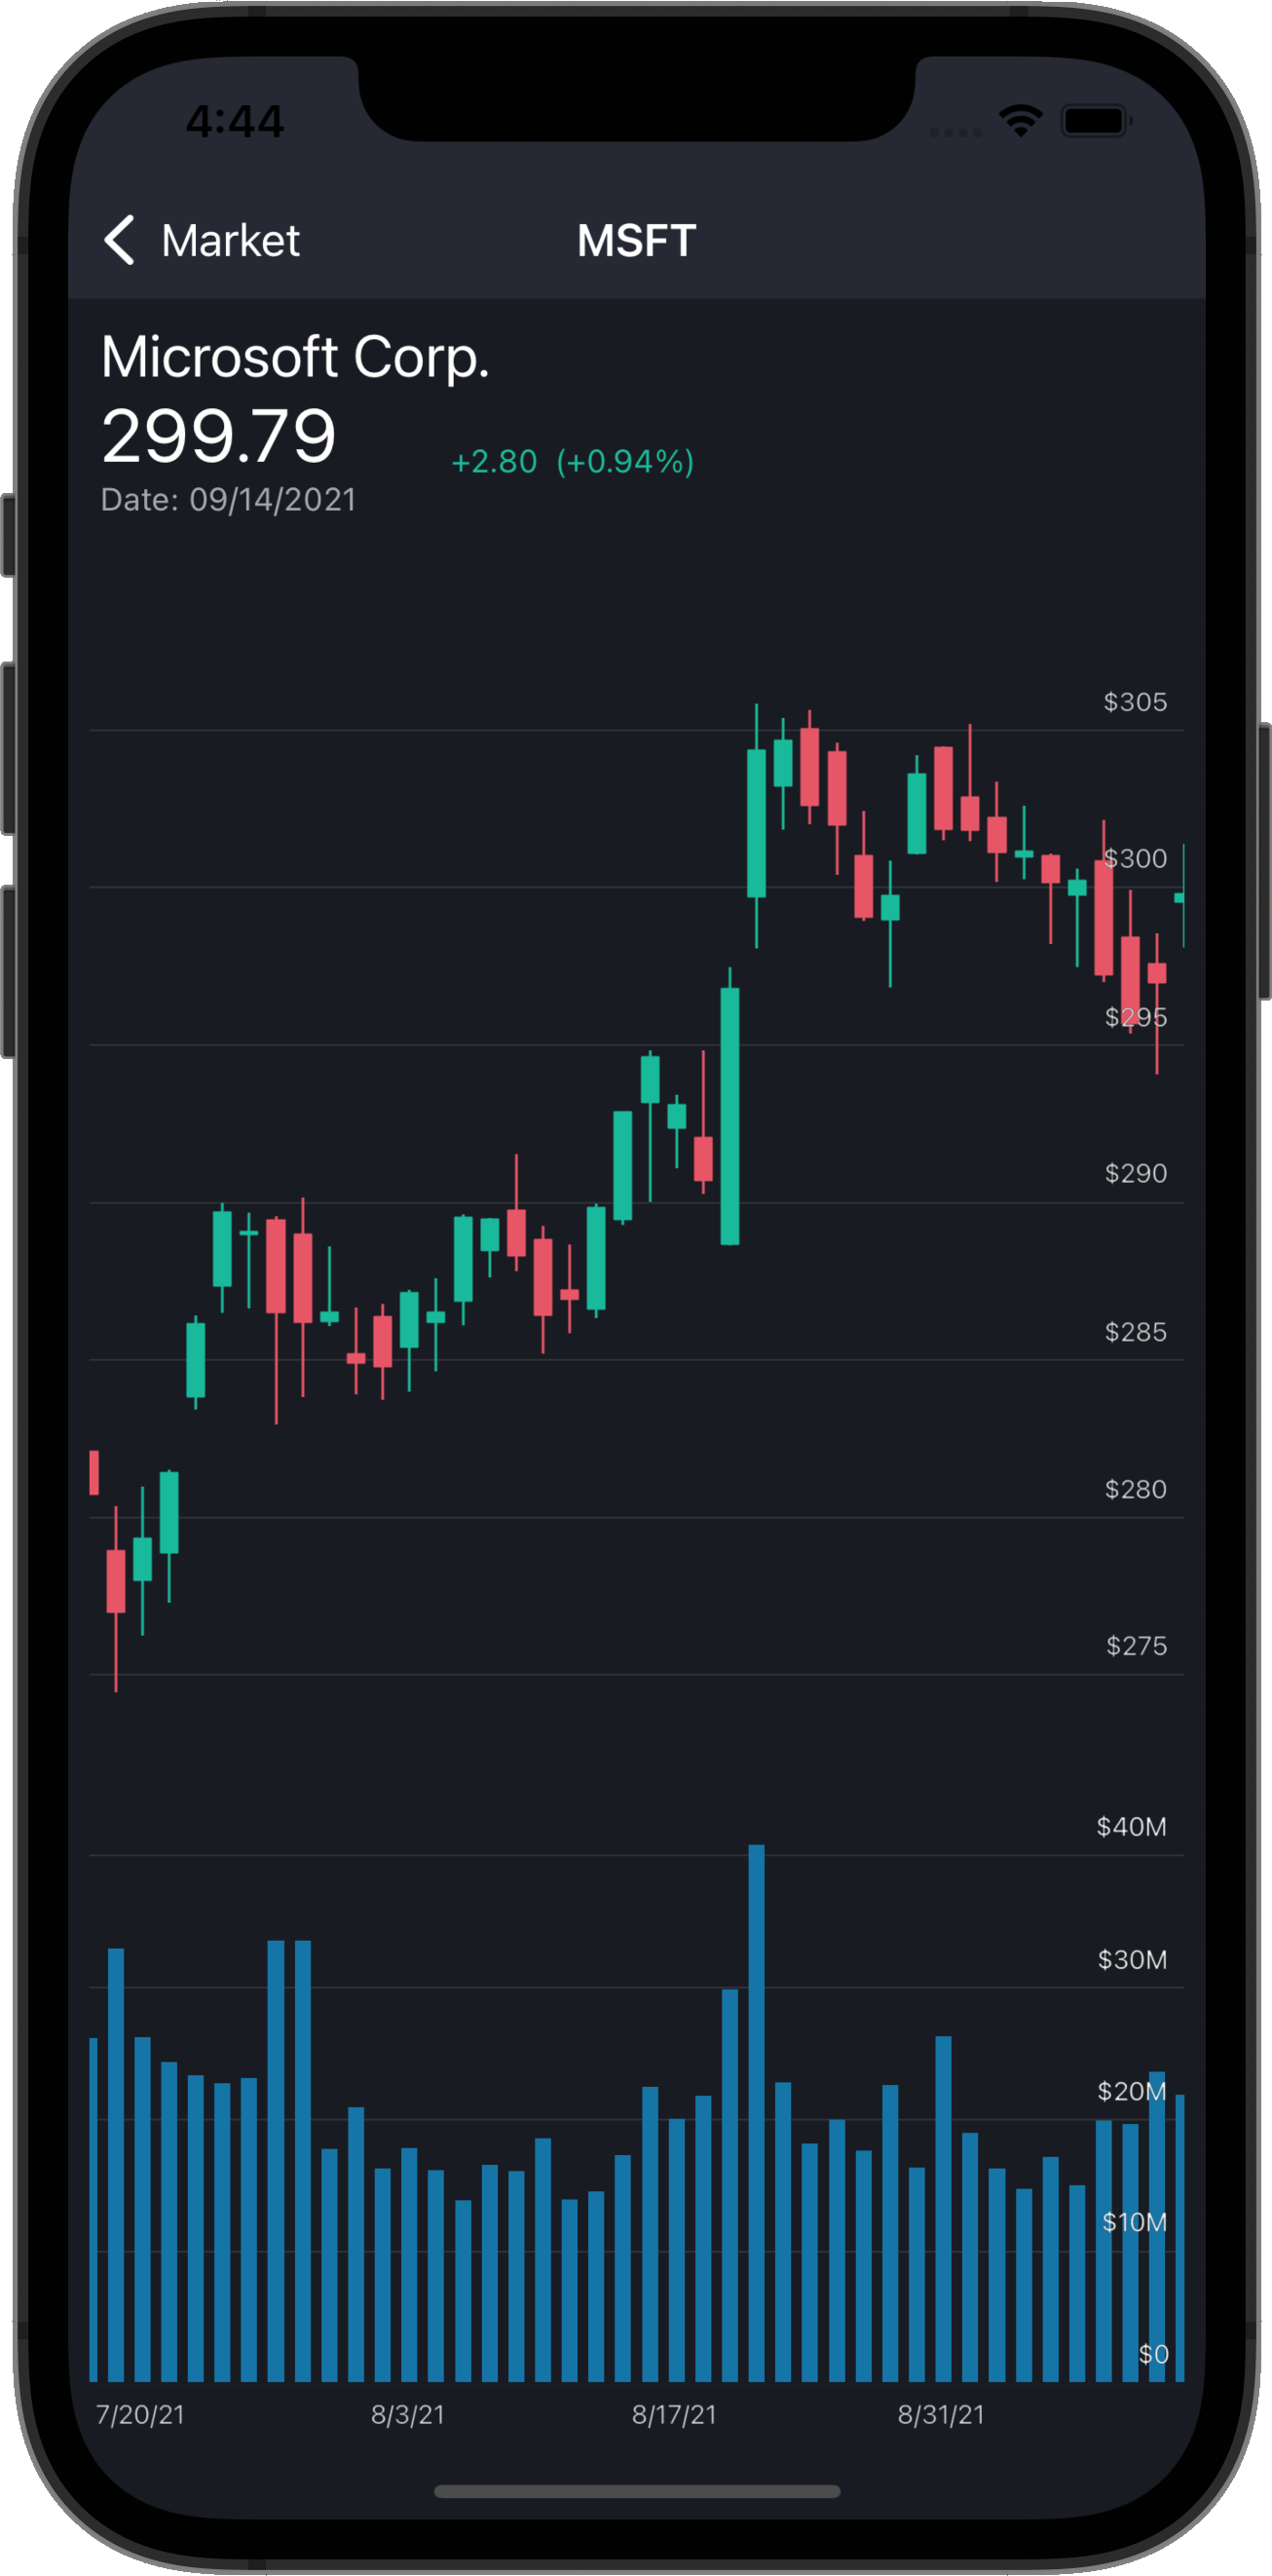
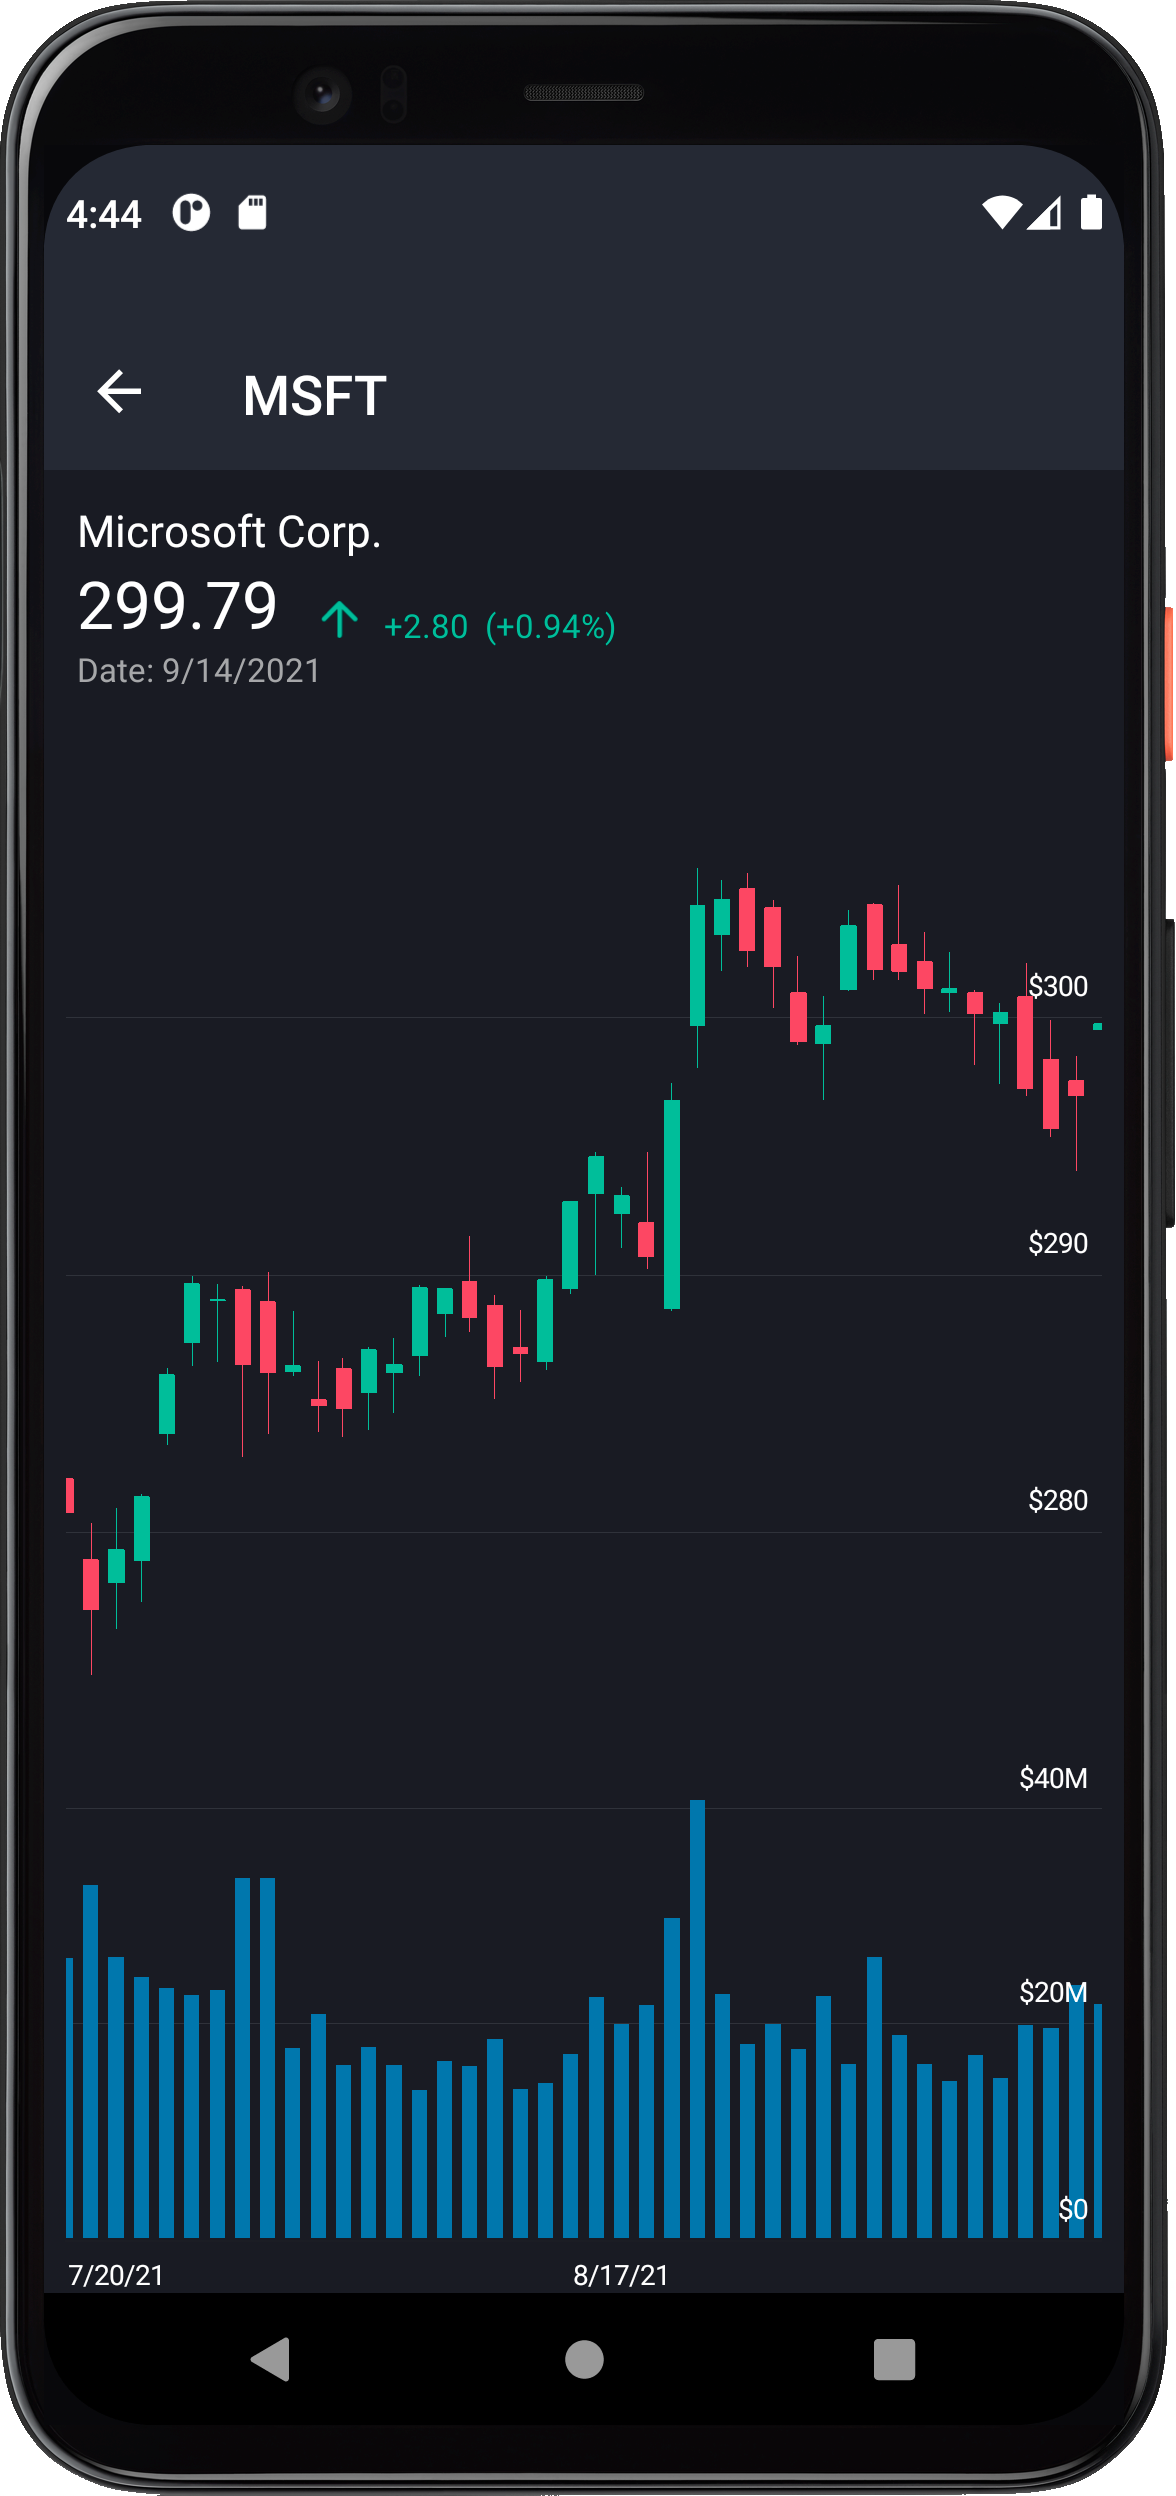
The second screen uses the DevExpress Chart View for .NET MAUI to display historical data (daily open-close-high-low stock prices and transaction volume).
The UI components used in this sample application (alongside other DevExpress .NET MAUI components) are available free of charge. To learn more about our free offer and reserve your free copy, please visit the following webpage: Xamarin.Forms UI Controls – Free Offer from DevExpress.
Prerequisites
- Install Visual Studio 2022 and the latest version of .NET MAUI. Review the following Microsoft help topic for more information: Installation.
- Register the https://nuget.devexpress.com/free/api or your personal NuGet feed within Visual Studio. If you are unfamiliar with NuGet packages, please review the following Microsoft help topic (to register a NuGet source): Install and manage packages in Visual Studio.
How to Reproduce This Application
The following step-by-step tutorial details how to reproduce this application. In this blog post, I'll show you how to create the first screen that uses our Collection View. In the next post, I will show how to use our Japanese Candlestick Chart.
Create a New Project
- Create a new .NET MAUI project in Visual Studio 2022. Name it Stocks. If you are new to .NET MAUI, the following Microsoft help topic will be of value: Build your first app. You can also call the following command in a CLI to create a new .NET MAUI project:
dotnet new maui -n Stocks
- Install the following packages from the https://nuget.devexpress.com/free/api or your personal NuGet feed:
- DevExpress.Maui.CollectionView - contains the DevExpress .NET MAUI DXCollectionView component.
- DevExpress.Maui.Charts - contains the DevExpress .NET MAUI ChartView component.
Collection View and Charts for .NET MAUI support both iOS and Android. Your project cannot target MacCatalyst and/or Windows. To remove them, right-click the project and click
Edit Project File. Remove any references to Windows and MacCatalyst. Use the
project file in the repository as an example. In addition, please remove
MacCatalyst and
Windows folders from the
Platforms folder in
Solution Explorer.
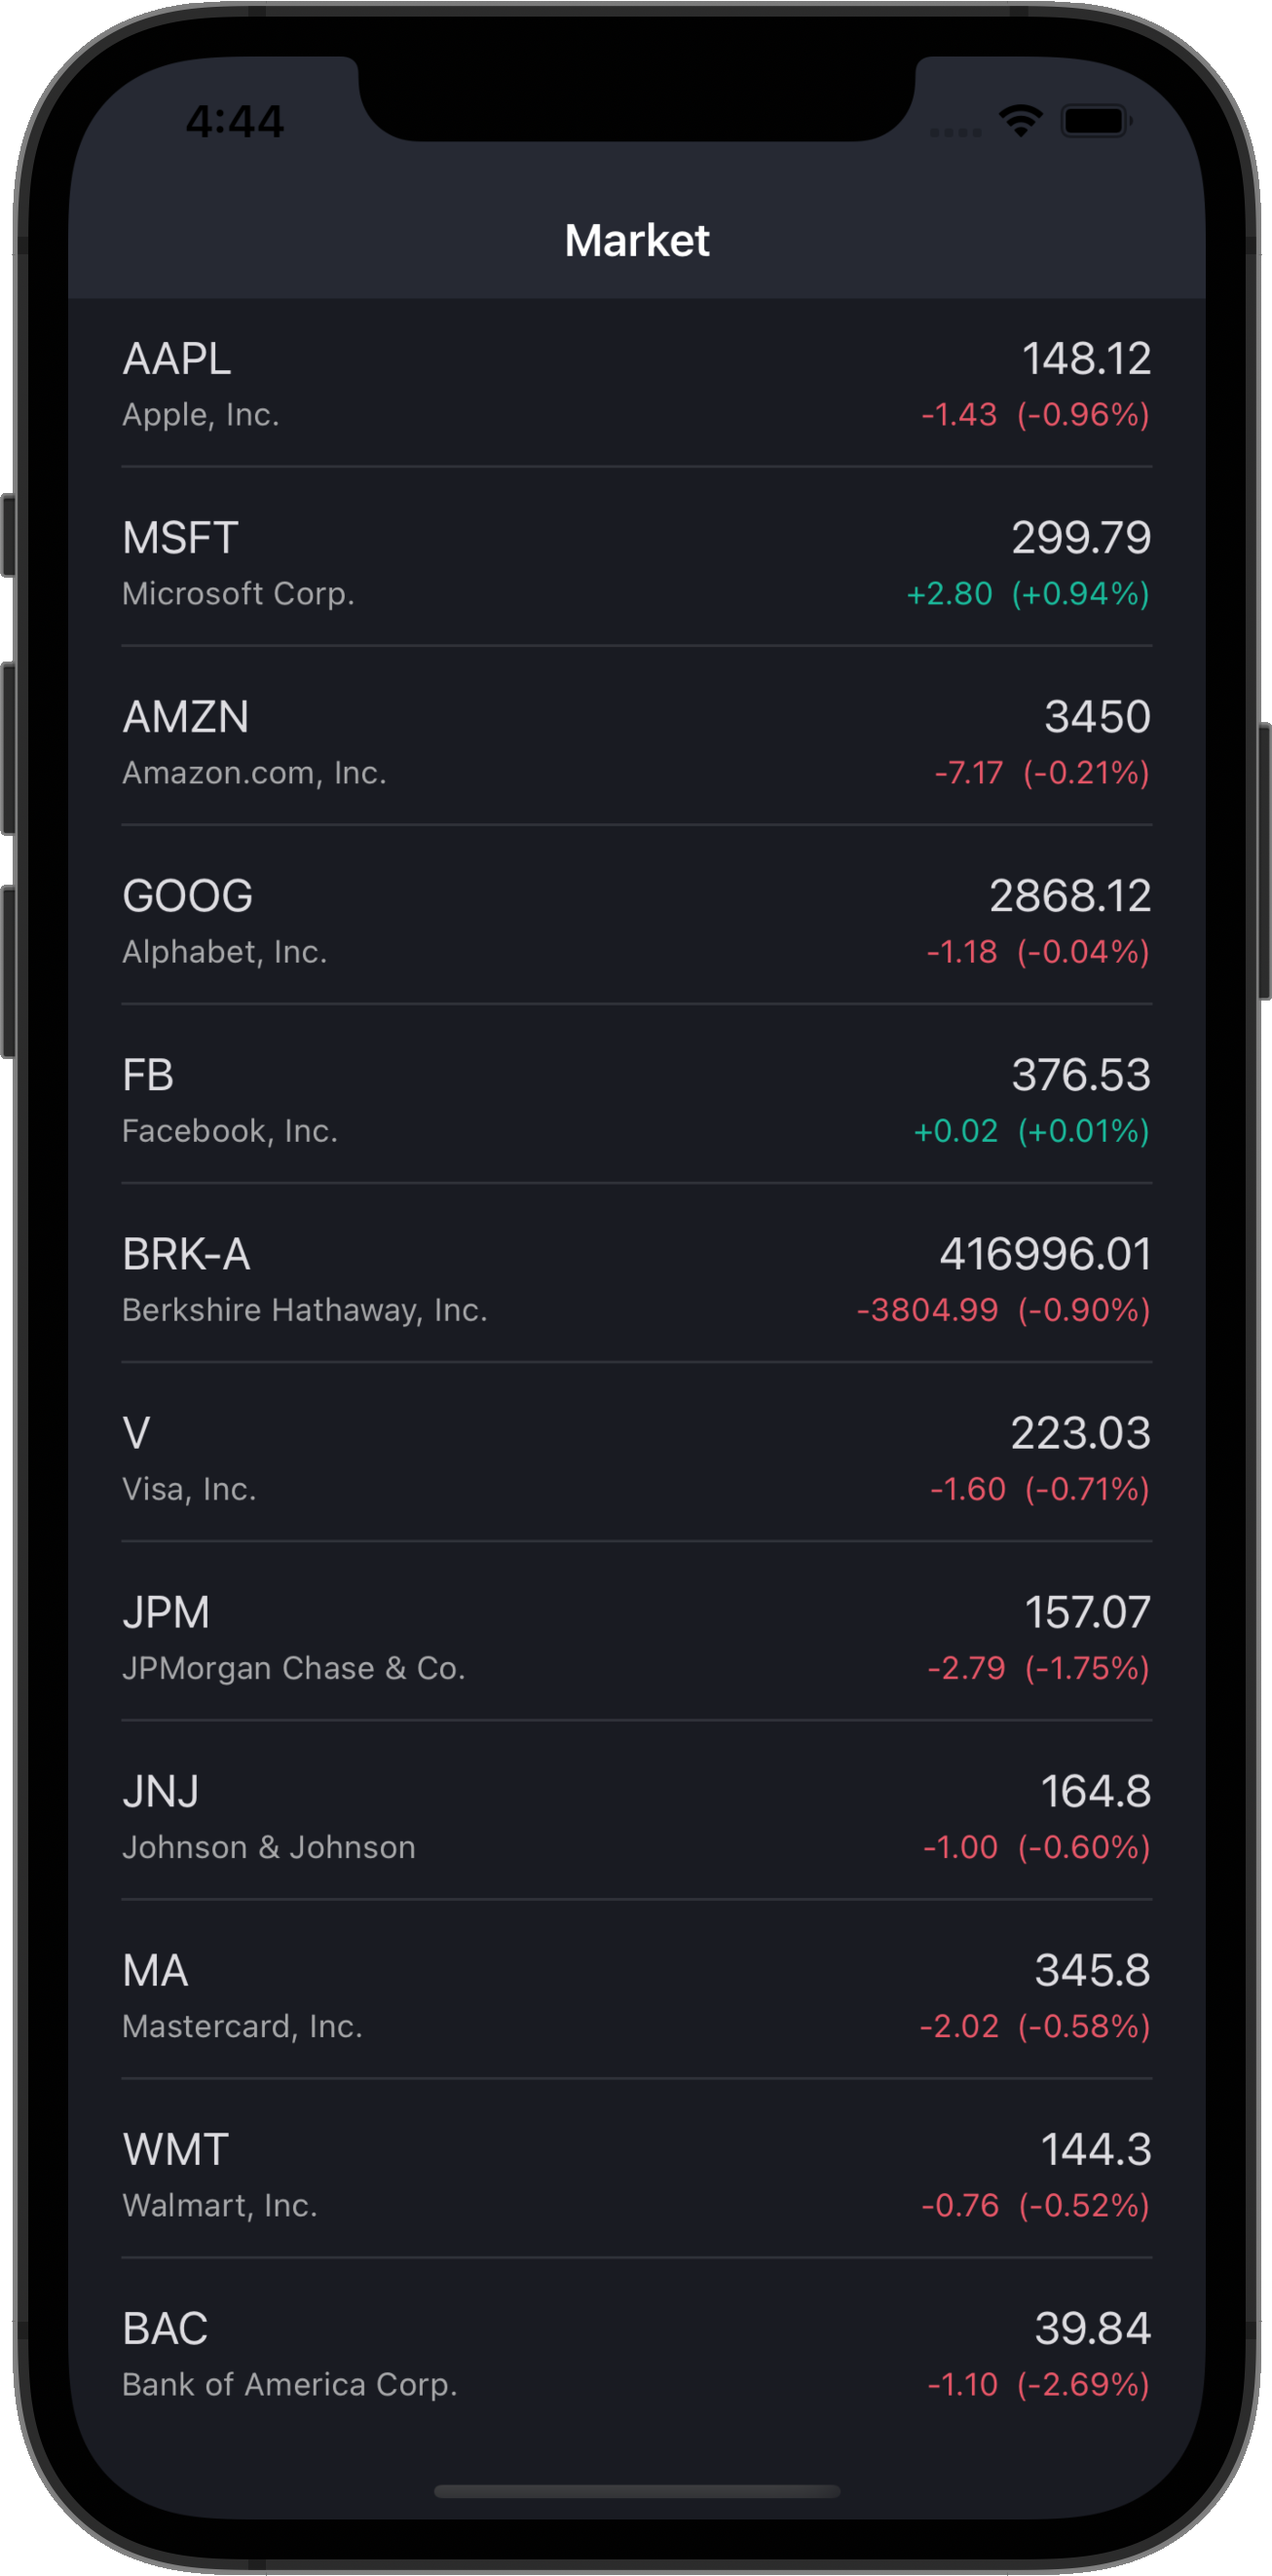
The Main Page
Our main page displays a list of companies. In the MainPage.xaml file, you must:
- Define the dxcv XAML namespace that refers to the DevExpress.Maui.CollectionView CLR namespace.
- Remove default content and add an instance of the DXCollectionView class to the page. Remove default content event handlers in the code-behind. We recommend that you remove default styles (fonts, colors, and other settings) in the App.xaml file.
<ContentPage
    xmlns="http://schemas.microsoft.com/dotnet/2021/maui"
    xmlns:x="http://schemas.microsoft.com/winfx/2009/xaml"
    xmlns:d="http://schemas.microsoft.com/dotnet/2021/maui/design"
    xmlns:dxcv="clr-namespace:DevExpress.Maui.CollectionView;assembly=DevExpress.Maui.CollectionView"
    xmlns:local="clr-namespace:Stocks"
    Title="Market"
    BackgroundColor="{DynamicResource BackgroundColor}"
    x:Class="Stocks.MainPage">
    <dxcv:DXCollectionView/>
</ContentPage>
Register Handlers for the Chart and Collection Views
The .NET MAUI Framework requires a registered handler for all third-party controls used in an application. Review the following Microsoft help topic for more information:
Register handlers.
In the
MauiProgram.cs file, register a handler for the
DXCollectionView type as shown below. Since we use a chart on the second page, we also register a handler for the
ChartView type.
using DevExpress.Maui.CollectionView;
using DevExpress.Maui.Charts;
using Microsoft.Maui;
using Microsoft.Maui.Hosting;
using Microsoft.Maui.Controls.Hosting;
using Microsoft.Maui.Controls.Xaml;

[assembly: XamlCompilationAttribute(XamlCompilationOptions.Compile)]

namespace Stocks {
    public static class MauiProgram {
        public static MauiApp CreateMauiApp() {
            var builder = MauiApp.CreateBuilder();
            builder
                .UseMauiApp<App>()
                .ConfigureMauiHandlers((handlers) =>
                    handlers.AddHandler(typeof(IDXCollectionView), typeof(DXCollectionViewHandler)))
                .ConfigureMauiHandlers((handlers) =>
                    handlers.AddHandler(typeof(ChartView), typeof(ChartViewHandler)))
                .ConfigureFonts(fonts => fonts.AddFont("OpenSans-Regular.ttf", "OpenSansRegular"));
            return builder.Build();
        }
    }
}
Data Source
If we run the application as it stands, it will display an empty collection view on the main page. The next step is to populate the app with data. This sample application follows the MVVM pattern. To store data, the application uses the following classes:
- Symbol - contains company name, ticker, and a collection of daily historical data.
- StockPrice - contains open-close-high-low prices and transaction volume for a single day.
Create a new class in the project and paste the following code:
using System;
using System.Collections.Generic;

namespace Stocks {
    public class Symbol {
        public string Ticker { get; set; }
        public string Name { get; set; }
        public IList<StockPrice> Prices {  get; set; }
    }
    public class StockPrice {
        public DateTime Date { get; set; }
        public double Open { get; set; }
        public double Close { get; set; }
        public double High { get; set; }
        public double Low { get; set; }
        public double Volume { get; set; }
    }
}
Populate the Data Source
Most mobile applications use a REST API to obtain data from a web service. The response can be formatted in HTML, XML, JSON, or any other format. This sample application uses static data formatted in JSON and stored in a file. The JSON file contains an array of companies, with an array of daily historical stock prices for each.
Download the symbols.json file, and add this file to the solution. Right-click the project, click Add > Existing Item. Once added, right-click the file, go to properties, and set Build Action to Embedded resource.
.png)
Specify the logical name in the project file as shown below.
<EmbeddedResource Include="symbols.json">
	<LogicalName>symbols</LogicalName>
</EmbeddedResource>
Use the code below to read data from the file and populate the data source. Create a new class in the project as follows:
using System.Collections.Generic;
using System.IO;
using System.Reflection;
using System.Text;

namespace Stocks {
    public static class Data {
        static readonly string logicalName = "symbols";

        static IList<Symbol> symbols;
        public static IList<Symbol> Symbols {
            get {
                if (symbols == null) {
                    symbols = GetSymbols();
                }
                return symbols;
            }
        }

        static IList<Symbol> GetSymbols() {
            List<Symbol> symbols = null;
            using (Stream stream = Assembly.GetExecutingAssembly().GetManifestResourceStream(logicalName))
            using (StreamReader reader = new(stream, Encoding.UTF8)) {
                var json = reader.ReadToEnd();
                symbols = Newtonsoft.Json.JsonConvert.DeserializeObject<List<Symbol>>(json);
            }
            return symbols;
        }
    }
}
The Main View Model
To proceed, we will need to create a view model for the main page. As the data source contains an array of daily stock prices, we can display the price change next to each company in the list. The code below defines the following view models:
- ItemViewModel - a view model for an item in the view. It contains company name, close stock price, price change, and change percentage.
- MainViewModel - a view model for the main page. It contains a collection of item view models. When the main view model is created, it populates the item collection with data.
using System;
using System.Collections.Generic;

namespace Stocks {
    public class MainViewModel {
        public IList<ItemViewModel> Items { get; set; }

        public MainViewModel() {
            Items = new List<ItemViewModel>();
            foreach (Symbol symbol in Data.Symbols) {
                var symbolViewModel = new ItemViewModel();
                symbolViewModel.Ticker = symbol.Ticker;
                symbolViewModel.CompanyName = symbol.Name;
                symbolViewModel.Change = symbol.Prices[0].Close - symbol.Prices[1].Close;
                symbolViewModel.ChangePercent = symbol.Prices[0].Close / symbol.Prices[1].Close - 1;
                symbolViewModel.Date = symbol.Prices[0].Date;
                symbolViewModel.ClosePrice = symbol.Prices[0].Close;
                Items.Add(symbolViewModel);
            }
        }
    }

    public class ItemViewModel {
        public string Ticker { get; set; }
        public string CompanyName { get; set; }
        public double ClosePrice { get; set; }
        public double Change { get; set; }
        public double ChangePercent { get; set; }
        public DateTime Date { get; set; }
    }
}
Update the Main Page Markup
We can now update main page markup so it displays data from the view model. We set the ContentPage.BindingContext property to a view model object and bind the DXCollectionView.ItemsSource property to a collection in this view model.
<ContentPage.BindingContext>
    <local:MainViewModel/>
</ContentPage.BindingContext>
<ContentPage.Content>
    <dxcv:DXCollectionView
        ItemsSource="{Binding Items}">
    </dxcv:DXCollectionView>
</ContentPage.Content>
Item Template
The
DXCollectionView.ItemTemplate property allows you to specify a data template used to render items in the view. In this example, the template contains multiple labels and an image. Review the following Microsoft help topic for more information on data templates:
Creating a Data Template.
Let's create a grid layout in the item template.
<dxcv:DXCollectionView.ItemTemplate>
    <DataTemplate>
        <Grid
            Margin="0"
            BackgroundColor="Transparent"
            RowSpacing="0"
            ColumnSpacing="0"
            Padding="8,0"
            ColumnDefinitions="*, *"
            RowDefinitions="Auto, Auto, 1">
        </Grid>
    </DataTemplate>
</dxcv:DXCollectionView.ItemTemplate>
We also need to populate the grid layout with labels and images.
<Label
    Text="{Binding Ticker}"
    Margin="12,12,0,0"
    VerticalOptions="End"
    TextColor="{DynamicResource PrimaryTextColor}"
    FontSize="Medium"/>
<Label
    Text="{Binding CompanyName}"
    Grid.Row="1"
    Margin="12,4,0,12"
    VerticalOptions="Start"
    FontSize="Caption"
    TextColor="{DynamicResource SecondaryTextColor}"/>
<Label
    Text="{Binding ClosePrice}"
    Grid.Column="1"
    VerticalOptions="End"
    Margin="0,12,12,0"
    HorizontalOptions="End"
    FontSize="Medium"
    TextColor="{DynamicResource PrimaryTextColor}"/>
<StackLayout
    Orientation="Horizontal"
    Grid.Column="1"
    Grid.Row="1"
    VerticalOptions="Start"
    HorizontalOptions="EndAndExpand"
    Margin="0,4,12,12">
    <Image
        Source="{Binding Change, Converter={local:DoubleToImageSourceConverter
        PositiveValue='quote_arrow_up',
        NegativeValue='quote_arrow_down',
        ZeroValue='not_changed'}}"
        WidthRequest="18"
        HeightRequest="18"
        VerticalOptions="Start"
        Margin="0,0,3,0"/>
    <Label
        Text="{Binding Change, StringFormat='{0:+0.00;-0.00;0.00}'}"
        TextColor="{Binding Change, Converter={local:DoubleToColorConverter
        PositiveValue='RisingValueColor',
        NegativeValue='FallingValueColor',
        ZeroValue='TextColor'}}"
        VerticalOptions="Start"
        FontSize="Caption"
        Margin="3,0"/>
    <Label
        Text="{Binding ChangePercent, StringFormat='{0:(+0.00%);(-0.00%);(0.00%)}'}"
        TextColor="{Binding Change, Converter={local:DoubleToColorConverter
        PositiveValue='RisingValueColor',
        NegativeValue='FallingValueColor',
        ZeroValue='TextColor'}}"
        VerticalOptions="Start"
        Margin="3,0,0,0"
        FontSize="Caption"/>
</StackLayout>
<BoxView
    Grid.Row="2"
    Grid.ColumnSpan="2"
    Color="{DynamicResource SeparatorColor}"
    Margin="12,0"/>
Value Converters
As you may notice, the markup uses a converter to display an up or down arrow (depending on price increase/decrease). You can find the appropriate image files in the Images folder. Copy these files to the Resources folder in your project. The text color also depends on price change. To learn more about converters, review the following Microsoft help topic: Binding Value Converters.
using Microsoft.Maui.Controls;
using Microsoft.Maui.Controls.Xaml;
using Microsoft.Maui.Graphics;
using System;
using System.Globalization;

namespace Stocks {
    public class DoubleToImageSourceConverter : IValueConverter, IMarkupExtension<DoubleToImageSourceConverter> {
        public ImageSource ZeroValue { get; set; } = string.Empty;
        public ImageSource PositiveValue { get; set; } = string.Empty;
        public ImageSource NegativeValue { get; set; } = string.Empty;
        public object Convert(object value, Type targetType, object parameter, CultureInfo culture) {
            if (!(value is double doubleValue) || targetType != typeof(ImageSource)) return null;
            switch (doubleValue) {
                case > 0: return PositiveValue;
                case < 0: return NegativeValue;
                default: return ZeroValue;
            }
        }
        public object ConvertBack(object value, Type targetType, object parameter, CultureInfo culture) {
            throw new NotSupportedException();
        }

        public object ProvideValue(IServiceProvider serviceProvider) {
            return this;
        }

        DoubleToImageSourceConverter IMarkupExtension<DoubleToImageSourceConverter>.ProvideValue(IServiceProvider serviceProvider) {
            return this;
        }
    }

    public class DoubleToColorConverter : IValueConverter, IMarkupExtension<DoubleToColorConverter>{
        public string ZeroValue { get; set; } = string.Empty;
        public string PositiveValue { get; set; } = string.Empty;
        public string NegativeValue { get; set; } = string.Empty;
        public object Convert(object value, Type targetType, object parameter, CultureInfo culture) {
            if (!(value is double doubleValue) || targetType != typeof(Color)) return null;
            switch (doubleValue) {
                case > 0: return (Color)Application.Current.Resources[PositiveValue];
                case < 0: return (Color)Application.Current.Resources[NegativeValue];
                default: return (Color)Application.Current.Resources[ZeroValue];
            }
        }
        public object ConvertBack(object value, Type targetType, object parameter, CultureInfo culture) {
            throw new NotSupportedException();
        }

        public DoubleToColorConverter ProvideValue(IServiceProvider serviceProvider) {
            return this;
        }

        object IMarkupExtension.ProvideValue(IServiceProvider serviceProvider) {
            return this;
        }
    }
}
Theme
The application applies a dark theme to controls. You can find colors and styles in the DarkTheme.xaml and SharedStyles.xaml files within the https://github.com/DevExpress-Examples/maui-stocks-mini repository. Create similar styles and colors in your project and add them to the resource dictionary in the App.xaml file.
Run the Application
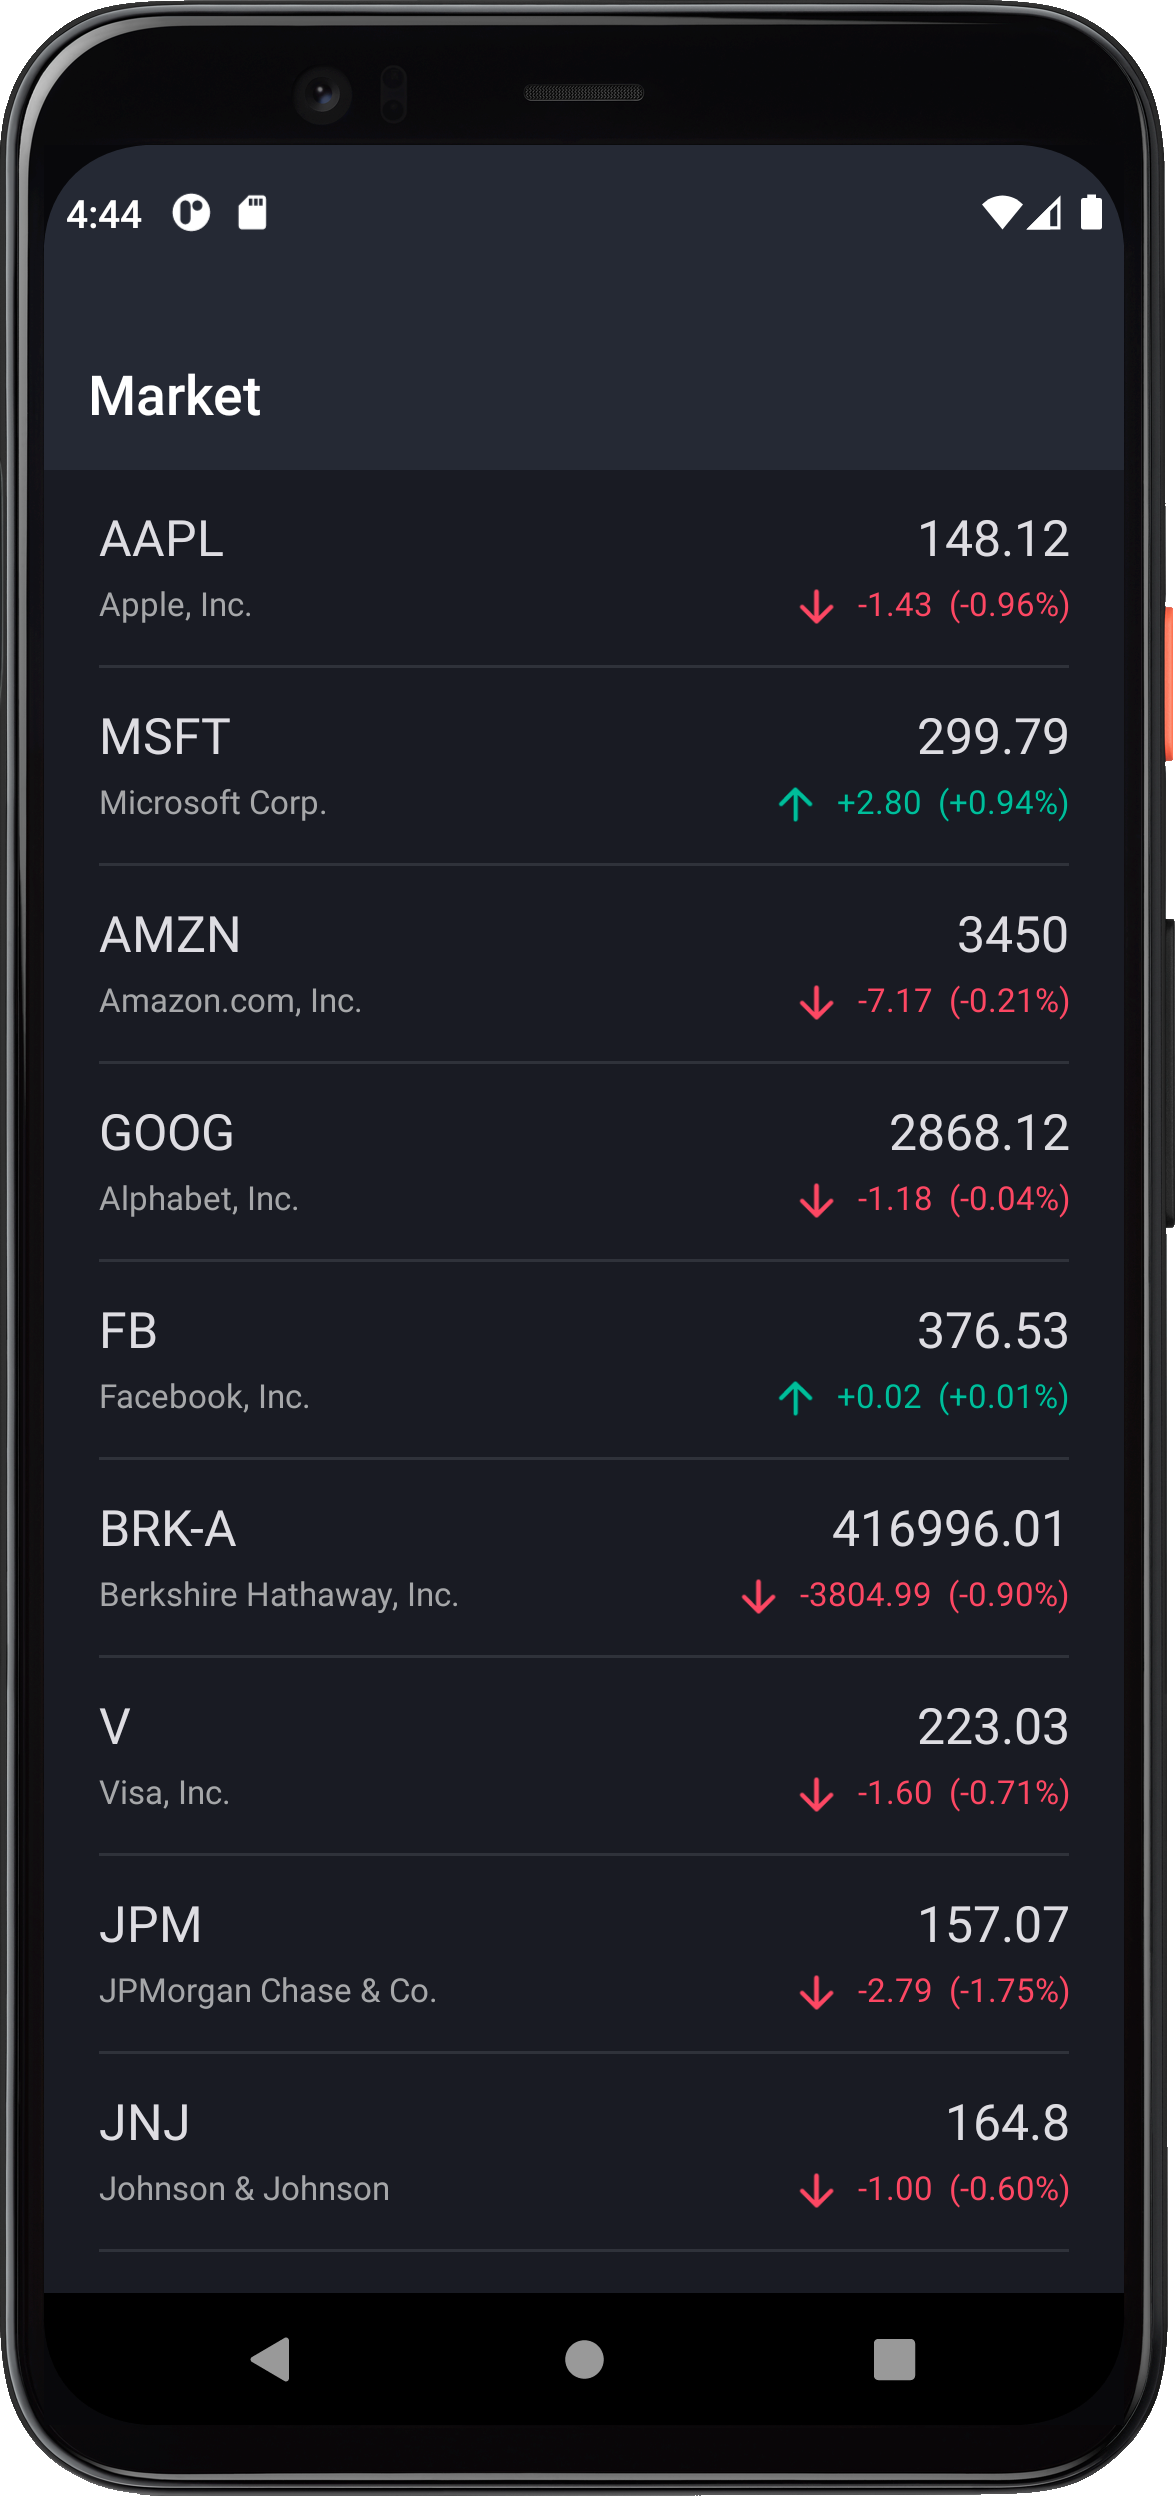
You can now execute the application. Your main page should now display a list of companies.
Next Lesson: Stock Market App for .NET Multi-platform App UI (.NET MAUI) (Part 2)
Free DevExpress Products - Get Your Copy Today
The following free DevExpress product offers remain available. Should you have any questions about the free offers below, please submit a ticket via the
DevExpress Support Center at your convenience. We'll be happy to follow-up.