When you write a mobile app, one of the most requested features is setting up push notifications. No surprise here: push notifications are a heavily useful tool for any business, so you've got to master this side of building an app.
In this article we'll be looking into how to set up push notifications in React Native, by implementing and testing on both iOS and Android platforms.
We can send a notification through multiple libraries or through APNs specifically for iOS. But because the Firebase messaging library is particularly easy to integrate, we will use it throughout this article to demonstrate the step-by-step implementation.
Before proceeding with the implementation, make sure you already have a React Native project ready to use, so that we can start following the necessary steps to complete our push notification mission:
- Firebase Installation
- Android Setup
- iOS Setup
- Code integration for push notifications
- Sending the test push notification
- Handling notification flow
Now let's get this started!
1. Firebase Installation
We start off by installing the React Native Firebase 'app' module to the root of your React Native project with NPM or Yarn:
#Using npm
npm install --save @react-native-firebase/app

#Using Yarn
yarn add @react-native-firebase/app
Note: the @react-native-firebase/app module must be installed before using any other Firebase service.
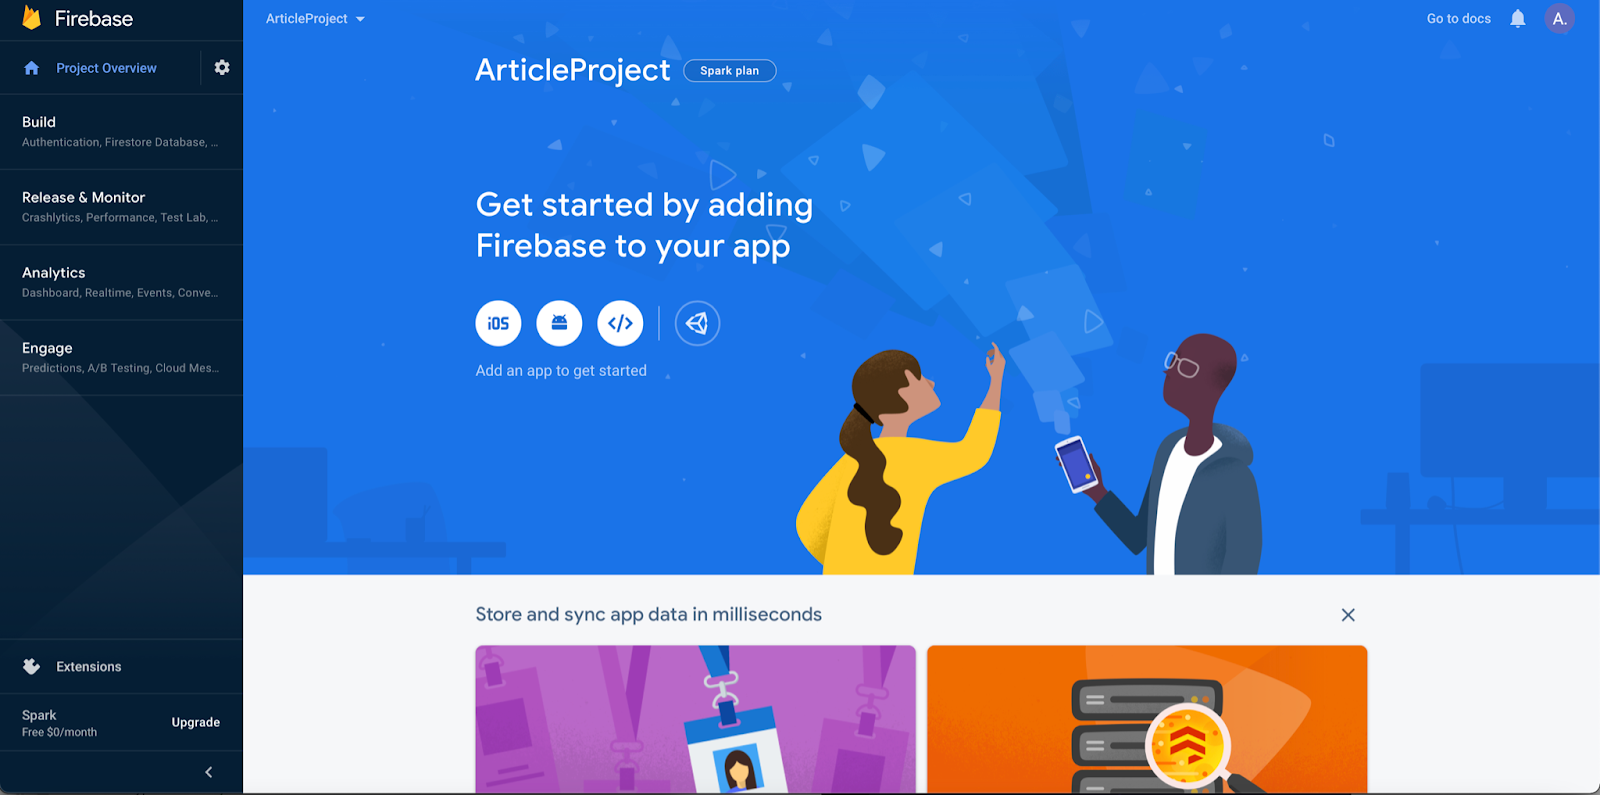
To create a Firebase app, go here https://console.firebase.google.com and create a new project. Once you created the project, we have to add apps on the firebase panel (an in-detail guide for app creation is defined in the Android/iOS setup section).
That said, we will now specify the required field for both android and iOS.
- In the case of iOS, we will get GoogleService-Info.plist - this file will be placed in the iOS native project.
- For Android, we will get google-service.json, which will be placed in the Android native project.
2. Android Setup
To connect the Firebase service with the Android application, we have to provide details on the Firebase app integration process, i.e. Android package name.
When you get on the firebase site, click on the Android icon to create the Android app.
After adding all the required details, we will download the google-service.json file that contains Firebase configuration, and we will place it inside the A`ndroid project at the following location:
/android/app/google-service.json
To allow Firebase on Android to use the credentials, the google-services plugin must be enabled on the project. This requires modification to two files in the Android directory.
First, add the google-services plugin as a dependency inside of your /android/build.gradle file:
buildscript {
dependencies {
// ... other dependencies
classpath 'com.google.gms:google-services:4.3.8'
// Add me --- /\
}
}
Then, execute the plugin by adding the following to your /android/app/build.gradle:
apply plugin: 'com.android.application'
apply plugin: 'com.google.gms.google-services' // <- Add this line
And that’s about it, Android configuration is complete.
3. iOS Setup
Now on to connecting the Firebase service with the iOS application. We have to provide details on the Firebase app integration process, i.e. iOS bundle id, and for that you need to click on the iOS icon on the Firebase platform.
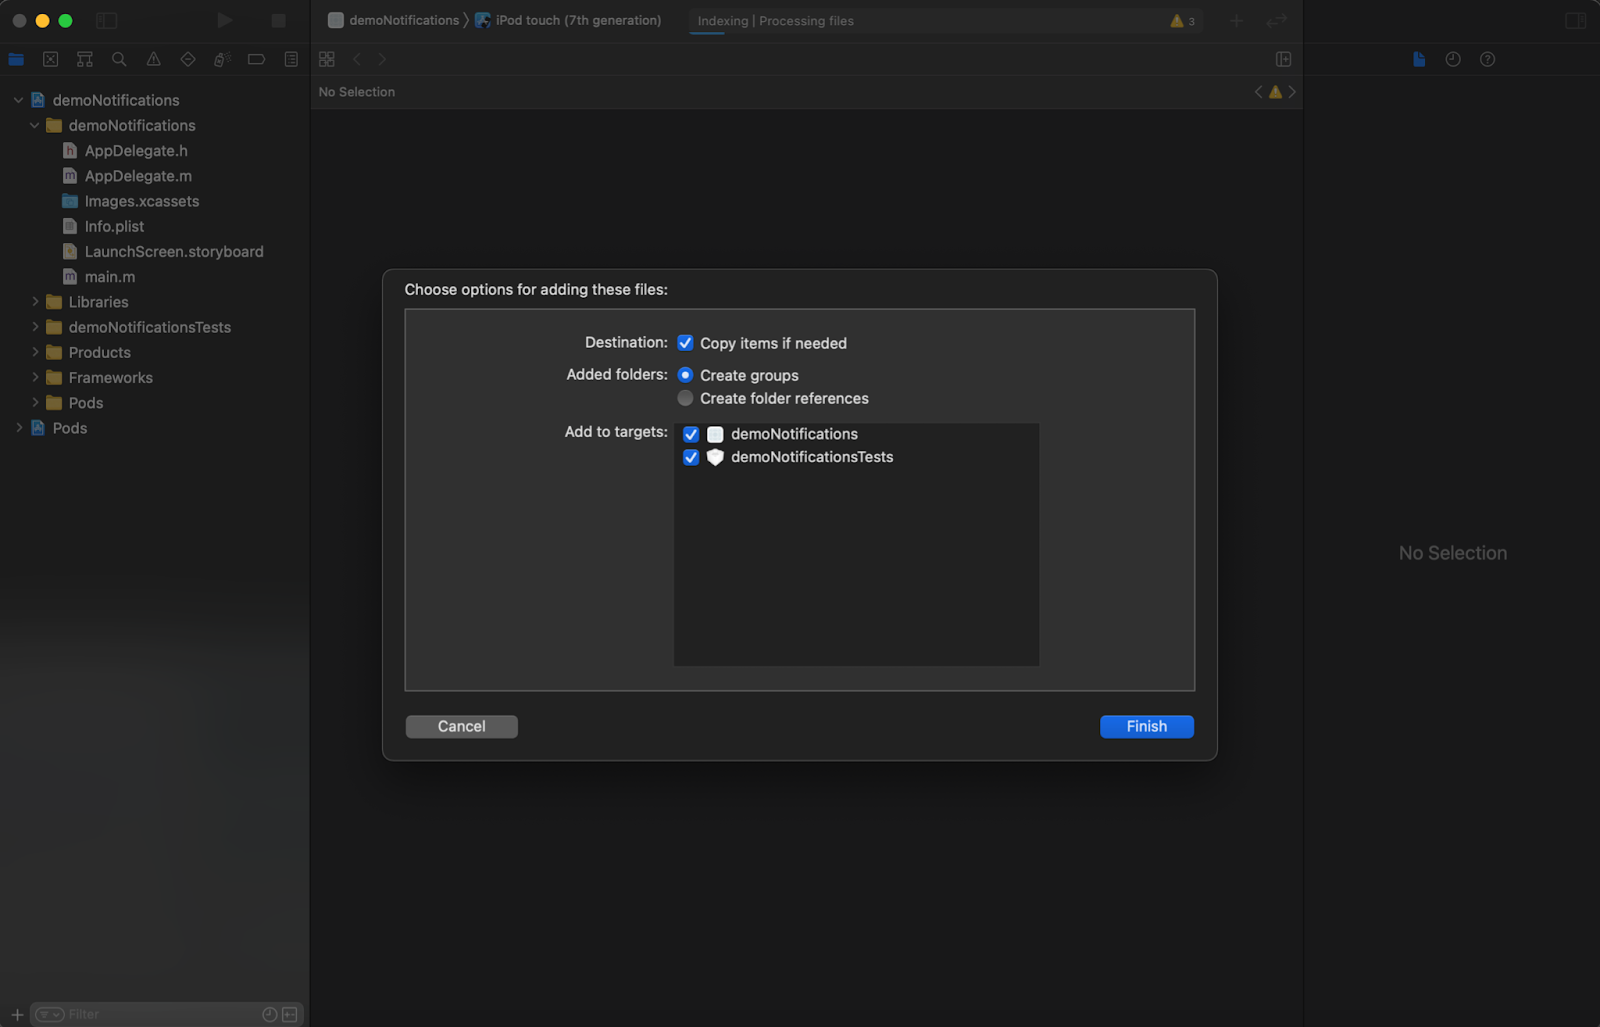
After adding details, we will get the GoogleService-Info.plist file that contains Firebase configuration, we will place it inside the iOS project at the root folder, as shown below:

To allow Firebase to use the credentials on iOS, the Firebase iOS SDK must be configured. Which you can do by opening your /ios/{projectName}/AppDelegate.m file, and adding the following:
At the top of the file, import the Firebase SDK: #import <Firebase.h>
Within your existing didFinishLaunchingWithOptions method, add the following to the top of the method:
- (BOOL)application:(UIApplication *)application didFinishLaunchingWithOptions:(NSDictionary *)launchOptions {
// Add me --- \/
if ([FIRApp defaultApp] == nil) {
[FIRApp configure];
}
// Add me --- /\
// ...
}
For iOS, we have to install pods:
cd ios/
Pod install
With iOS configurations complete, let’s move to code integration for received push notifications.
4. Code integration for push notifications
The Firebase cloud messaging service (FCM) is used to send push notifications. We will install this package on our project:
yarn add @react-native-firebase/messaging
And for iOS, run this
cd ios/ && pod install
To receive push notifications on iOS, the app has to request permission for push notifications, which you can achieve by running:
import messaging from '@react-native-firebase/messaging';

async function requestUserPermission() {
const authStatus = await messaging().requestPermission();
const enabled =
authStatus === messaging.AuthorizationStatus.AUTHORIZED ||
authStatus === messaging.AuthorizationStatus.PROVISIONAL;

if (enabled) {
console.log('Authorization status:', authStatus);
}
}
FCM messages can be sent to real Android/iOS devices and Android emulators (iOS simulators however do not handle cloud messages). A message is simply a payload of data that we receive in the notification.
Next, we have to handle notifications in three app states which are:
- Active (app is open in foreground mode);
- Background (app is in minimized mode or in background state);
- Killed (app is closed/killed).
This small piece of code is enough for handling push notifications in the app.
import React, { useEffect } from 'react';
import { Alert } from 'react-native';
import messaging from '@react-native-firebase/messaging';

function App() {

// ACTIVE mode handling
useEffect(() => {
const unsubscribe = messaging().onMessage(async remoteMessage => {
Alert.alert('A new FCM message arrived!', JSON.stringify(remoteMessage));
});

return () => unsubscribe();
}, []);
}

//  BACKGROUND / KILLED mode handling
messaging().setBackgroundMessageHandler(async remoteMessage => {
console.log('Message handled in the background!', remoteMessage);
});
Notification handling when the app is open
Since the app will not show notification in foreground mode, we normally receive notifications in Firebase callback as shown above, then throw the local notification from the React Native app. We can generate a local notification with this package.
You will see that the callback above is triggered when we receive a notification in foreground mode. To throw the local notification when we receive notification in foreground mode, we use this code:
// ACTIVE mode handling
messaging().onMessage(async (remoteMessage) => {

// Creating Local notification
    var localNotification = {
    id: 0, // (optional) Valid unique 32 bit integer specified as string.
    default: Autogenerated Unique ID
    title: remoteMessage.notification.title, // (optional)
    message: remoteMessage.notification.body, // (required)
    data: remoteMessage.data,
};

Platform.OS == 'android' && (
    localNotification = {
        ...localNotification,
    channelId: "com.exampple", // (required) channelId, if the channel doesn't exist, notification will not trigger.
    }
)
PushNotification.localNotification(localNotification);
});
Now, handling local notification is different from remote notification, so to detect clicks we have to add these lines of code.
// Handle Local Notification
    PushNotification.configure({
        onNotification: function (notification) {
            const { data } = notification;
        }
    }
});
Further on, we can handle the flow with the same code based on the data node we received in the local notification.
5. Sending the test push notification
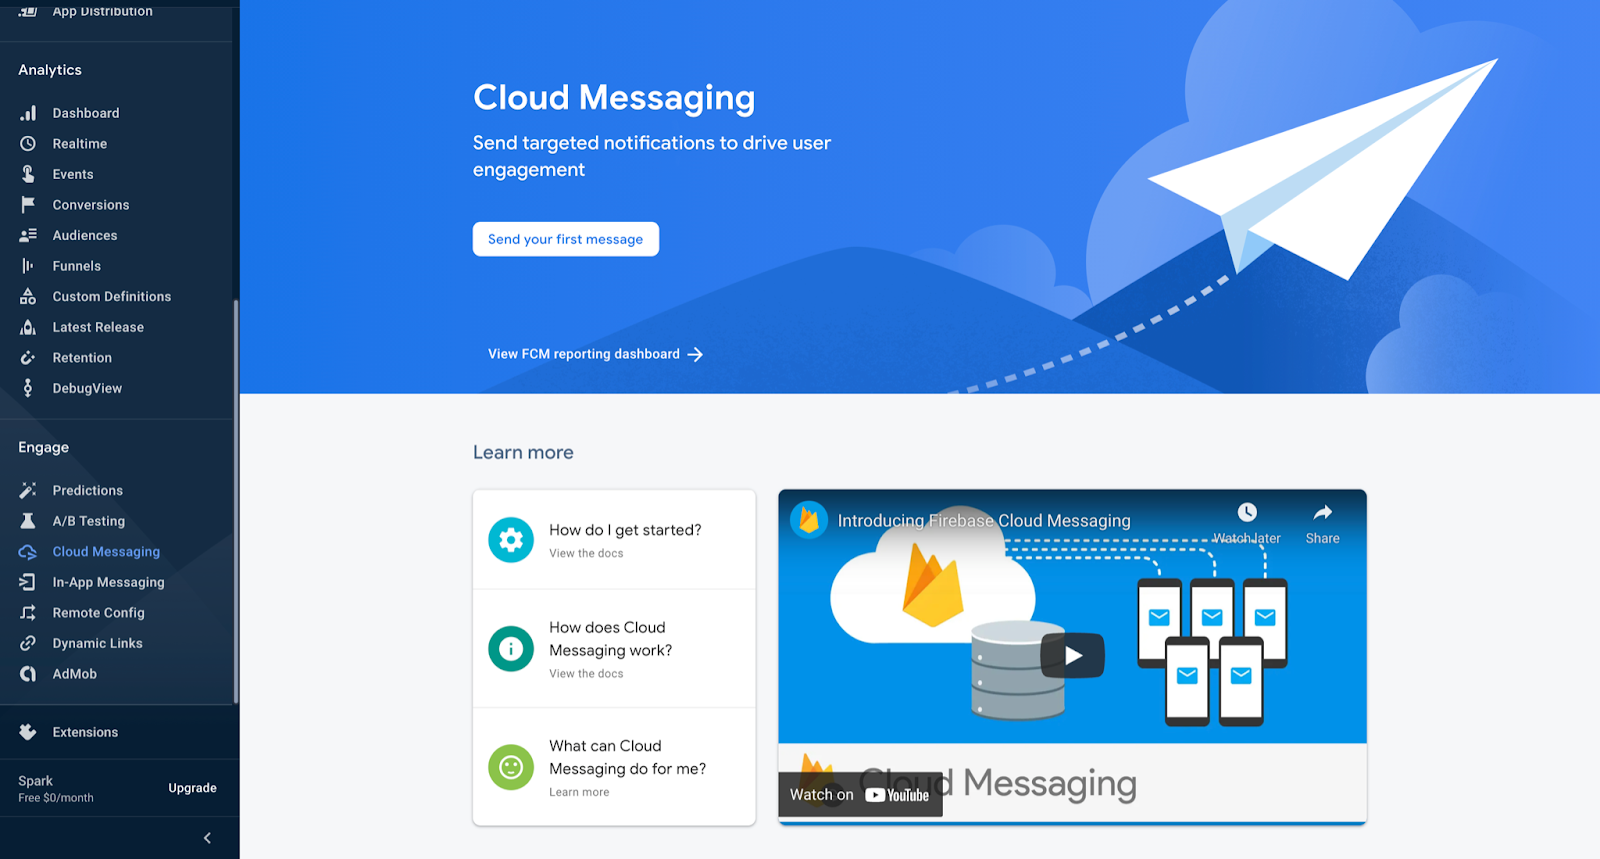
We can send test push notifications through the Firebase console. Select the cloud messaging option from the side menu, then click on 'Send your first message'.
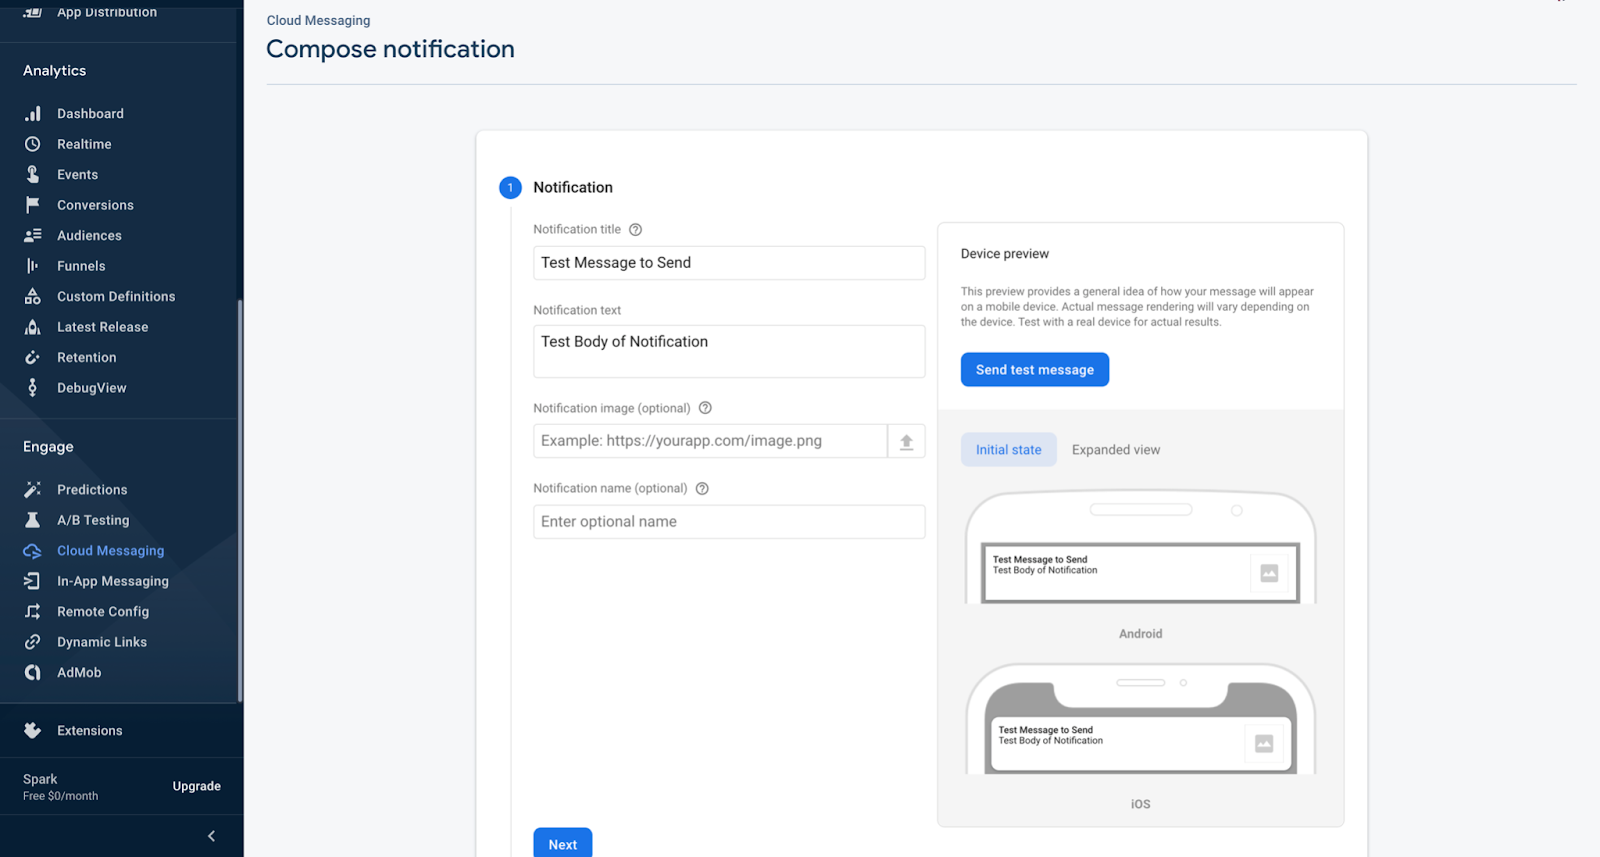
Upon clicking on the button, you will get to this screen where you can specify the title and body of notification just for testing. Then after writing the notification content, click on 'Send test message':
Now you have to specify the FCM token of the device, on which you want to send the notification.

Here add the notification, and click on the Test button, then the push notification will be sent to the device with a specified device token.
We can now get the FCM token, which is a unique identity of the device for sending notifications through Firebase.
fcmToken = await firebase.messaging().getToken();
console.log('fcm Token: ', fcmToken);
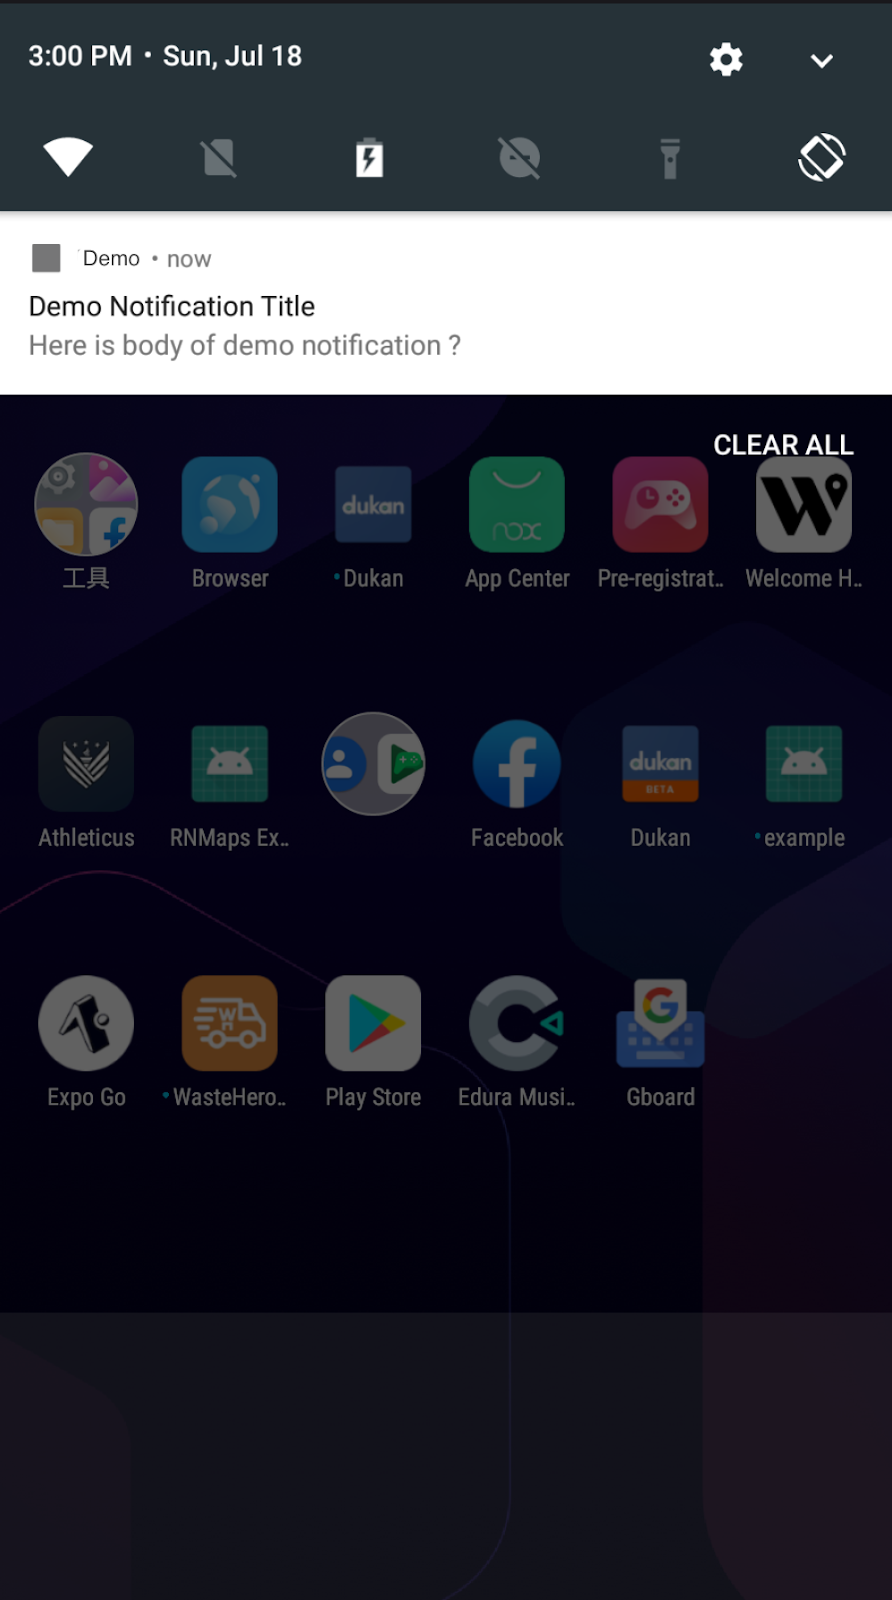
Boom, we received a notification on a mobile device.
6. Handling notification flow
We have already implemented the callbacks to get the data from the notification in all three states. So now we can decide where to navigate in-app from the data being received in the notification.
A typical notification payload that is being sent from the server looks like this.
{
"to": "ckDBiQe8Sa-cO2Vp_JMlET:APA91bE0h3ux9KhdRD1AGjoka_9k_17ssv_csbl_GY5qHYfCpS0pkrQDo4c9U1LifMx5Si8JLwnDUnMKghW2k5gFpXahu4UyLJyXnXuGbQLaFTOe5hdH5coqqPfI8d-qeX2w5O1PBO9X",
"notification": {
"body": "Do you want to mark store online ?",
"title": "Mark Shop Open",
},
}
Custom data/fields can be added like this, to send from the server.
{
"to": "ckDBiQe8Sa-cO2Vp_JMlET:APA91bE0h3ux9KhdRD1AGjoka_9k_17ssv_csbl_GY5qHYfCpS0pkrQDo4c9U1LifMx5Si8JLwnDUnMKghW2k5gFpXahu4UyLJyXnXuGbQLaFTOe5hdH5coqqPfI8d-qeX2w5O1PBO9X",
"notification": {
"body": "Do you want to mark store online ?",
"title": "Mark Shop Open",
},
"data": {
"name": "home",
"type": "screen",
}
}
On a mobile device, we received the payload that looks like this.
{
"collapseKey": "com.demo.example",
"data": {
"name": "home",
"type": "screen",
}
"from": "924053358539",
"messageId": "0:1626600694469635%b66799aab66799aa",
"notification": {
"body": "Do you want to mark store online ?",
"title": "Mark Shop Open",
},
"sentTime": 1626600694438,
"ttl": 2419200
}
We can get custom data from the data node, for instance type node can be read from the app, to navigate to a specific screen/flow or open modal based on the type we set in-app.
For the opening screen, we can set the type node value to ‘screen’ and for showing some modal we can specify the type value to ‘modal’. It’s all about the logic we define in-app based on custom fields we received in the notification.
That would be it for this tutorial, with a brief mention that this is the preferred way of implementing push notifications in React Native as per the date of publication. The ecosystem changes continuously, so make sure you check standards and protocols each time you start implementing.