Note: If you are using macOS Ventura or later, check out the updated version of this article.
It used to be that to run a Time Machine Server, you needed to be running a copy of macOS Server on your host machine, but those days are now gone. Anyone running High Sierra or later on a Mac can now turn that Mac into a destination for remote machines to use for Time Machine.
Say you have a Mac mini on your network, and a MacBook Pro. You can hook up an USB hard drive to that Mac mini, and within a few minutes, be backing your MacBook Pro up across your network using Time Machine.
Here’s how to do it.
1. Prepare Time Machine Drive
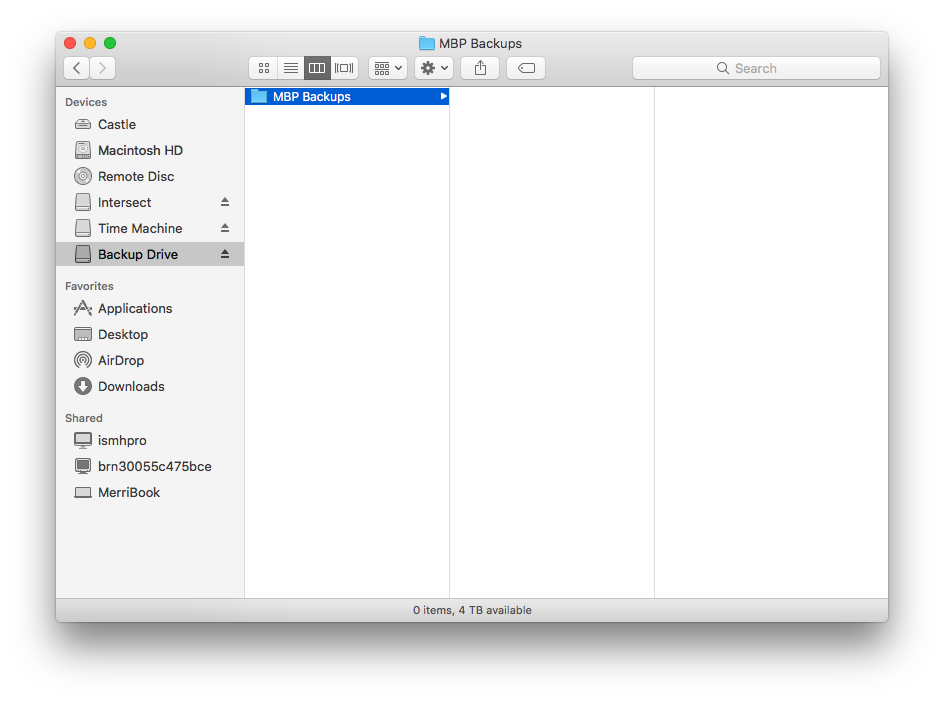
The drive I am using came formatted for Windows, so I took a quick trip to Disk Utility to format it in HFS+, naming it “Backup Drive”. APFS may be the default for Time Machine drives at some point, but today is not that day. 2021 Update: APFS is here!
Then, I created a folder on the root level of the hard drive named “MBP Backups,” just to keep things neat on the drive.
2. Share the Drive Using System Preferences
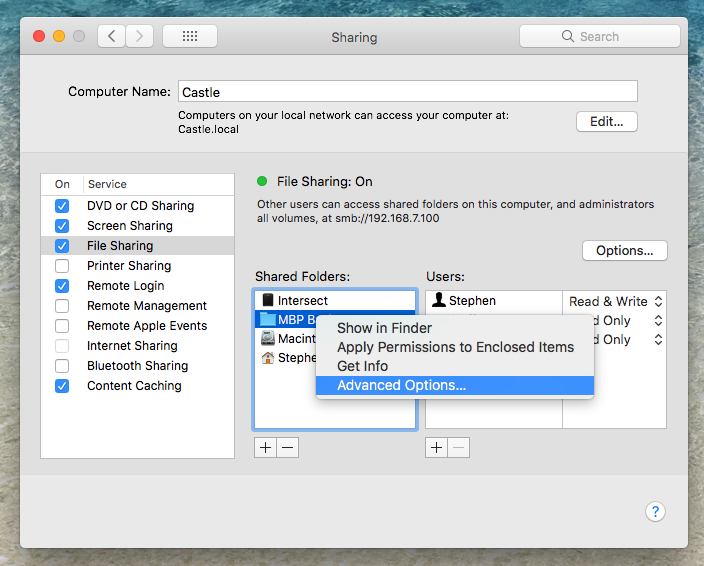
Once the drive is ready, navigate to the Sharing pane in System Preferences. Hit the small + button below the Shared Folders list and add your new drive or folder.
Then, right-click on it and select Advanced Option…
In the new window, enable the drive for use as a Time Machine Backup Destination. If you wish to cap the size that the backups can take, you can do so here as well:
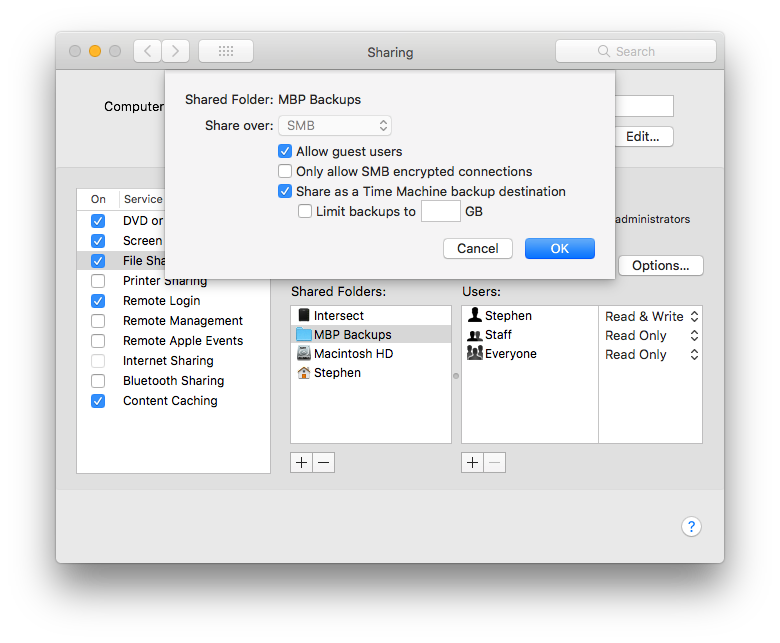
If not, Time Machine will fill up the entire drive with time.
3. Connect to Remote Folder on Client Mac
In the above example, now is when you would move to your MacBook Pro and connect to that shared folder across the network.
4. Add Folder as Time Machine Destination
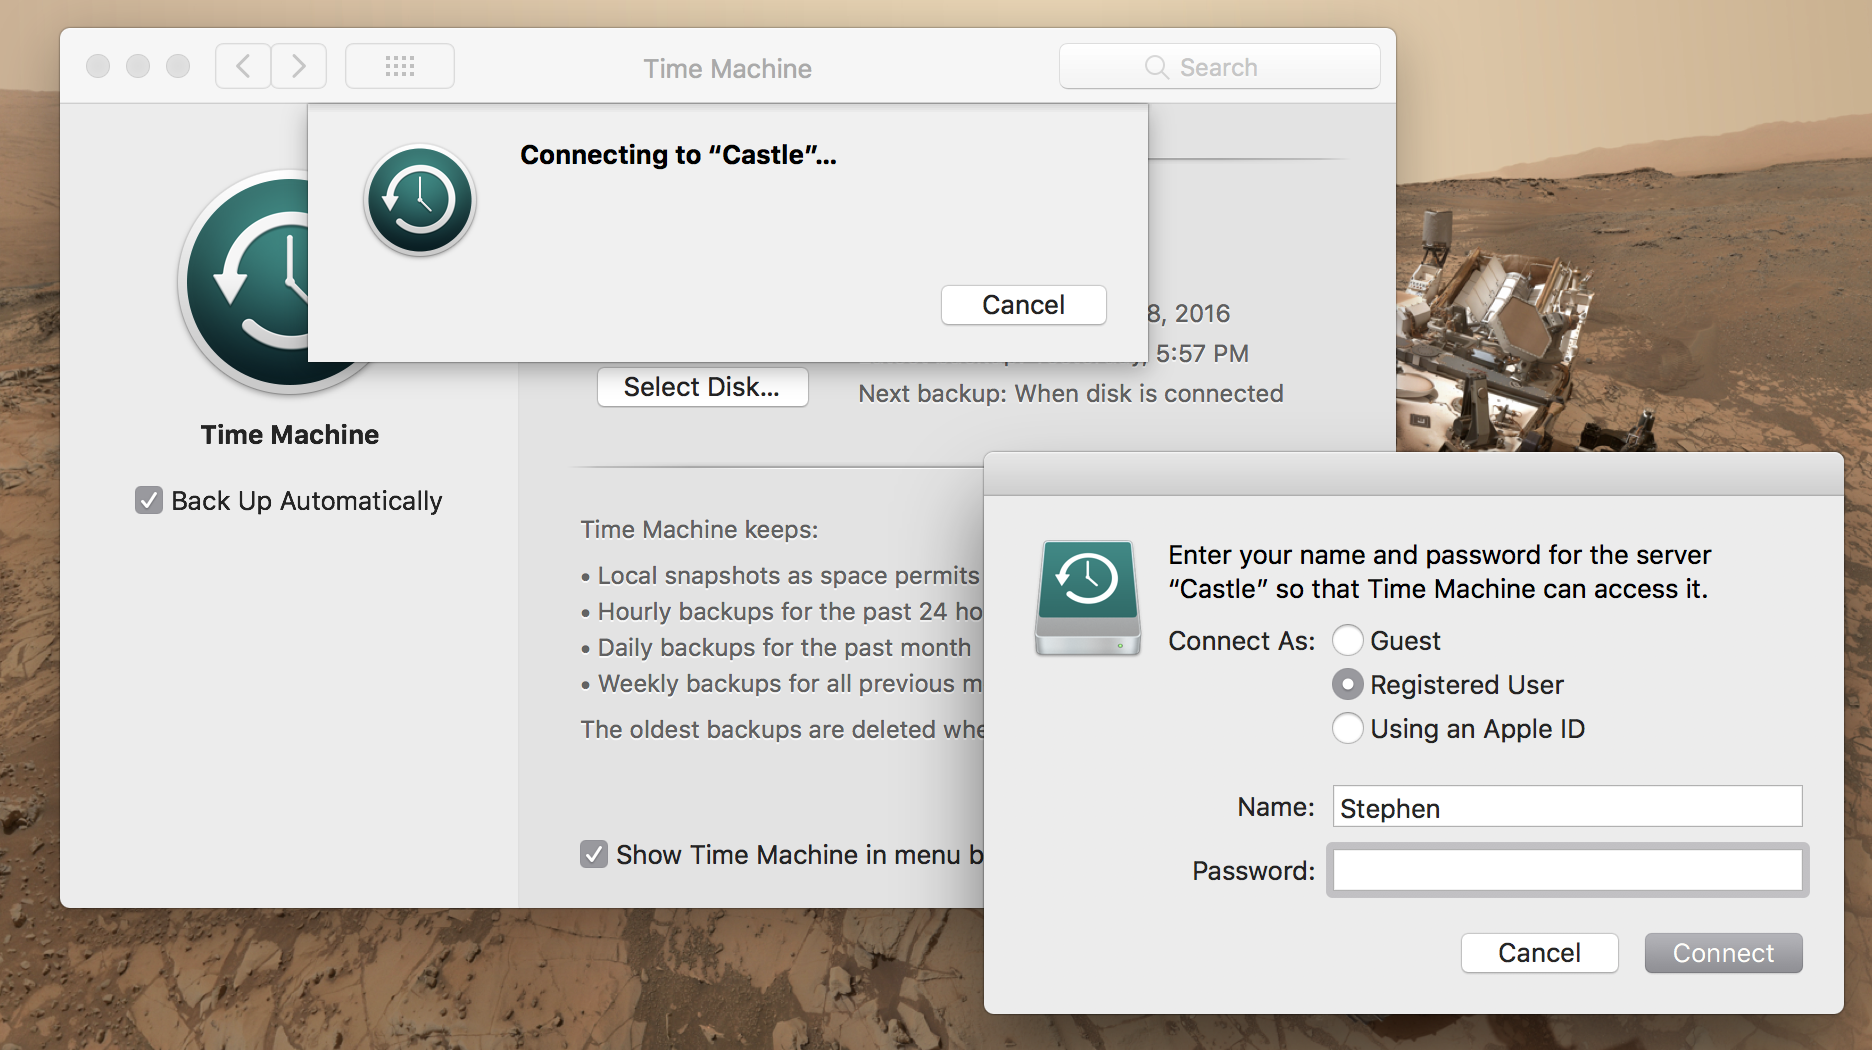
Once the folder is mounted, open the Time Machine pane in System Preferences and add the folder as your backup destination. Once you do, System Preferences will ask for a user name and password for Time Machine to automatically connect to the backup folder when it is available: