


Building desktop and mobile applications with one codebase is finally possible thanks to .NET MAUI. Let's explore how to also add authentication to them using Auth0.
.NET MAUI Applications
Two years after its initial announcement, .NET Multi-platform App UI (MAUI) was officially released in May 2022. The framework allows developers to build desktop and mobile applications for Windows, macOS, iOS, and Android, leveraging the .NET ecosystem and using one codebase. This is a huge milestone in the .NET ecosystem. In fact, the release of .NET MAUI completes the vision of .NET as a unified platform for building any type of application.
Technically, .NET MAUI is the evolution of Xamarin.Forms, which will still be supported but will not have new major releases. It builds upon the experience of Xamarin and offers a more consistent way to create multi-platform applications. Like Xamarin, .NET MAUI allows you to create applications using C# and XAML. Still, it simplifies the developer experience by adding support for a single project and providing multiple ways to add platform-specific code. The UI controls generated from XAML are highly performant native controls, but you can also reuse existing Blazor components in your native application.
.NET MAUI introduces exciting new opportunities for .NET developers, but this article will focus on adding authentication to a simple MAUI app. If you want to learn more about .NET MAUI, read this blog post. To see the main differences between Xamarin and .NET MAUI, check out this article.
Prerequisites
To build and run the sample project of this article, you need the latest .NET 8.0 SDK. Also, depending on your development and target platforms, you may need additional components. Please refer to this document to learn more and set up your development environment.
The Sample Application
The sample application you will build is the simplest you can create by starting from the standard MAUI template. This article will use the .NET CLI to create and build the project to offer a consistent cross-platform experience, but feel free to use the IDE and tool that you prefer.
To run your MAUI project on Windows, you need Visual Studio due to a known issue, as you'll learn later.
To create the sample application, run the following command in a terminal window:
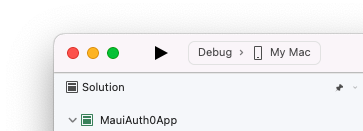
dotnet new maui -o MauiAuth0AppAfter a few seconds, you will get a MauiAuth0App folder with the MAUI project. To make sure that everything works as expected, we will run our newly created application. At this point, if you are using Visual Studio, you can select your target platform next to the run button, as shown below:
If you are using the .NET CLI, you need to specify the target platform. The following commands run your MAUI app in the respective target platform:
# macOS target platform
dotnet build -t:Run -f net8.0-maccatalyst

# Android target platform
dotnet build -t:Run -f net8.0-android

# iOS target platform
dotnet build -t:Run -f net8.0-ios

# Windows target platform (⚠️ see the note below ⚠️)
dotnet build -t:Run -f net8.0-windows10.0.19041.0 -p:WindowsPackageType=None
⚠️ Unfortunately, at the time of writing, the command for the Windows platform target is not working as expected. You can build a .NET MAUI Windows app by running
dotnet build -f net8.0-windows10.0.19041.0 -p:WindowsPackageType=None, but you can't launch it through the CLI on Windows. This is a known issue reported by several developers.
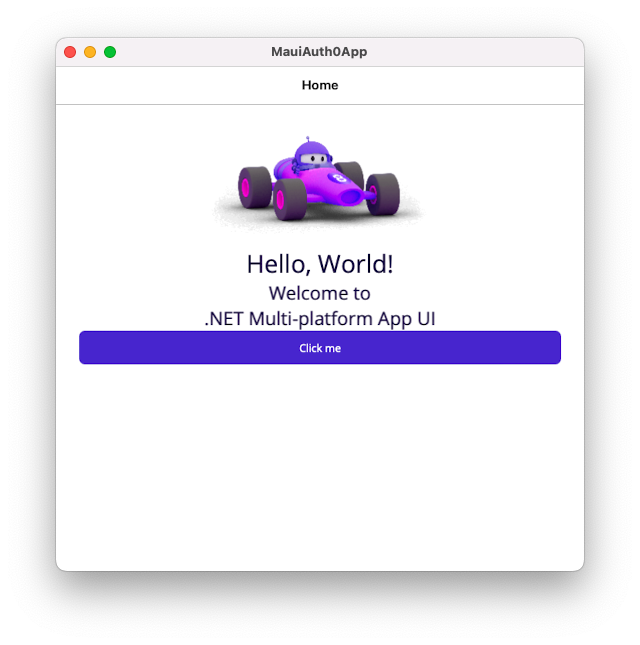
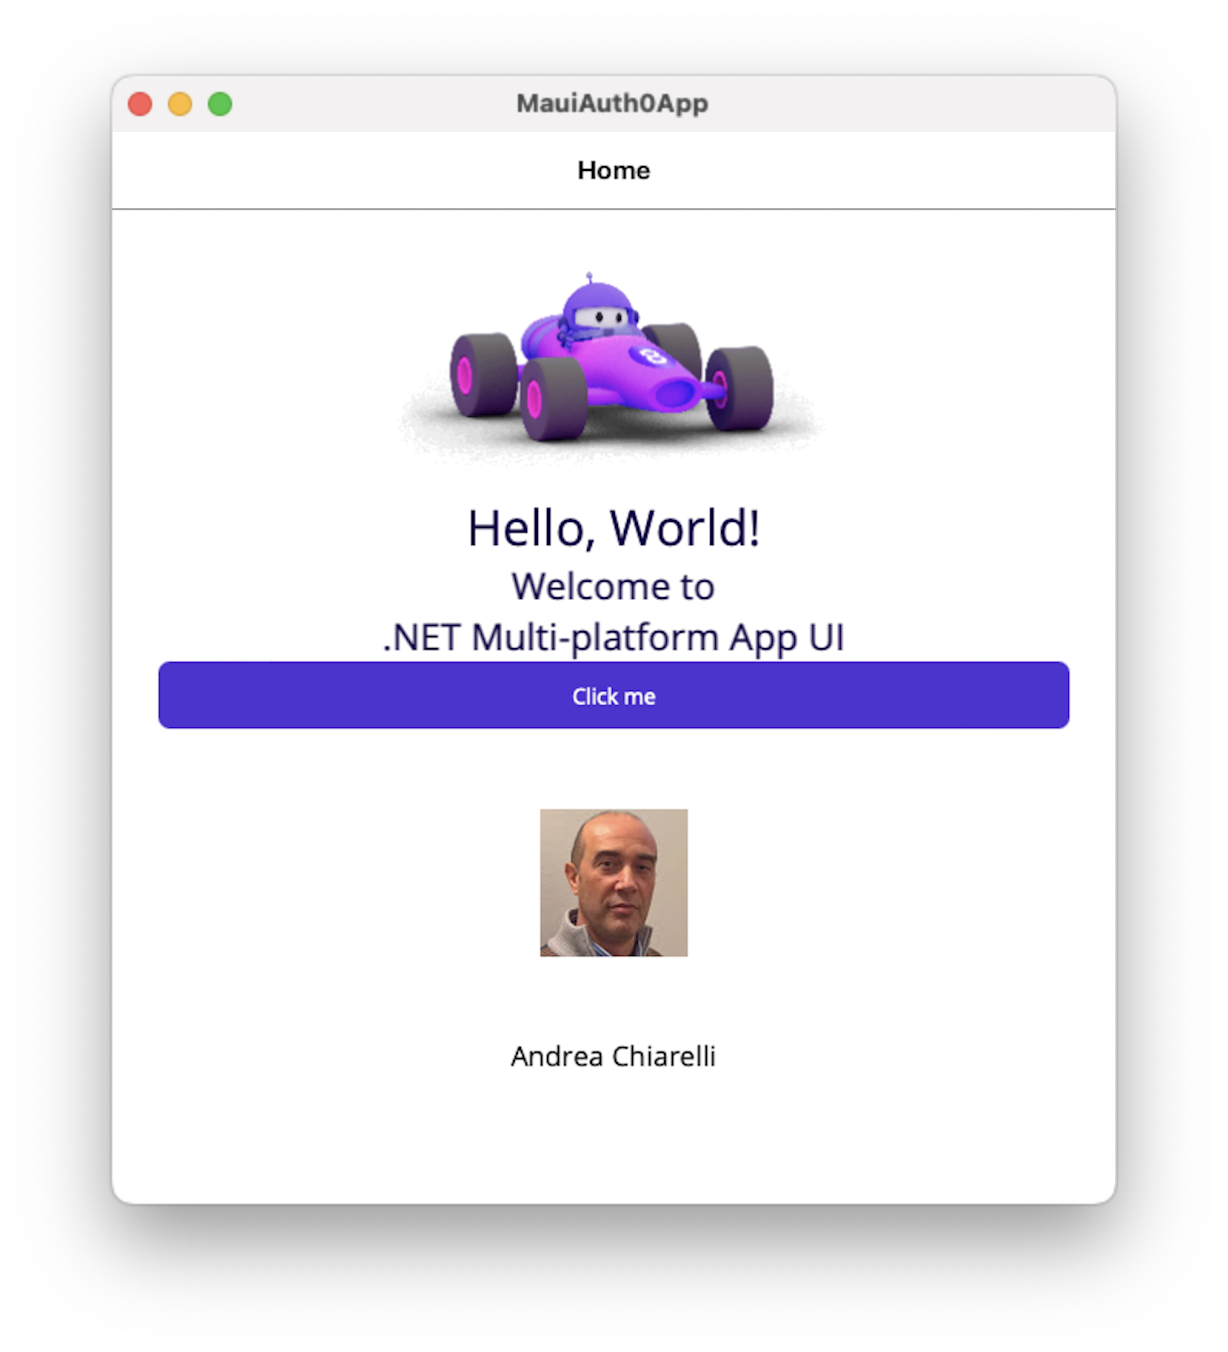
After launching your app, you will see a screen like the following:
Let's go over how to integrate this app with Auth0.
Register with Auth0
To start, let's register the app with Auth0. Use your Auth0 account to access your dashboard. If you don't yet have one, you can sign up for free. Once in the dashboard, move to the Applications section and follow these steps:
- Click on Create Application.
- Provide a friendly name for your application (for example, MAUI App) and choose Native as the application type.
- Finally, click the Create button.
These steps make Auth0 aware of your MAUI application. After creating the application, move to the Settings tab and take note of your Auth0 domain and client id. You will use them shortly.
Then, in the same form, scroll down to the Application URIs section and assign the value myapp://callback/ to both the Allowed Callback URLs and the Allowed Logout URLs fields.
The first value tells Auth0 which URL to call back after the user authenticates. The second value tells Auth0 which URL the user should be redirected to after their logout. Even if you are not building a web application, you will learn how your application can catch this URI.
Click the Save Changes button to apply them.
Add Authentication
Back in your MAUI project, add the Auth0 .NET OIDC Client for MAUI SDK package by running the following command:
dotnet add package Auth0.OidcClient.MAUINow you need to write the code that integrates your application with Auth0. You will do it in a few steps:
- Configure your MAUI app to use the Auth0 client.
- Add the login button on the MAUI app UI.
- Apply specific changes for each target platform.
Let's go through each step.
Configure your MAUI app
Once you have the Auth0 client, open the MauiProgram.cs file in the root folder of the project and apply the changes highlighted below:
// MauiProgram.cs

using Microsoft.Extensions.Logging;
using Auth0.OidcClient;    // 👈 new code

namespace MauiAuth0App;

public static class MauiProgram
{
  public static MauiApp CreateMauiApp()
  {
    var builder = MauiApp.CreateBuilder();
    builder
      .UseMauiApp<App>()
      .ConfigureFonts(fonts =>
      {
        fonts.AddFont("OpenSans-Regular.ttf", "OpenSansRegular");
        fonts.AddFont("OpenSans-Semibold.ttf", "OpenSansSemibold");
      });

#if DEBUG
        builder.Logging.AddDebug();
#endif

    // 👇 new code
    builder.Services.AddSingleton<MainPage>();

    builder.Services.AddSingleton(new Auth0Client(new()
    {
                Domain = "<YOUR_AUTH0_DOMAIN>",
                ClientId = "<YOUR_CLIENT_ID>",
                RedirectUri = "myapp://callback/",
                PostLogoutRedirectUri = "myapp://callback/",
                Scope = "openid profile email"
    }));
    // 👆 new code

    return builder.Build();
  }
}
First, add a reference to the Auth0.OidcClient namespace. This makes the Auth0 client available in this context. Then, add the MainPage class as a singleton service to the application builder. Finally, create an instance of the Auth0 client passing the required options and add it as a singleton service to the application builder. Remember to replace the <YOUR_AUTH0_DOMAIN> and <YOUR_CLIENT_ID> placeholders with the respective values for your Auth0 domain and client ID taken from the Auth0 dashboard.
Add the login button
Now, let's modify the user interface to allow the user to authenticate. Open the MainPage.xaml file and change its content as follows:
<!-- MainPage.xaml -->
<?xml version="1.0" encoding="utf-8" ?>
<ContentPage xmlns="http://schemas.microsoft.com/dotnet/2021/maui"
             xmlns:x="http://schemas.microsoft.com/winfx/2009/xaml"
             x:Class="MauiAuth0App.MainPage">

    <ScrollView>
        <VerticalStackLayout
            Padding="30,0"
            Spacing="25">

            <!-- 👇 new code -->
            <StackLayout
                x:Name="LoginView">
                <Button
                    x:Name="LoginBtn"
                    Text="Log In"
                    SemanticProperties.Hint="Click to log in"
                    Clicked="OnLoginClicked"
                    HorizontalOptions="Center" />
            </StackLayout>
            <!-- 👆 new code -->

            <!-- 👇 new code -->
            <StackLayout
                x:Name="HomeView"
                IsVisible="false">
            <!-- 👆 new code -->
                <Image
                    Source="dotnet_bot.png"
                    HeightRequest="185"
                    Aspect="AspectFit"
                    SemanticProperties.Description="dot net bot in a race car number eight" />

              <!-- ...existing markup... -->

          <!-- 👇 new code -->
          </StackLayout>
          <!-- 👆 new code -->
        </VerticalStackLayout>
    </ScrollView>
</ContentPage>
You add a new <StackLayout> element within the existing <VerticalStackLayout>. This <StackLayout> element is named LoginView and contains the login button named LoginBtn. The login button invokes the OnLoginClicked method when it is clicked.
The <StackLayout> element is just a container of UI controls. You will use it to display and hide groups of controls based on the user's authentication state.
In fact, in addition to the login button, you wrap the existing controls in another <StackLayout> element named HomeView. In this case, the <StackLayout> element is marked as invisible. This markup prepares the UI to show only the login button when the application starts and the user is not yet authenticated.
To make the UI fully functional, edit the MainPage.xaml.cs file as follows:
// MainPage.xaml.cs

using Auth0.OidcClient;    // 👈 new code

namespace MauiAuth0App;

public partial class MainPage : ContentPage
{
    int count = 0;
  // 👇 new code
  private readonly Auth0Client auth0Client;
  // 👆 new code

  // 👇 changed code
  public MainPage(Auth0Client client)
  // 👆 changed code
    {
        InitializeComponent();
    auth0Client = client;    // 👈 new code
    }

  //...existing code...

  // 👇 new code
  private async void OnLoginClicked(object sender, EventArgs e)
  {
    var loginResult = await auth0Client.LoginAsync();

    if (!loginResult.IsError)
    {
      LoginView.IsVisible = false;
      HomeView.IsVisible = true;
    }
    else
    {
      await DisplayAlert("Error", loginResult.ErrorDescription, "OK");
    }
  }
  // 👆 new code
}
Here you add a reference to the Auth0.OidcClient namespace and declare the auth0Client private variable. The Auth0 client instance is injected through the MainPage() constructor and is assigned to the auth0Clientprivate variable.
Then, you add the implementation of the OnLoginClicked() method. Within the body of this method, you invoke the LoginAsync()method of the Auth0 client to start the authentication process. If everything works fine, you will mark the LoginView <StackLayout> element as invisible and make the HomeView <StackLayout> element visible. Otherwise, an error dialog will be shown.
Well, the app is almost ready to run!
Apply Platform-Specific Changes
Before running your app and testing the Auth0 integration, you need to apply a few changes for each target platform. The changes you will apply are related to the WebAuthenticator functionality. Specifically, you need to instruct your app on how to handle the callback URI that Auth0 will redirect the user to after their authentication.
The .NET MAUI framework provides multiple ways to add platform-specific code, settings, and assets. One of these ways is based on the Platforms folder's content in your project. This folder contains a subfolder for each target platform. Only the platforms you want to target need to be configured. In this article, you will focus on Android, iOS, Mac, and Windows platforms.
Android settings
Move to the Platforms/Android folder and add a new file named WebAuthenticationCallbackActivity.cs. Add the following content to it:
// Platforms/Android/WebAuthenticationCallbackActivity.cs

using Android.App;
using Android.Content.PM;

namespace MauiAuth0App;

[Activity(NoHistory = true, LaunchMode = LaunchMode.SingleTop, Exported = true)]
[IntentFilter(new[] { Android.Content.Intent.ActionView },
              Categories = new[] {
                Android.Content.Intent.CategoryDefault,
                Android.Content.Intent.CategoryBrowsable
              },
              DataScheme = CALLBACK_SCHEME)]
public class WebAuthenticationCallbackActivity : Microsoft.Maui.Authentication.WebAuthenticatorCallbackActivity
{
    const string CALLBACK_SCHEME = "myapp";
}
This code defines the WebAuthenticationCallbackActivity class inheriting from WebAuthenticatorCallbackActivity. This class is marked as an intent filter that accepts myapp as the scheme for the callback URI.
Then, open the Platforms/Android/AndroidManifest.xml file and add the markup highlighted below to make the intent visible:
<!-- Platforms/Android/AndroidManifest.xml -->

<?xml version="1.0" encoding="utf-8"?>
<manifest xmlns:android="http://schemas.android.com/apk/res/android">
    <application android:allowBackup="true"
               android:icon="@mipmap/appicon"
               android:roundIcon="@mipmap/appicon_round"
               android:supportsRtl="true"></application>
    <uses-permission android:name="android.permission.ACCESS_NETWORK_STATE" />
    <uses-permission android:name="android.permission.INTERNET" />
  <!-- 👇 new code -->
  <queries>
    <intent>
      <action android:name="android.support.customtabs.action.CustomTabsService" />
    </intent>
  </queries>
  <!-- 👆 new code -->
</manifest>
The Android version of your MAUI app is ready to run!
Mac and iOS settings
The settings for macOS and iOS are the same. They just need to be applied in their specific folders.
For macOS, move to the Platforms/MacCatalyst folder, open the Info.plist file, and add the key shown below:
<!-- Platforms/MacCatalyst/Info.plist -->

<?xml version="1.0" encoding="UTF-8"?>
<!DOCTYPE plist PUBLIC "-//Apple//DTD PLIST 1.0//EN" "http://www.apple.com/DTDs/PropertyList-1.0.dtd">
<plist version="1.0">
<dict>

  <!-- ...existing keys... -->

  <!-- 👇 new code -->
  <key>CFBundleURLTypes</key>
  <array>
    <dict>
      <key>CFBundleURLName</key>
      <string>MauiAuth0App</string>
      <key>CFBundleURLSchemes</key>
      <array>
        <string>myapp</string>
      </array>
      <key>CFBundleTypeRole</key>
        <string>Editor</string>
    </dict>
  </array>
  <!-- 👆 new code -->
</dict>
</plist>
Add the same key to the Info.plist file in the Platforms/iOS folder.
Windows settings
To configure the Windows target of your MAUI app, you should move to the Platforms/Windows folder and modify the Package.appxmanifest file by applying the following changes:
<?xml version="1.0" encoding="utf-8"?>
<Package>

  <!-- ...existing markup... -->

  <Applications>
    <Application Id="App"
                 Executable="$targetnametoken$.exe"
                 EntryPoint="$targetentrypoint$">
      <uap:VisualElements
        DisplayName="$placeholder$"
        Description="$placeholder$"
        Square150x150Logo="$placeholder$.png"
        Square44x44Logo="$placeholder$.png"
        BackgroundColor="transparent">
        <uap:DefaultTile Square71x71Logo="$placeholder$.png"
                         Wide310x150Logo="$placeholder$.png"
                         Square310x310Logo="$placeholder$.png" />
        <uap:SplashScreen Image="$placeholder$.png" />
      </uap:VisualElements>
      <!-- 👇 new code -->
      <Extensions>
          <uap:Extension Category="windows.protocol">
          <uap:Protocol Name="myapp">
              <uap:DisplayName>MauiAuth0App</uap:DisplayName>
          </uap:Protocol>
          </uap:Extension>
      </Extensions>
      <!-- 👆 new code -->
    </Application>
  </Applications>

  <!-- ...existing markup... -->

</Package>
In the same Platforms/Windows folder, open the App.xaml.cs file and add the statement highlighted in the following code snippet:
using Microsoft.UI.Xaml;

namespace MauiAuth0App.WinUI;

public partial class App : MauiWinUIApplication
{
    public App()
    {
    // 👇 new code
        if (Auth0.OidcClient.Platforms.Windows.Activator.Default.CheckRedirectionActivation())
      return;
    // 👆 new code

        this.InitializeComponent();
    }

    protected override MauiApp CreateMauiApp() => MauiProgram.CreateMauiApp();
}
Run Your MAUI App
Now you can run your .NET MAUI app using Auth0 for authentication. Based on your development environment, you can run your targeted platform app using a physical device or a simulator. The user experience will be similar.
For example, after launching the app on a Mac with one of the methods discussed earlier, you will get the following screen:

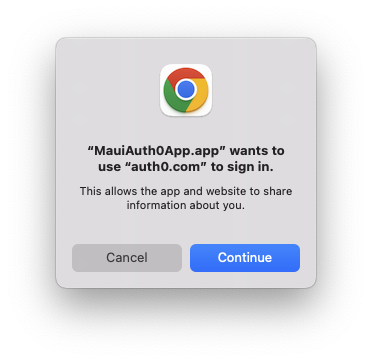
Clicking the login button, a warning dialog may appear informing you that you are heading to Auth0 to authenticate:
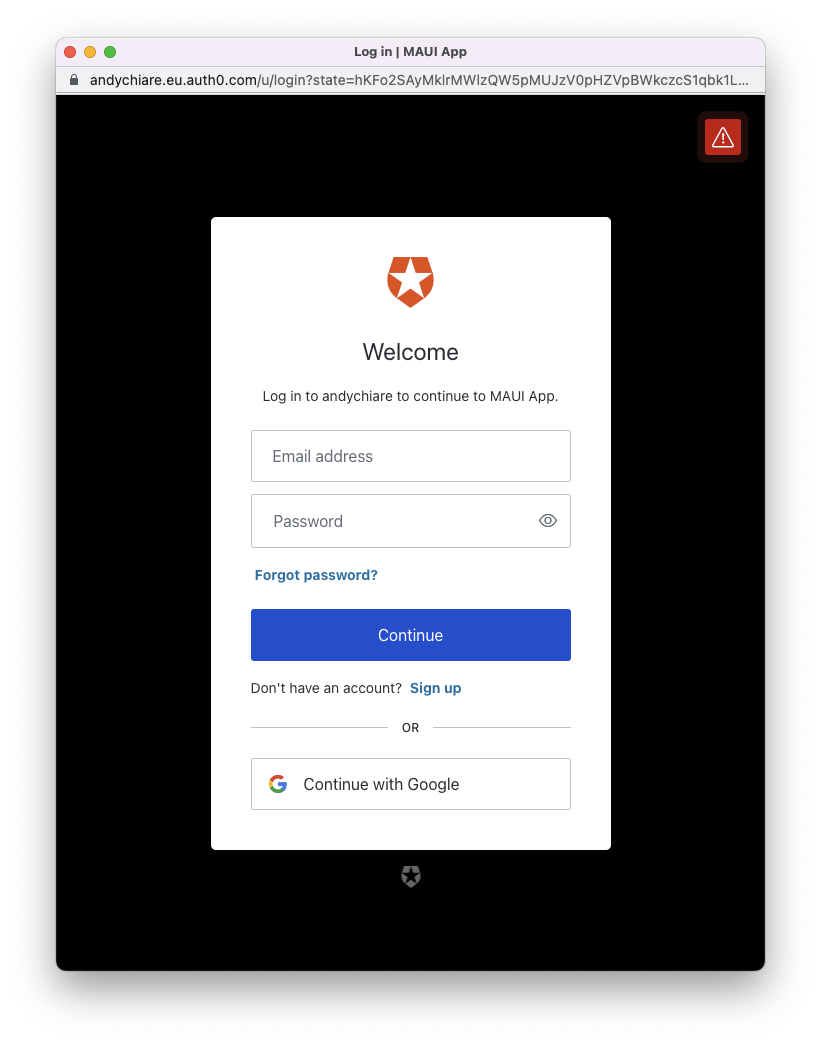
Click the Continue button and a browser instance opens, showing the Auth0 Universal Login page. You can use this page to authenticate if you already have a user on your Auth0 tenant or to sign up for the application:
After the authentication, you will access the home screen you got before adding authentication support:
Now your MAUI app allows access only to authenticated users.
Leverage Auth0's authentication and authorization services in your .NET applications.
DOWNLOAD THE FREE EBOOK
Show the User Profile
A feature you may want for your MAUI application is the ability to show the user's profile data, such as their name and picture. Your application already has this data since the Auth0 client has been configured with the appropriate OpenID Connect scopes, i.e., the requests to obtain specific data about the user. To access and show this data, you need to make some changes to the main page of the application.
Open the MainPage.xaml file and add the markup highlighted below:
<!-- MainPage.xaml -->
<?xml version="1.0" encoding="utf-8" ?>
<ContentPage xmlns="http://schemas.microsoft.com/dotnet/2021/maui"
             xmlns:x="http://schemas.microsoft.com/winfx/2009/xaml"
             x:Class="MauiAuth0App.MainPage">

    <ScrollView>
        <VerticalStackLayout
            Padding="30,0"
            Spacing="25">

          <StackLayout x:Name="LoginView">

            <!-- ...existing markup... -->

          </StackLayout>

          <StackLayout x:Name="HomeView"
                       IsVisible="false">

            <!-- ...existing markup... -->

            <!-- 👇 new code -->
            <Image
                x:Name="UserPictureImg"
                SemanticProperties.Description="User's picture"
                HeightRequest="200"
                HorizontalOptions="Center" />

            <Label
                x:Name="UsernameLbl"
                Text=""
                SemanticProperties.HeadingLevel="Level2"
                SemanticProperties.Description="User's name"
                FontSize="18"
                HorizontalOptions="Center" />
            <!-- 👆 new code -->

          </StackLayout>
        </VerticalStackLayout>
    </ScrollView>
</ContentPage>
You add two new elements to the <StackLayout> element named HomeView:
- An image element named
UserPictureImg, which will point to the user's picture. - A label element named
UsernameLbl, which will show the user's name.
To assign the current user's data to these elements, open the MainPage.xaml.cs file and apply the following changes:
// MainPage.xaml.cs

using Auth0.OidcClient;

namespace MauiAuth0App;

public partial class MainPage : ContentPage
{
  // ...existing code...

  private async void OnLoginClicked(object sender, EventArgs e)
  {
    var loginResult = await auth0Client.LoginAsync();

    if (!loginResult.IsError)
    {
      // 👇 new code
      UsernameLbl.Text = loginResult.User.Identity.Name;
      UserPictureImg.Source = loginResult.User
        .Claims.FirstOrDefault(c => c.Type == "picture")?.Value;
      // 👆 new code

      LoginView.IsVisible = false;
      HomeView.IsVisible = true;
    }
    else
    {
      await DisplayAlert("Error", loginResult.ErrorDescription, "OK");
    }
  }
}
The added code leverages the outcome of the authentication process stored in the loginResult variable. Specifically, it accesses the User property, which allows you to get the user profile data. You can see that the user's name is taken directly from the User.Identity.Name property while the picture is extracted from the User.Claims collection. This collection contains all the claims about the current user returned by Auth0.
That's all! Once you run your app and authenticate, you will get a screen similar to the following:
Add Logout
The application built so far allows a user to log in but not to log out. Let's implement this feature.
Head to the MainPage.xaml file and add the logout button as shown in the following:
<!-- MainPage.xaml -->
<?xml version="1.0" encoding="utf-8" ?>
<ContentPage xmlns="http://schemas.microsoft.com/dotnet/2021/maui"
             xmlns:x="http://schemas.microsoft.com/winfx/2009/xaml"
             x:Class="MauiAuth0App.MainPage">

    <ScrollView>

            <!-- ...existing markup... -->

          <StackLayout x:Name="HomeView"
                       IsVisible="false">

            <!-- ...existing markup... -->

            <!-- 👇 new code -->
            <Button
                x:Name="LogoutBtn"
                Text="Log Out"
                SemanticProperties.Hint="Click to log out"
                Clicked="OnLogoutClicked"
                HorizontalOptions="Center" />
            <!-- 👆 new code -->

          </StackLayout>
        </VerticalStackLayout>
    </ScrollView>
</ContentPage>
This is a button element named LogoutBtn that invokes the OnLogoutClicked() method when clicked.
Let's implement the OnLogoutClicked() method in the MainPage.xaml.cs file:
// MainPage.xaml.cs

using Auth0.OidcClient;

namespace MauiAuth0App;

public partial class MainPage : ContentPage
{
  // ...existing code...

  // 👇 new code
  private async void OnLogoutClicked(object sender, EventArgs e)
  {
    var logoutResult = await auth0Client.LogoutAsync();

      HomeView.IsVisible = false;
       LoginView.IsVisible = true;
  }
  // 👆 new code
}
The OnLogoutClicked() method calls the LogoutAsync() method of the Auth0 client to log the user out. Then, the current view is hidden and the login view is shown.
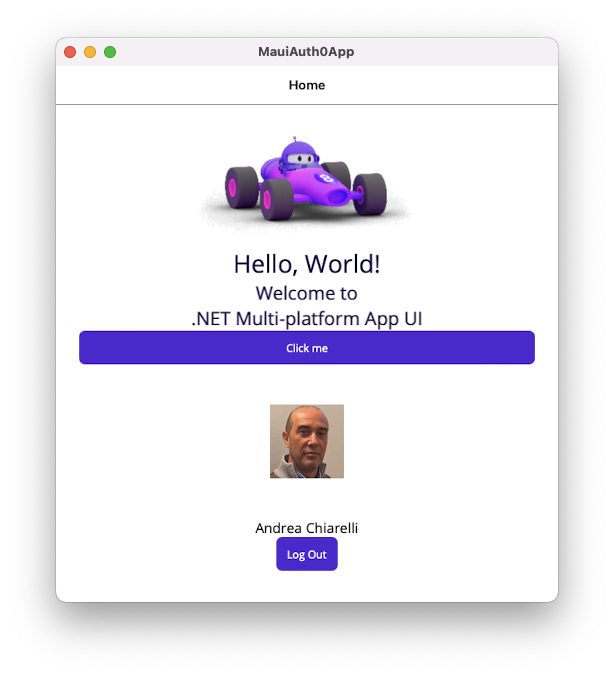
Now your application has a logout button:
Summary
At the end of this article, you have the basic knowledge to add Auth0 authentication to your .NET MAUI application.
You learned how to add the Auth0 .NET OIDC Client for MAUI SDK to a MAUI app for user authentication and how to modify the UI to allow access only to authenticated users. Then you saw how to add platform-specific settings to allow the external browser to call your app after user authentication, and finally, how to run your app for a given platform.
After this first step, you showed the user's name and picture on the application UI and implemented the logout functionality.
Throughout the article, you learned that the MAUI framework still has a few issues that need attention. Hopefully, they will be resolved in the near future so that some workarounds will not be required anymore.
You can download the full code of the project built in this article from this GitHub repository.
Take a look at this article to learn how your .NET MAUI application can call a protected API.


