

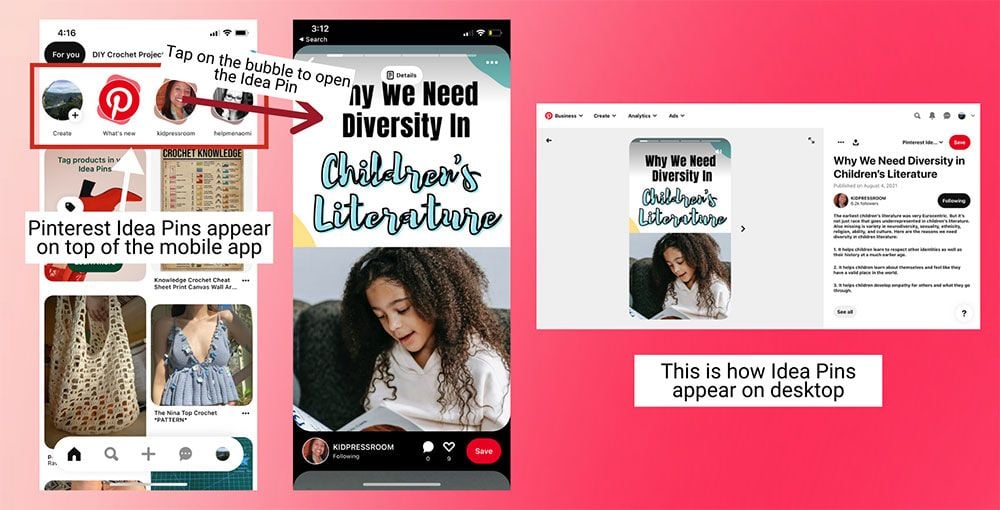
More than 400 million people look to Pinterest for purchasing inspiration every month. The social media site knows that its differentiator is that Pinners (i.e., Pinterest users) look to Pinterest to tell them what's new and interesting in the world. So the company capitalized on its popularity by introducing Pinterest Idea Pins, an upgraded, more on-brand version of its sunsetted Story Pins.
The goal of Idea Pins is to help creators and business owners on Pinterest reach their audience better with the power of video. Used correctly, Idea Pins can educate and inspire viewers (and nudge them toward making a purchase).
Use this complete guide to create your first Idea Pins and inspire your followers to “act, not just double-tap.”
What are Pinterest Idea Pins?
Imagine a digital photo album in which all the images and videos tell a single story, for example, “How to Throw a Stripes Party.” That’s what an Idea Pin is. The goal of each Idea Pin is to educate viewers and inspire action.
Idea Pins were introduced to replace the Story Pin, and they’re different from other “story-like” social media features because they don't disappear within 24 hours. In fact, Pinterest encourages comments and conversations on Idea Pins and saving Idea Pins to Pinterest Boards.
Types of Idea Pins
Idea Pins have only been out since May of 2021, but from observing some major accounts, we’ve identified some common types of Idea Pins.
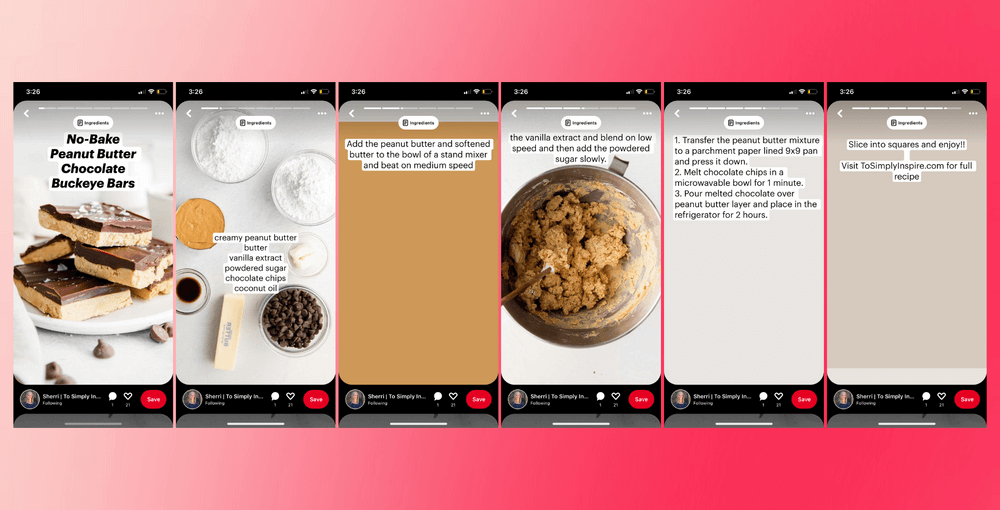
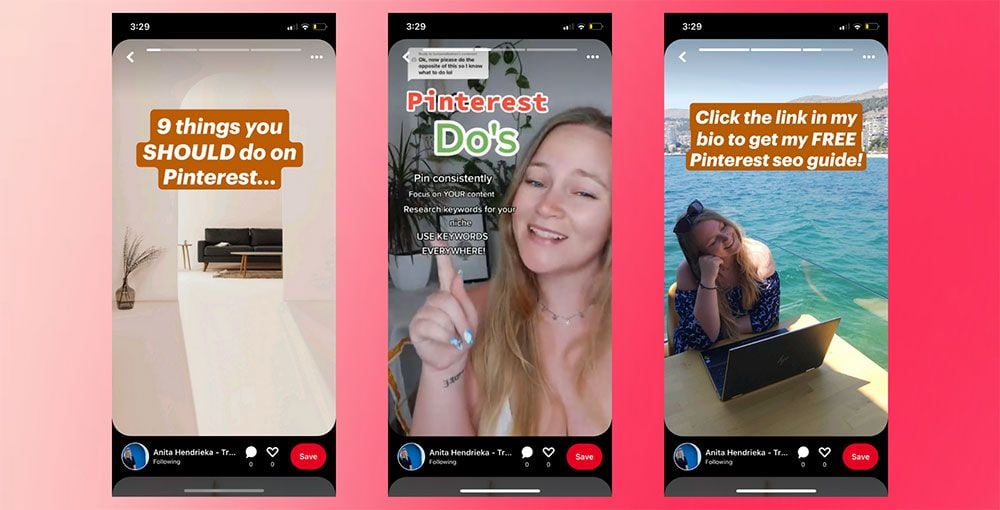
1. How-to Idea Pins
How-to Idea Pins are step-by-step guides that show Pinners how to do something. They are a fun piece of educational content that brings people to your account and increases your visibility as a brand.
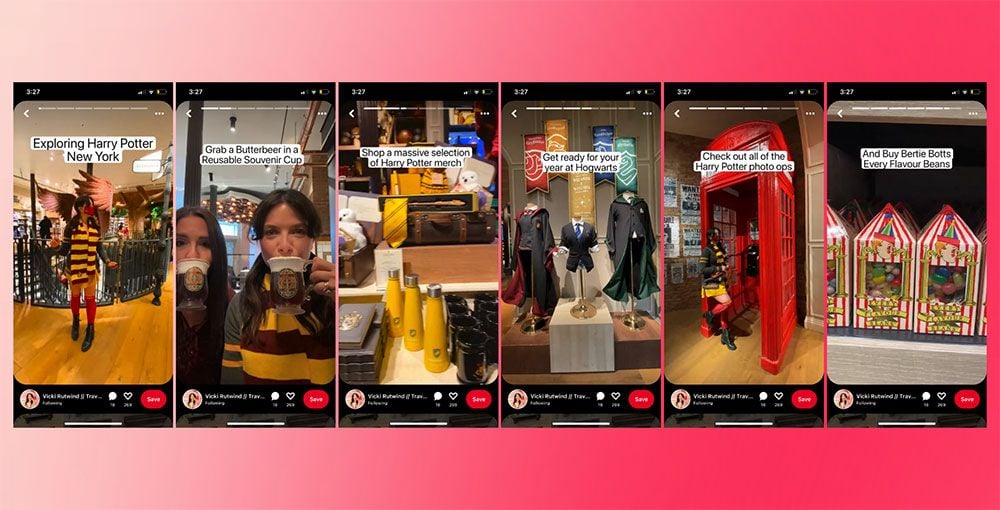
2. Travel Idea Pins
Travel Idea Pins are usually a compilation of travel photos that show different attractions that you can find in a country, city, or town. Small businesses and bloggers in the travel industry use these pins to tell stories and direct people to their own tours.
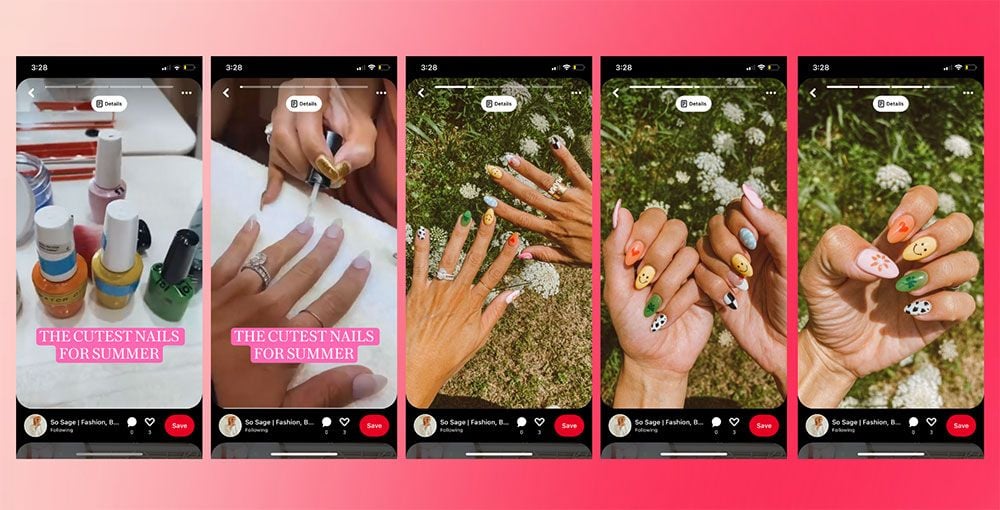
3. Fashion Idea Pins
Fashion Idea Pins feature outfits, nail art, shoes, bags, and shopping destinations for Pinners looking for some fashion inspiration. Shop owners use these pins to highlight some products.
4. Listicle Idea Pins
Listicle Idea Pins, as the name suggests, are lists of things that people should try doing or look out for. Everyone uses these—from marketers and bloggers to small business owners.
Now that you know what Idea Pins are and what they look like, let's get into creating Idea Pins.
How to create Pinterest Idea Pins (+ tips for small business owners)
Again, double-check that Idea Pins are available in your region—since Pinterest is rolling Idea Pins out by region, you might need to manually request access. Here are eight easy steps to get started.
Step 1: Create or convert to a Pinterest business account
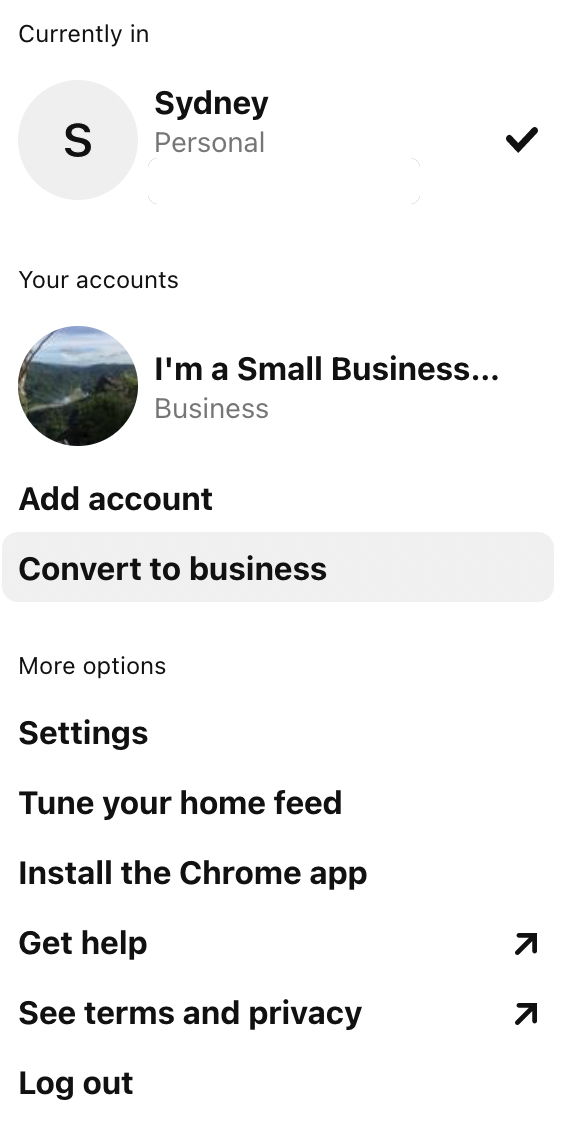
Make sure that you have a Pinterest business account by clicking on your profile photo on the top-right corner of your screen. Underneath your name, you should see either “Personal” or “Business” to indicate your account type.
If you currently have a Personal account, click on your profile picture, then click “Convert to business” under “Add account.”
Tip: Make sure your profile picture, name, and bio all point to what you're doing. Claim your website so that a link to your site appears in all your Pins and right under your name.
Step 2: Request access to Idea Pins (note: not everyone will need to do this)
If you have a business account but don't see any way to create an Idea Pin, you might have to request access. Simply click this link “https://www.pinterest.com/idea-pin-invite/” and hit “Start creating.” Then, in the next window, hit “Request access.”
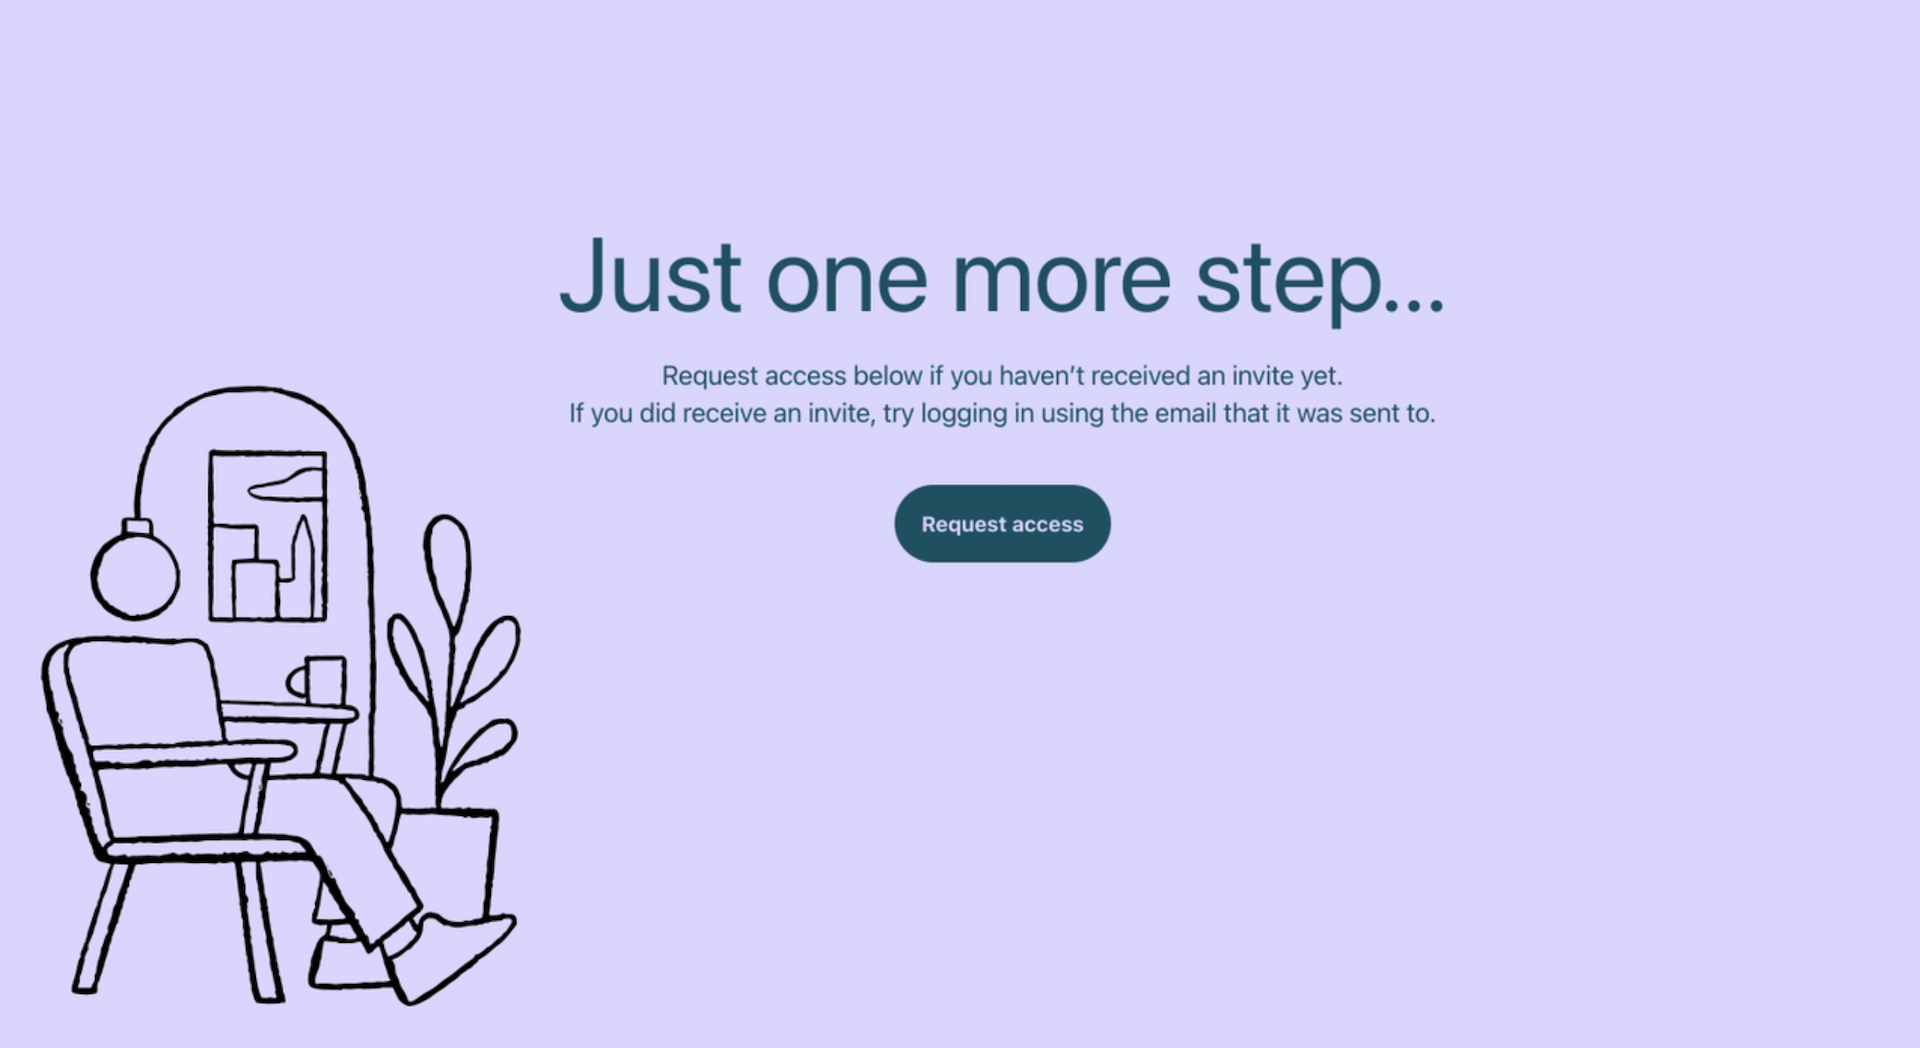
Request access to Pinterest Idea Pins.
Tip: Even if you aren't in a supported region, Pinterest is rolling out Idea Pins every day. You could be on the list soon, so we suggest looking out for it.
Step 3: Hover over “Create,” click “Create Idea Pin,” then click “Create New”
Now that your account is all set up, you can start creating your Idea Pin. On your taskbar (always located at the top of your screen), you'll see four tabs: Business, Create, Analytics, and Ads.
Hover over “Create,” then click “Create Idea Pin.” Again, if you don’t see “Create Idea Pin,” that means you either need to manually request access or are in an unsupported region (we suggest trying to manually request access anyway).
Clicking “Create Idea Pin” should bring you to your drafts folder, where you need to click “Create new.”
Tip: Whether you’re on your mobile device or desktop, have your photos and videos lined up before you hit the upload button.
Step 4: Upload up to 20 photos and videos
Now that your upload portal is open, click the little upward arrow at the center of your screen. That should open a window, prompting you to select up to 20 videos and images that you want your Idea Pin to contain.
Take note, Pinterest Idea Pins have an aspect ratio of 9:16 or an ideal height of 1920 px and an ideal width of 1080 px.
Tip: Upload a mix of both photos and videos as Pinterest’s algorithm favors video content. Also, make sure that all your photos and videos tell one story or have one goal. Your last photo can be a call to action (CTA) that subtly points viewers to your online shop.
Step 5: Edit your Idea Pin by adjusting your image, adding text, or changing the Idea Pin’s background color
After you’ve uploaded your photos, edit them. If your first photo doesn't have a title, add some text to indicate what your Idea Pin is about. You can also add text to your other images, rotate your photos, and fix your cropping.
Tip: Your end goal with Idea Pins is to inspire action. Make sure your photos and videos are clear about what you want your viewers to do.
Step 6: Add a title, choose a Pinterest Board, and select some tags
Now you can add your finishing touches. Give your Idea Pin a title so that people know what they're getting into. Make sure that your title inspires curiosity in your target market and aligns with the text on your cover photo. In the example below, we used “How to Create an Idea Pin” because our target market is small business owners who are just starting out on Pinterest.
Next, choose a board where you want your Idea Pin to live. If you've created an Idea Pin about crocheting bucket hats, then maybe put it in a board named “DIY Crochet Crafts” or “Easy Crochet Projects.”
Last, select some tags. Tags are Pinterest’s way of figuring out what your content actually is. It’s like telling the algorithm, “This Idea Pin is about [tag]. Please show it to people who are interested in [tag].”
Tip: Your title and selected tags all contribute to how searchable your Pin is on Pinterest, Google, and other search engines. Make sure they're clear and appropriate for maximum reach.
Step 7: Add a list to your Idea Pin (optional but recommended)
Adding a list is your last step before you hit publish—it’s optional, but we highly recommend doing it because it increases the accessibility of your Pin and also gives Pinterest even more context on what your Idea Pin is about.
You can create three kinds of lists: “Ingredients” for Idea Pins about cooking, “Supplies” for Idea Pins about crafts, and “Notes” for Idea Pins that don't fall under the first two categories. There are custom fields for “Ingredients” and “Supplies,” for example, you can indicate both “Cook time” and “Serving size” for your “Ingredients” list. Similarly, you can indicate “Level of difficulty” under supplies because Pinterest assumes you've created a how-to guide for DIY crafts.
Tip: This is another area that contributes to the searchability of your Pin. Describe your Pin using keywords that point to what your Pin is about. Also, add a CTA to your caption when you can. After your viewers see your Idea Pin, send them to your website or blog.
Step 8: Hit publish!
Now you’re done! All you need to do is hit the “Publish” button on the lower-right corner of your screen and wait for your upload to finish.

Tip: Before you hit publish, make sure there are no errors in your post. After you've uploaded your Idea Pin, you can't edit it anymore, though you can move it to a different board or add a note to yourself about the Idea Pin.
Take advantage of automated Pinterest marketing with Buffer’s scheduling tool
Pinterest has an 8.5% conversion rate for smaller-priced shopping carts, and its global shopping features make it even easier for small businesses to sell directly on the platform. The social media site has definitely entered the e-commerce world by emulating the offline shopping experience—when Pinners get on Pinterest, they never know what new goodie they’re going to find. And as a small business, you're missing out if you're not on the platform.
Make the most out of Pinterest Idea Pins with marketing automation through Buffer’s free Pin scheduling tool. We can help you visualize your boards better, reach a wider audience through analytics and performance prediction, and stay consistent.
If you want to learn more about Pinterest’s other features, here’s our guide for businesses that we compiled with information from our friends at Pinterest. We’ve also documented how we’ve used the platform and what’s been working best for us.


