Security Testing: Hurdles In Learning And Barriers To Entry
When you learn about software testing, one place where you might get your information is the ISTQB foundation curriculum, where you can read about different types of testing. Here are just a few:
- Unit testing
- Integration testing
- System testing
- Functional testing
- Acceptance testing
- Smoke testing
- Regression testing
- Performance testing
- Security testing
- User acceptance testing
Now if you review all of the items in this list, I am sure you would find some to be more familiar, more appealing, even easier than others. There might even be some items in the list that you never encountered before. There was a time in my career when it seemed that no one cared about performance and security testing because they were either done at the end of projects or were never done. As time passed I came to the conclusion that both performance and security were not done that often because they require a special set of tools and skills that are not that easy to obtain or master. For security testing, the first images that come into your mind when thinking about the topic may be of Linux terminals and hackers. That was my experience. I always found the topic of security testing intimidating, especially since I usually run Windows, not Linux. I always thought that it was complicated to set up the tools necessary to do security testing and that the licenses for those tools were expensive.
But is that really the case? Is there no user-friendly and free alternative?
Just Starting Out? OWASP And ZAP To The Rescue
What Are OWASP And ZAP?
In my search for beginner-friendly freeware for security testing, I came across the Open Worldwide Application Security Project (OWASP), a nonprofit foundation that works to improve the security of software.
OWASP displays this manifesto on their website:
- Our Vision
- No more insecure software.
- Our Mission
- To be the global open community that powers secure software through education, tools, and collaboration
With that vision and mission,, OWASP is the place to be if you are looking for open source educational material and tools for security testing. The first time I ever heard about OWASP was when I encountered the OWASP Top 10, a list of the top security risks to web applications in a given year. I wanted to know more, so I researched the OWASP tools and stumbled upon ZAP ( Zed Attack Proxy). The fact that it was easy to install, easy to run, and that it worked on Windows leads me to conclude that ZAP is a standout in making security testing more user friendly.
What Makes ZAP Different
To see why I say ZAP is the leading tool in user-friendly security testing, let us first install it. (At the time of writing this article, the latest version is 2.13.0.)
The installation is straightforward:
- Open the Download page.

- Download the installer suitable for your operating system.
- Let the wizard install your software (Windows screenshot below).
- Start ZAP after the installation is complete.
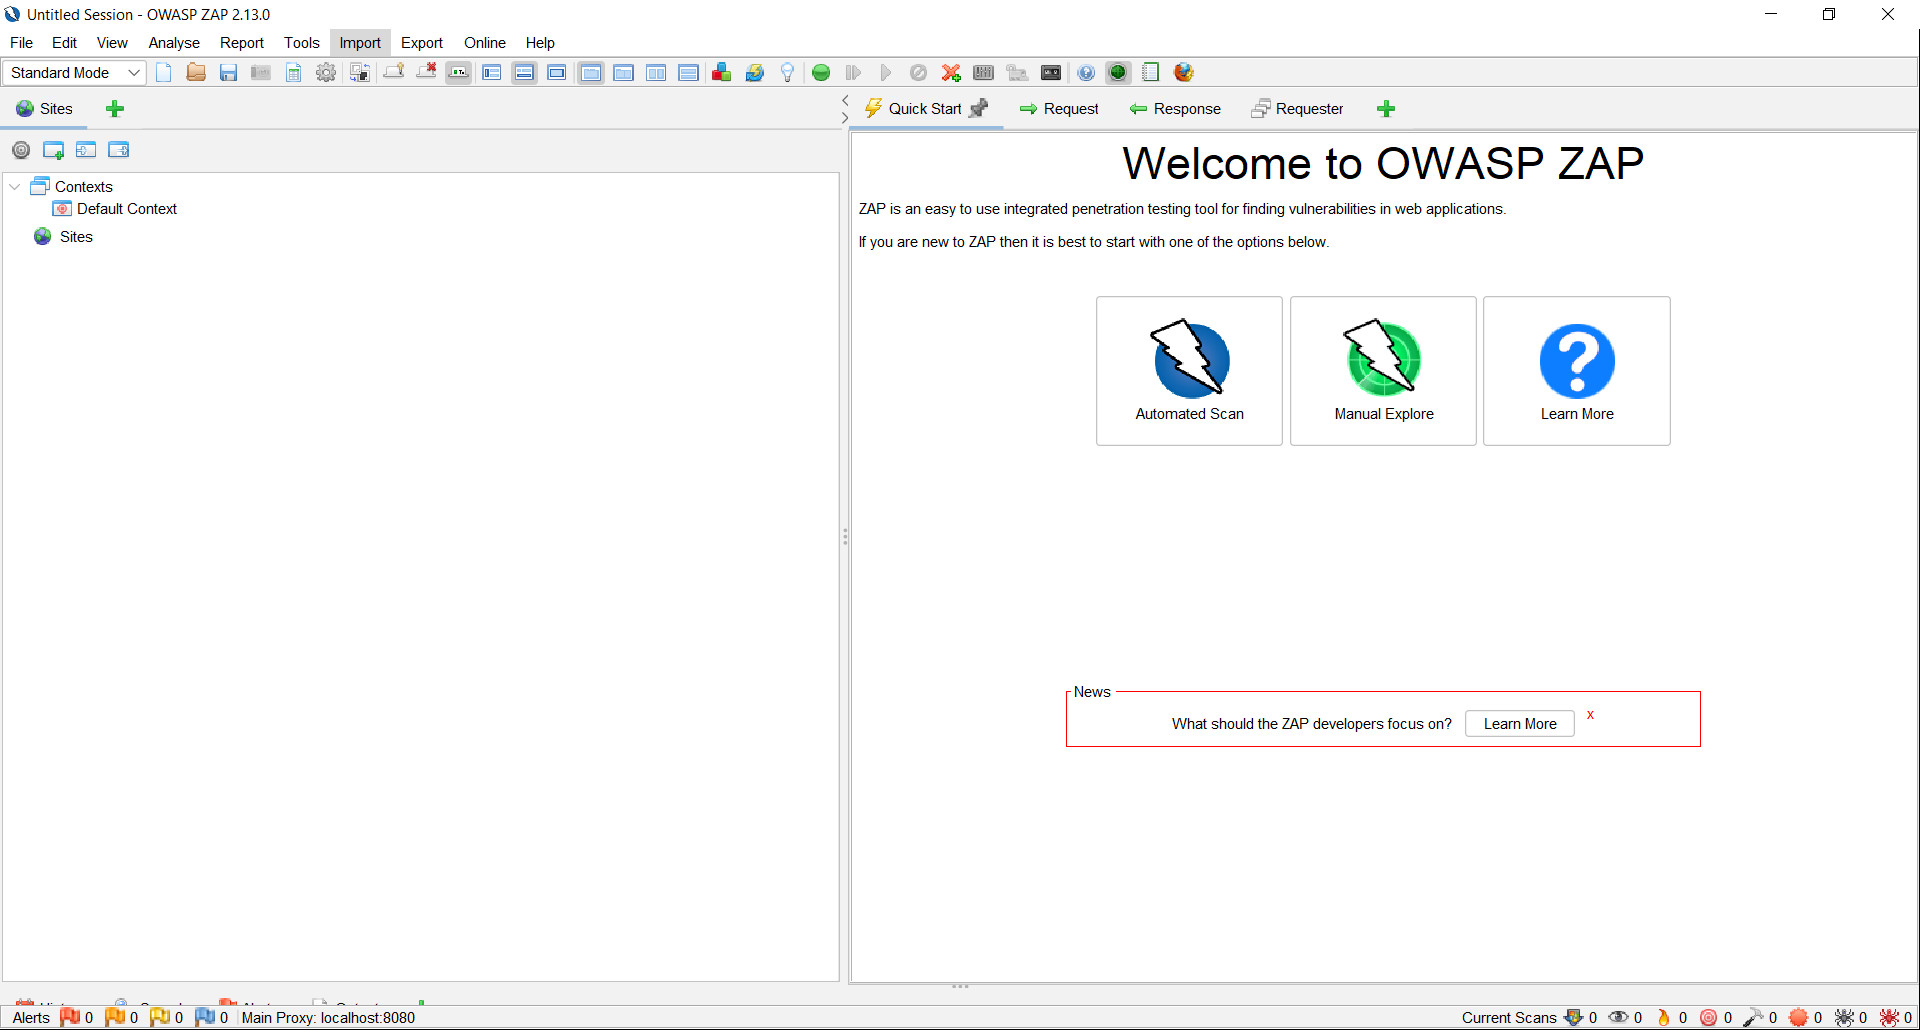
Now that you have opened ZAP, your first impulse might be to run an automatic scan, tell ZAP the URL of the website whose security you want to challenge, and then to wait.
IMPORTANT: you should launch security challenges only against websites for which you have permission to perform a challenge.
Let’s say you got permission to launch a security challenge against a website, then opened ZAP and performed the default challenge. You’ll get some results, certainly. But where is the learning, where is the control, where is the sapient design that characterizes your other testing?
There’s a solution to these problems, and it’s called the ZAP Heads Up Display (which I refer to as “ZAP HUD” below). You can think of the HUD as ZAP in your browser and under your control. You tell it when and how to challenge a website.
Working With The ZAP Heads Up Display (The ZAP HUD)
A Quick Start With the ZAP HUD
To access the ZAP HUD we need to perform a series of simple steps:
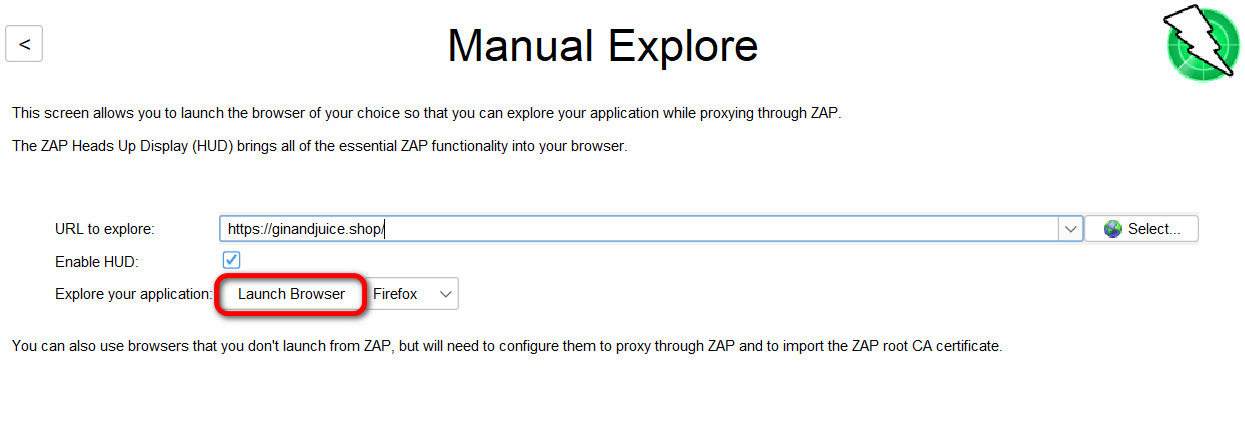
- First we select Manual Explore from the OWASP ZAP home page.

- Enter the URL against which you want to launch a security challenge. Here’s a website against which you can try your own challenge: https://ginandjuice.shop/
- Select Enable HUD.
- Select Launch Browser.

If we have performed all the actions correctly, we should see the image below.

Exploring What The ZAP HUD Can Do
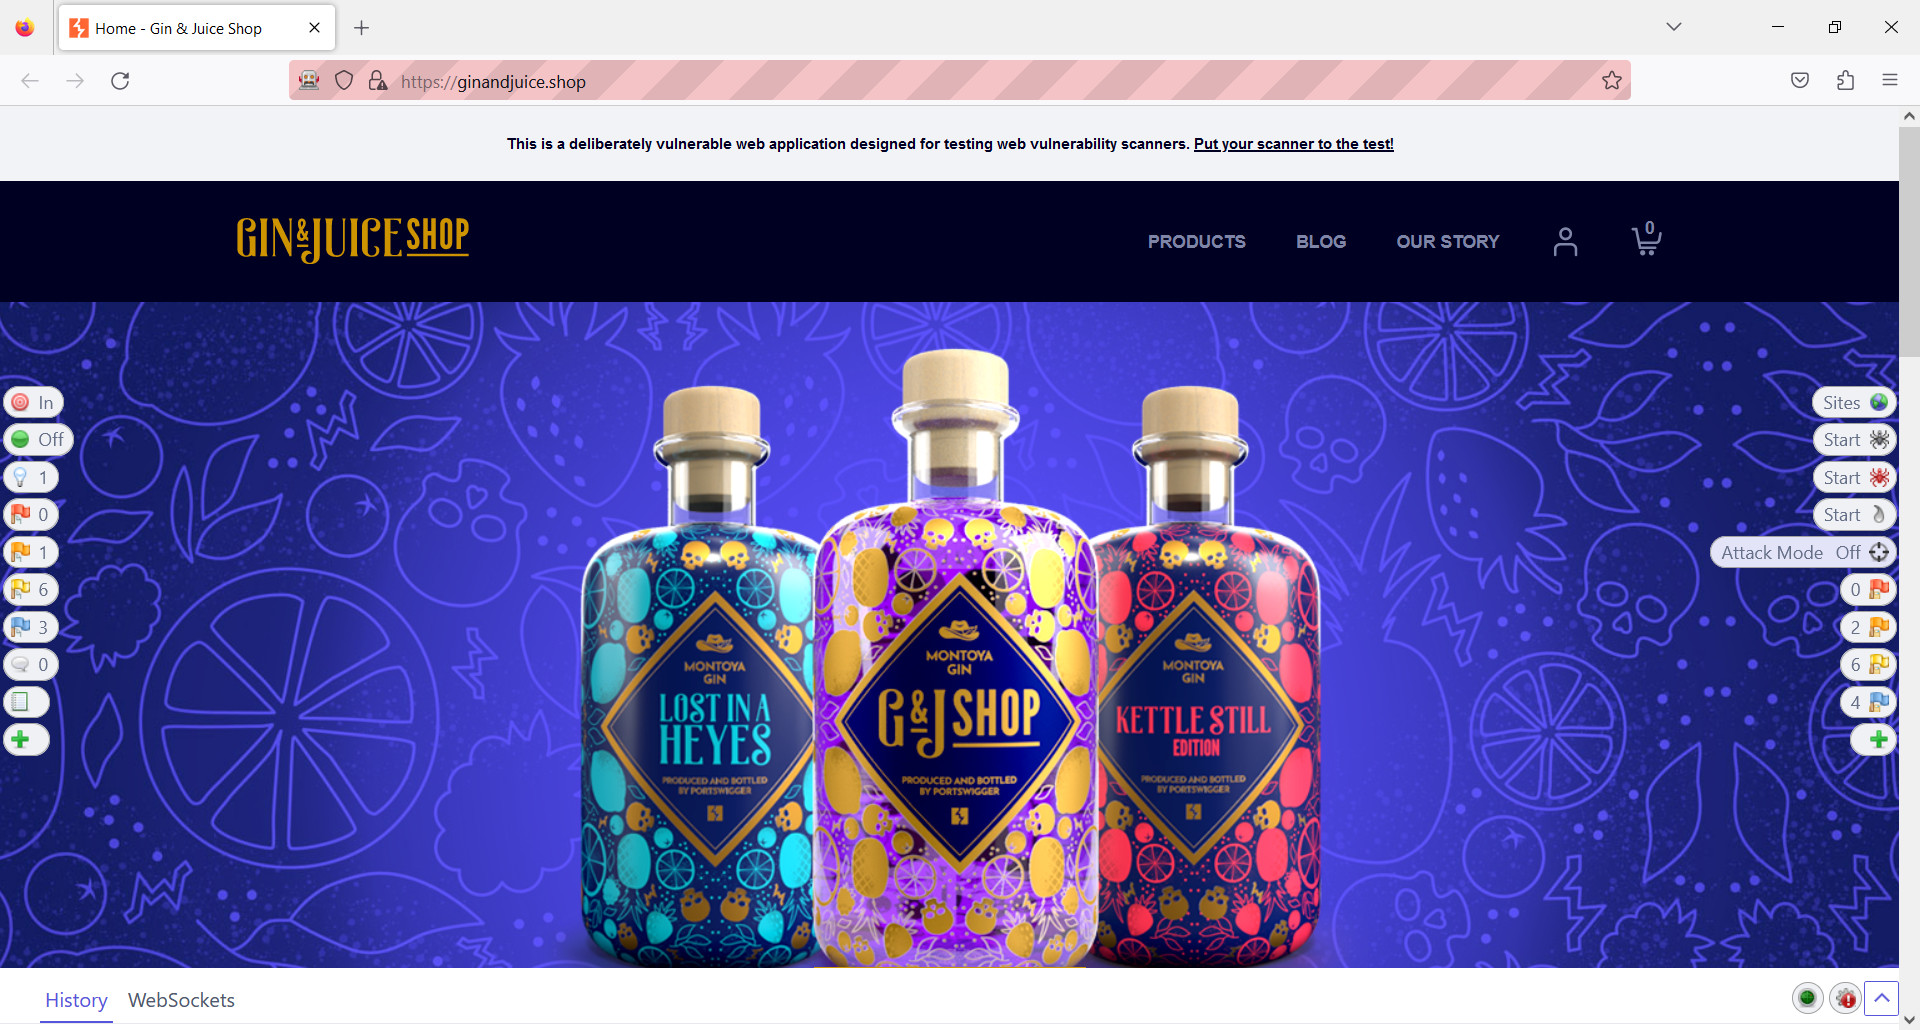
To explore the ZAP HUD, select Continue to your target, which is the right-hand button in the middle of the page. After the page has finished loading, you should see three sections on the page.
To show you how much control you have in each section and what each section represents, let us analyze them in more detail.
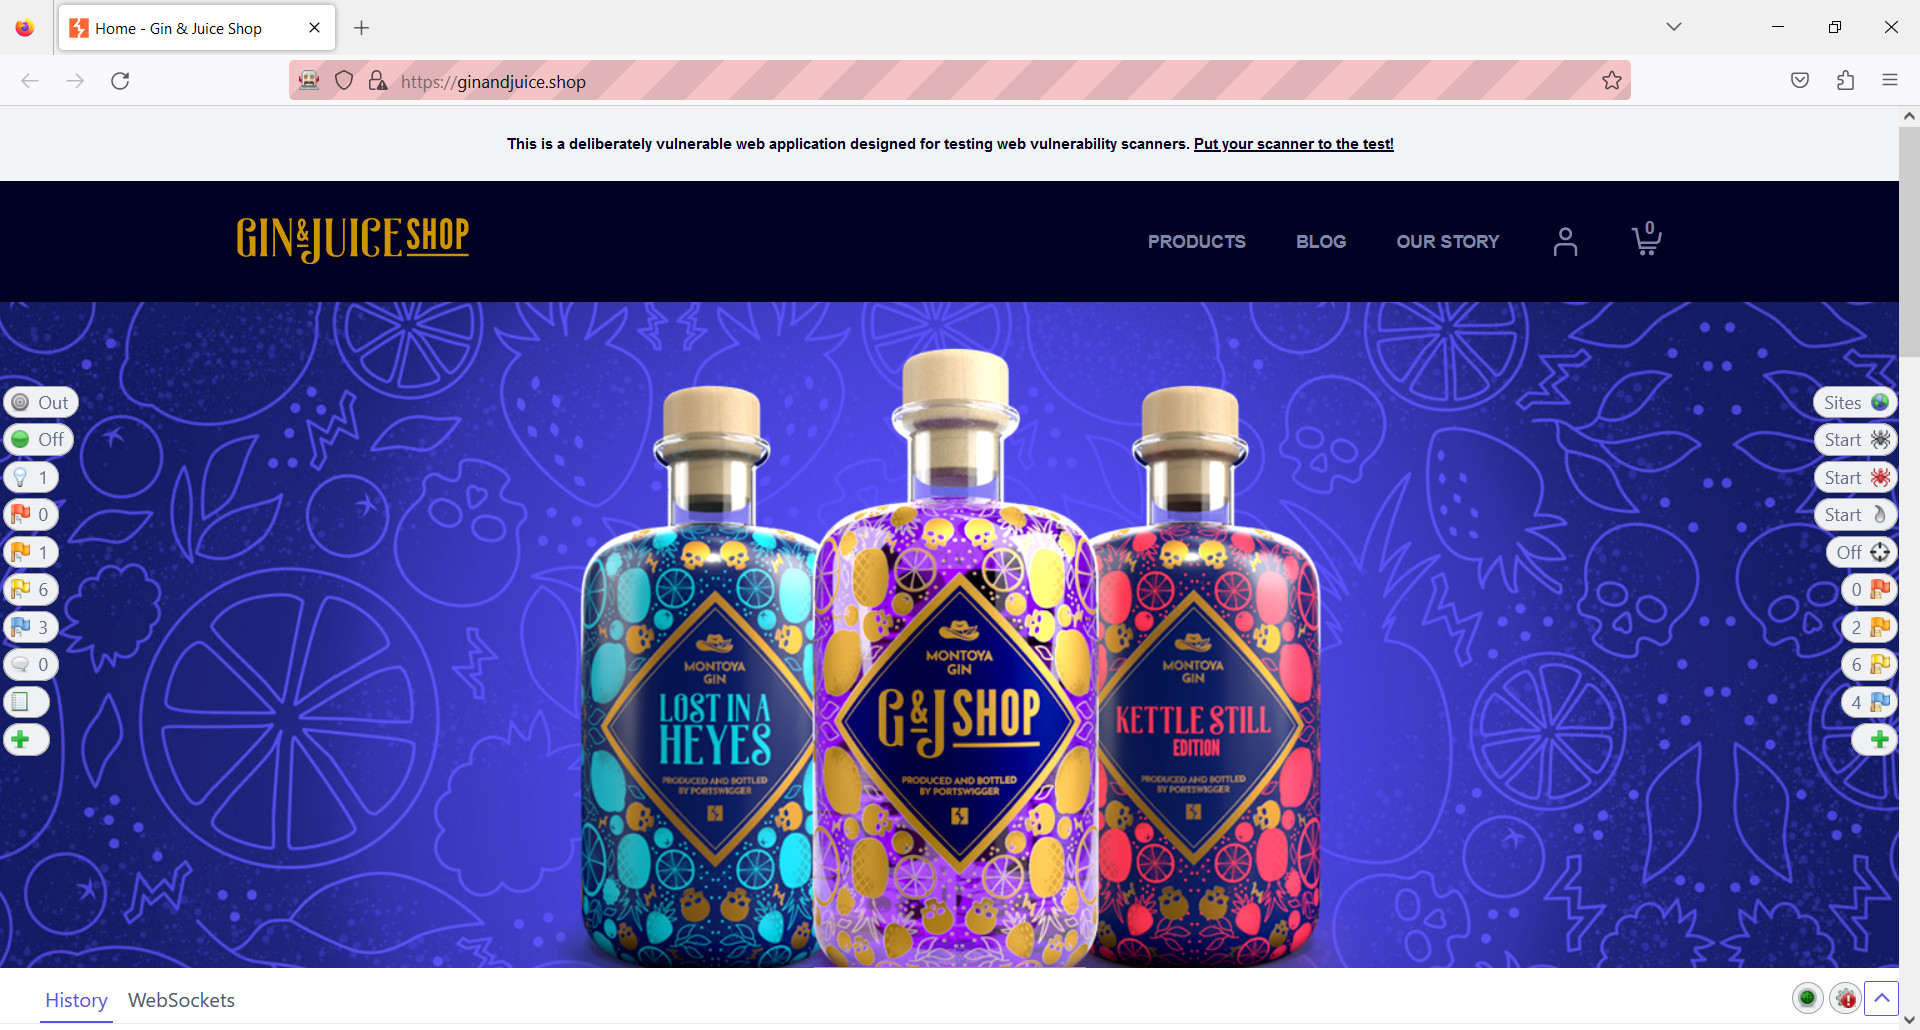
The Left-Hand Section

- At the top you will see In and Out buttons to include pages in Scope. When you first start the ZAP HUD, nothing is in scope. That means that you will not be able to use tools like active scanners or spiders, since those work only on pages that are in scope. To add a page to the scope, simply select the In button.

- The next set of buttons in the Break section allow you to capture and stop traffic. When Break is on, it indicates that all requests are intercepted by ZAP, and you can review and step through them.

- The Show/Enable button gives you access to hidden fields. The number next to the bulb will increase based on the amount of hidden fields found.

- The next items in the section represent security alerts. They range from High (Red) to Informal (Blue) level. The numbers next to the flags will also change based on the number of alerts found.

- The last item allows you to add additional functionality, as we will see later when we will actively use the ZAP HUD’s reporting feature.

The Right-Hand Section

- The Sites button is an extension of the history tab. The Sites list will be updated based on the pages that we visit and on what we select to be in scope.

- The next set of buttons represents the Spider and the Ajax Spider. These will scan pages that are in scope. Note that only the Ajax Spider can scan pages that contain dynamic JavaScript. As the scan progresses you will see the “percentage complete” of the scan appear next to the icon as well as its current status.
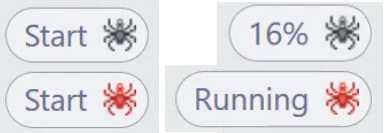
- The Active Scanner is, you might say, the heart of ZAP. It will launch security challenges against pages to which you have manually navigated or pages that the spider has discovered.

- A more aggressive approach is the Attack mode. With this button, ZAP will automatically attack in-scope pages on the fly.

- The next items in the section represent security alerts. They range from High (Red) to Informal (Blue) level. The numbers next to the flags change based on the number of alerts found.

- Finally we have an Additional Features button:
- HTML Report - summarizes all security alerts found in an HTML report
- HUD Errors - shows errors in the ZAP HUD rather than errors in the application under test
- Comments - displays code comments that are supposed to be hidden
- Toggle Script - lets you run a script that you have created or imported

The Bottom Section
The bottom section displays the history and WebSockets details of what you are doing.

Diving Deeper With The ZAP HUD
Now that we have seen how to start the ZAP HUD and how to use it, let us put it to a more intense test. You’ll see that it is easy to use and provides results in a user-friendly manner.
Scanning And Reporting
For our first example we will see that even a simple scan will give us valuable information that we can then further investigate or even report on.
The images below illustrate the following steps:
- Start the ZAP HUD.
- Include a page in the scope.


- Start the Attack mode.
- Let it run a bit.
- Generate an HTML report.

- Explore the report and its structure.

Exploratory Testing With The ZAP HUD
Given enough time, the active scanner will find a lot of information that would take a human tester days to review and check with manual testing alone. However, there are scenarios related to security testing which require thinking outside the box and exploring on your own. Here’s an example.
Our scenario will include the following steps:
- Start the ZAP HUD.
- Put a page in scope.
- Navigate the application’s pages.

- See what secrets the application shows (for example, code comments that are supposed to be hidden).

- Generate an HTML report.
- Explore the report and its structure.

Conclusion
In the hopes that this article has made the world of security testing more appealing to you, I leave you with an assignment. Install ZAP and try the HUD yourself on a website you have permission to test, and then let us chat in the Ministry of Testing discussion board about your experience.
If you cannot find any websites that will give you permission to launch security challenges, I recommend having a look at this video that I created a while ago. It contains a link to the only Web Security Site Practice List you will ever need.
If for any reason you still find security testing to be difficult and scary, have a look first at the Ministry of Testing resources in the next section. Then revisit the first paragraph in this conclusion. Hope to chat with you about your experience on the Ministry of Testing forums!
For More Information
- 30 Days of Security Testing, by Daniel Billing, Melissa Eaden, and Claire Reckless
- But I'm Not A Security Tester! Security Testing On The Web For The Rest Of Us, by Kate Paulk
- Ask Me Anything: Security Testing, with Dan Billing