
Here is how to install Microsoft Exchange Server 2016 on Windows Server 2016 with the help of PowerShell.
Exchange Server 2016 Cumulative Update 7 was released two months ago and you can download it here. Before you begin, review your system requirements:
Processor
- X64 architecture-based Intel processor
- AMD64 platform supported AMD processor
Memory
- Mailbox Server 8 GB minimum
- Edge Transport Server 4 GB minimum
Disk Space
- More than 30 GB
File Format
- NTFS drive on which you are installing Exchange Server 2016
Operating Systems
- Windows Server 2016 Standard or Datacenter
- Windows Server 2012 R2 Standard or Datacenter
- Windows Server 2012 Standard or Datacenter
Domain Controllers
DCs must be running one of the following servers operating system:
- Windows Server 2016 Standard or Datacenter
- Windows Server 2012 R2 Standard or Datacenter
- Windows Server 2012 Standard or Datacenter
- Windows Server 2008 R2 Standard or Enterprise
- Windows Server 2008 R2 Datacenter RTM or later
- Windows Server 2008 Standard, Enterprise, or Datacenter
Active Directory Forest Functional Level
- Windows Server 2008 or higher
Installing Prerequisites
Joining with Domain
One of the basic prerequisites is to join the Windows Server 2016 machine (you intend to configure Exchange Server 2016) with the domain.
Installing the Latest Updates
Once you have joined the machine with the domain, install the latest updates by following the procedure mentioned below.
Open Server Manager. On the left corner of Local Server Properties box, click ‘Download updates only Using Microsoft Update’

Click ‘Install Now’ and wait for the installation to complete. Once you are asked, reboot the system.

Installing the Required Roles
Open PowerShell with administrative privileges and execute the following command to install required roles.
Install-WindowsFeature RSAT-Clustering-CmdInterface, NET-Framework-45-Features, RPC-over-HTTP-proxy, RSAT-Clustering, RSAT-Clustering-CmdInterface, RSAT-Clustering-Mgmt, RSAT-Clustering-PowerShell, Web-Mgmt-Console, WAS-Process-Model, Web-Asp-Net45, Web-Basic-Auth, Web-Client-Auth, Web-Digest-Auth, Web-Dir-Browsing, Web-Dyn-Compression, Web-Http-Errors, Web-Http-Logging, Web-Http-Redirect, Web-Http-Tracing, Web-ISAPI-Ext, Web-ISAPI-Filter, Web-Lgcy-Mgmt-Console, Web-Metabase, Web-Mgmt-Console, Web-Mgmt-Service, Web-Net-Ext45, Web-Request-Monitor, Web-Server, Web-Stat-Compression, Web-Static-Content, Web-Windows-Auth, Web-WMI, Windows-Identity-Foundation, RSAT-ADDS
Installing Microsoft Unified Communications Managed API 4.0
Download and install Microsoft Unified Communications Managed API (UCMA) 4.0, Runtime.
Double-click the exe file (UcmaRuntimeSetup.exe) you just downloaded.
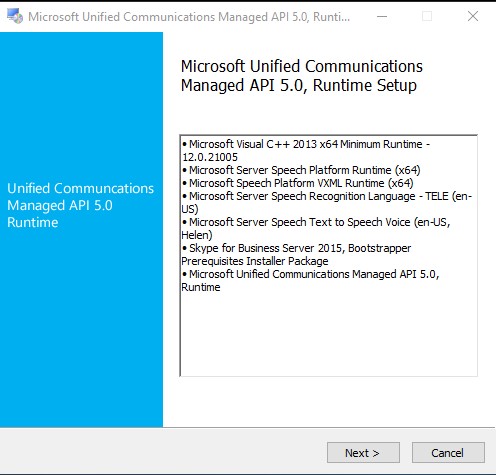
Click Next

Check “I have read and accept the license terms” checkbox and click Install. Wait for the installation to finish.
Extending Schema and Preparing Active Directory
Log in to the domain controller with admin credentials. Mount the Exchange Server 2016 installation media. Open PowerShell with administrative privileges and navigate to the drive where Exchange setup files are located.
Run the following commands,
setup.exe /PrepareSchema /IAcceptExchangeServerLicenseTerms
Setup.exe /PrepareAD /OrganizationName:
Setup.exe /PrepareAD /OrganizationName:
Installing Mailbox Server Role
Log in to Windows Server 2016 machine (you intend to configure Exchange Server 2016). Mount the Exchange Server 2016 installation media and navigate to the drive where setup files are located.
Open PowerShell with administrative privileges and run the following command.
Setup.exe /mode:Install /role:Mailbox /OrganizationName:
Wait for an installation to finish.

Reboot the system and open the following URL to validate your installation.
You should expect the output as shown in the following screenshot.


