- Azure
- Azure DevOps
- Xamarin
- Xamarin.Android
- App Center
In this tutorial I m going to show you how to build and sign your Xamarin.Android application and distribute it to your users through App Center. So let’s go to Azure DevOps to start!
Inside the Pipelines tab create a New pipeline and follow the 4 steps to get the source code from the correct repository. Azure DevOps will automatically create a new azure-pipelines.yml at the root of your project folder. This is where the job definition will be defined and then interpreted by Azure DevOps.
Create your variable group
This job will need multiple variables like folder path, environnement variables and passwords. So to manage all of it let’s create a variables group. If you are not familiar with this you can look at my previous tutorial about it.
For this tutorial, the variable group will be called android-pipeline.
Create the build
Let’s start by loading the variable group and restore the Nugets packages like this:
trigger:
- master

pool:
  vmImage: 'macos-latest'

variables:
  - group: android-pipeline

steps:

- task: NuGetToolInstaller@1

- task: NuGetCommand@2
  inputs:
    restoreSolution: '**/*.sln'
Now we can add the build task as below:
- task: XamarinAndroid@1
  inputs:
    projectFile: '**/*droid*.csproj'
    outputDirectory: '$(outputDirectory)'
    configuration: '$(buildConfiguration)'
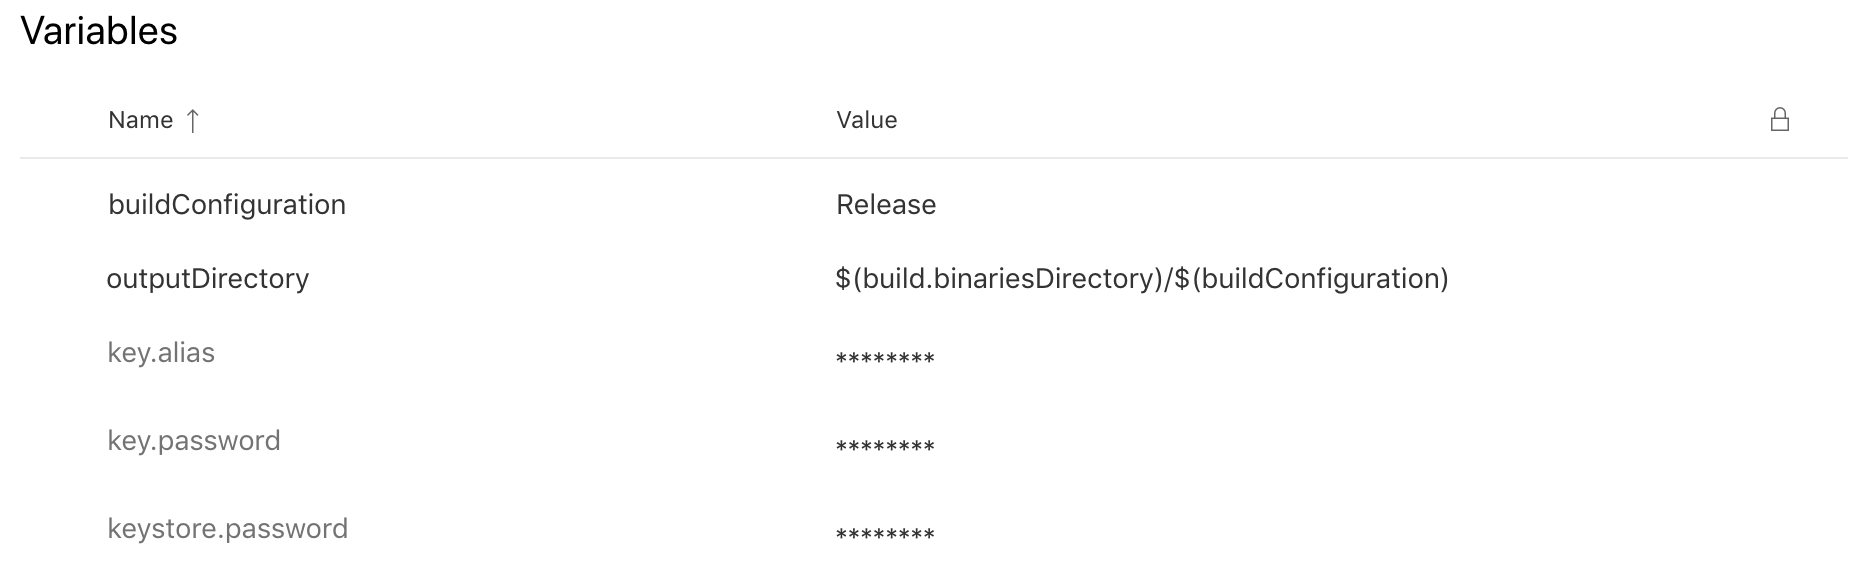
The outputDirectory and buildConfiguration variables are defined in the variable groups with these values:

Now if you run your job for the first time you will get an error message that ask you to give access to your variable groups:

Accept it by clicking on Authorize resources, restart the build and you are good to go.
Sign your application
Now we need to sign our application with a keystore. Create and upload it to the Pipelines > Library > Secure files tab, so it will be accessible inside the Signing job. In this tutorial the keystore will be named production.jks.
Then we need to provide the alias key and password and the keystore password. For security reasons let’s add these informations to our variables group. So now we have all of these variables:
With all variables and the keystore setup we are ready to configure our AndroidSigning@3 task to sign our Xamarin.Android application. So let’s add the following task:
- task: AndroidSigning@3
  inputs:
    apkFiles: '**/*.apk'
    apksign: true
    apksignerKeystoreFile: 'production.jks'
    apksignerKeystorePassword: $(keystore.password)
    apksignerKeystoreAlias: $(key.alias)
    apksignerKeyPassword: $(key.password)
    apksignerArguments: --out $(outputDirectory)/app.release.apk
    zipalign: true
The --out option from apksignerArguments allow us to specify a name to the output apk file just signed.
Deploy to App Center
Now we have our apk signed and ready to be sent to our users. My favorite tool for that is App Center, you can share your application with different groups of testers before publish it to a store and that’s really useful.
Let’s continue by setting up the connection between App Center to Azure DevOps. To do this, just follow my tutorial about it and then follow the next steps.
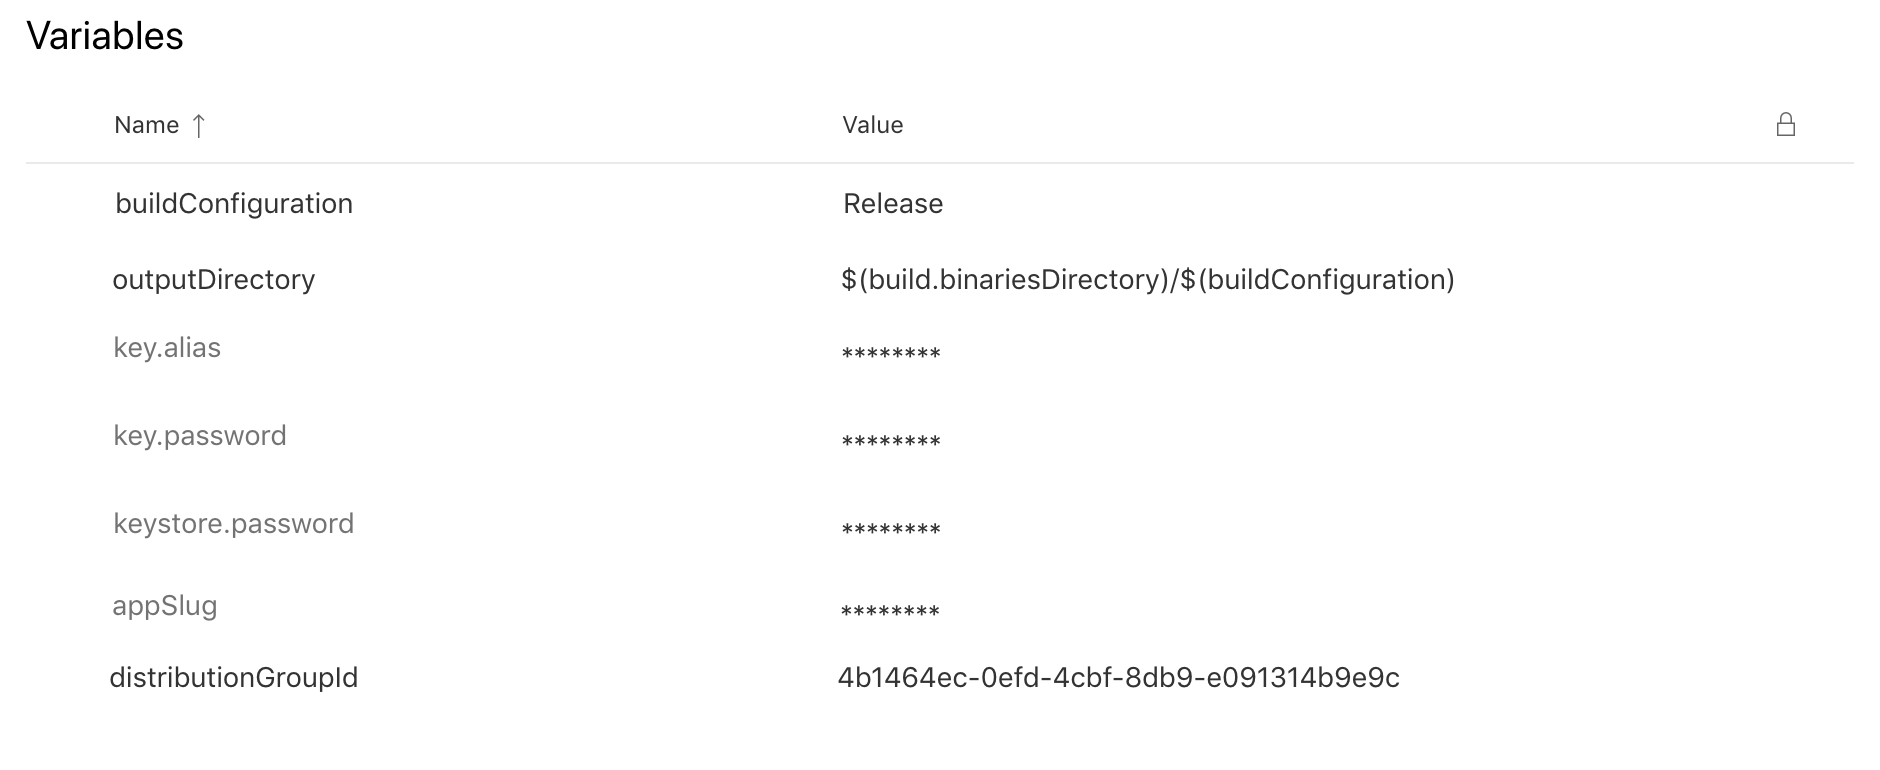
If you followed correcly the previous instructions you can now add your app slug and distribution group ID to the variables group like this:
Finally we can add the final task to deploy our apk to App Center:
- task: AppCenterDistribute@3
  inputs:
    serverEndpoint: 'VSAC'
    appSlug: '$(appSlug)'
    appFile: '$(outputDirectory)/app.release.apk'
    releaseNotesOption: 'input'
    releaseNotesInput: 'New version'
    destinationType: 'groups'
    distributionGroupId: '$(distributionGroupId)'
If you run your build now, you will be able to see your apk deployed into App Center for the correct group.
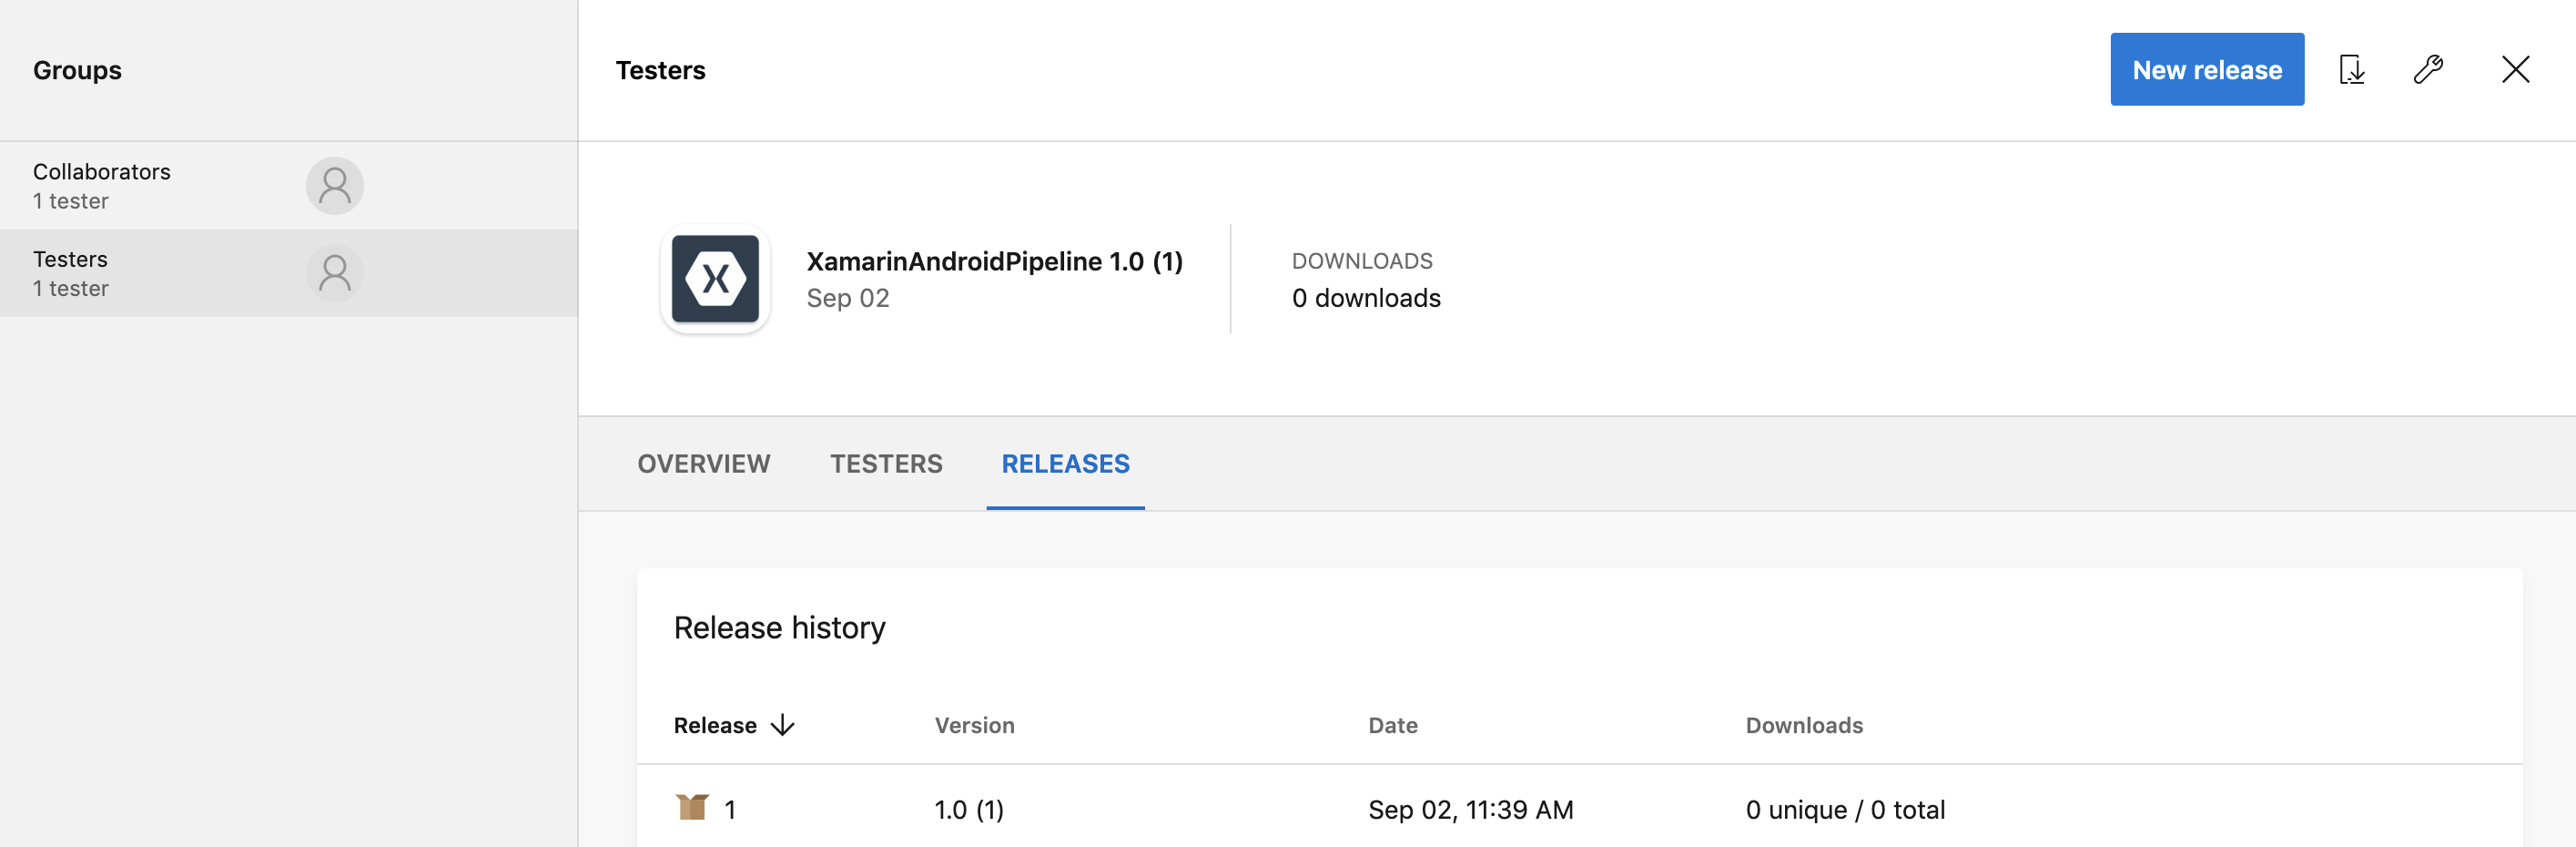
You can now download it to an Android device and test it!
Sources:
You will find full source code in this Github repository.
Happy coding!
You liked this tutorial? Leave a star in the associated Github repository!