Before you ship your mobile app to production, it’s important to put it in the hands of testers to make sure that it runs properly on other devices and to get feedback. I usually use App Center for both crashlytics and distribution to testers, but the uncertainty of App Center’s future made me check for other alternatives. I learned that Firebase now offers app distribution, with many different ways of uploading your iOS and Android app. This post will focus on how you can integrate this into your release pipeline in Azure DevOps or GitHub Actions using the Firebase CLI.
Note that this doesn’t just apply to .NET MAUI apps – all you need is your IPA (iOS) or APK/AAB (Android) file for this to work.
This post will assume that you have existing build pipelines for your iOS and/or Android app that outputs an IPA or APK/AAB file.
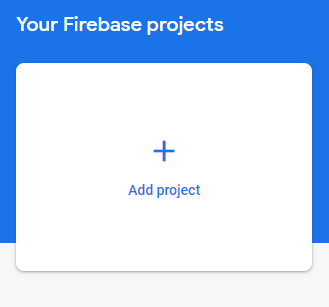
Create Firebase project
The first thing you need to do is to create a project in Firebase Console. Click “Add project” and provide a name for it. You can turn off Google Analytics, as you won’t need it for this purpose.
Create refresh token
Secondly, we need to create a refresh token if we want to run our app distribution from our CI/CD system. Follow this guide on how to create one and store the token as we’ll be using it later. Note that you will have to download the Firebase CLI to your local machine for this.
Now we can get started with the setup for our Android app. For iOS, scroll further down.
Android
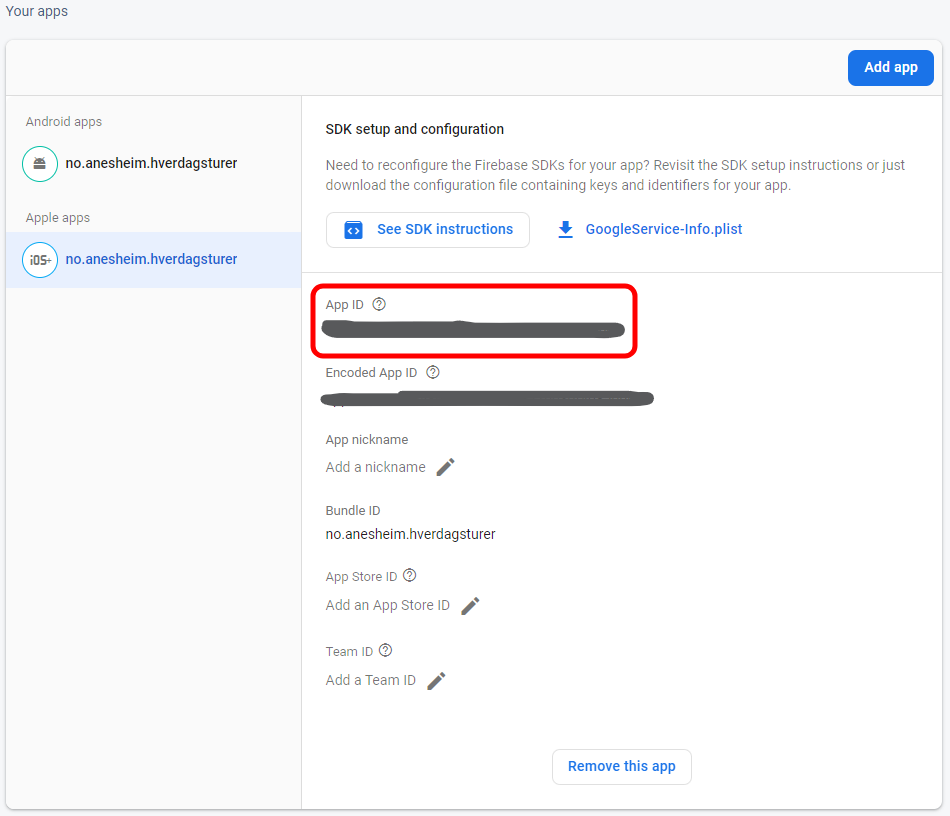
In the Firebase Console, create an Android app for your project. Fill in the bundle identifier for your app and click next. Make sure that this matches the one in your AndroidManifest.xml file (or ApplicationId set in your .NET MAUI csproj file). You can skip the remaining steps (Add Firebase SDK etc.). Once that’s done, take note of the App ID as marked in the screenshot below. We’ll be needing this later.

Note: If you’re using AAB file, you have to create a link between Firebase and Google Play. This means that you cannot use Firebase for distribution to testers if your app is side-loaded, meaning not being available through Google Play. This doesn’t apply if you’re using APK file.
If you don’t have a matching app in Google Play, you’ll just see this:
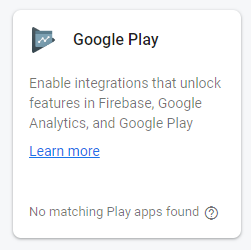
To set up the link to Google Play: go to Project Settings -> Integrations -> Google Play. Click the link and follow the instructions.
Next, click “App Distribution” from the meny in Firebase console and click “Getting started” on the following page. From here, add your testers under “Invite links” or “Testers & Groups”.
Now we can move on to our CI/CD system of choice. I’ll be using Azure DevOps for reference, but we’ll only be running some command line prompts in our release pipeline.
In Azure DevOps, you can use the Command Line task. The first thing our script needs to do is to install the Firebase CLI on the agent. For this to work, our agent needs to be running Mac or Linux. In Azure DevOps, you can use ubuntu-latest.
Add the following line to install the Firebase CLI to the Linux/Mac agent:
curl -sL https://firebase.tools | bashRight after this line we can add the statement to upload the AAB/APK file. We’ll use the firebase appdistribution:distribute command along with some parameters:
firebase appdistribution:distribute "$(System.DefaultWorkingDirectory)/_Android/drop/myapp-Signed.aab" --app 1:xxxxxxxx:android:xxxxxxxxxxxxxx --token $(firebaseToken)The first parameter is the AAB/APK file we want to upload. Here it’s pointing at the connected build artifact I set up in Azure DevOps. The --app parameter is the App ID that we saw right after we created our Firebase app. You can find this under Project Settings -> Your apps -> Android apps. The --token parameter is the refresh token that we created at the very beginning. Here I’m using it from a variable that I’ve created for my pipeline.
If you want to set which testers this should be pushed out to, you an use the --testers parameter along with a comma-separated list of emails. You can also use the --groups parameter along with the names of the groups it should be pushed to. Check out the documentation for more info.
That’s it for Android! For iOS, the steps are very similar.
iOS
In the Firebase Console, Create an iOS app for your project. Fill in the bundle identifier for your app and click next. Make sure that this matches the one in your Info.plist file (or ApplicationId set in your .NET MAUI csproj file). You can skip the remaining steps (Add Firebase SDK etc.). Once that’s done, take note of the App ID as marked in the screenshot below. We’ll be needing this later.
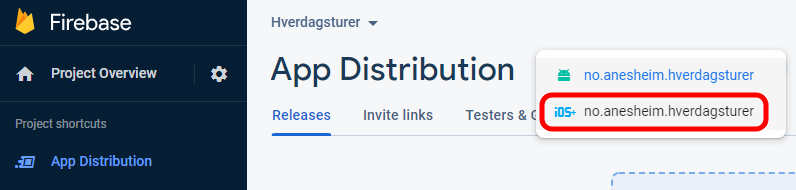
Next, click “App Distribution” from the meny in Firebase console, select the iOS app from the dropdown and click “Getting started” on the following page.
From here, add your testers under “Invite links” or “Testers & Groups”.
Now we can move on to our CI/CD system of choice. Again I’ll be using Azure DevOps for reference, but we’ll only be running some command line prompts in our release pipeline.
We’ll do the same thing as for Android: Use the Command Line task in our Azure DevOps release pipeline and use it to install the Firebase CLI on our agent. For this to work, our agent needs to be running Mac or Linux. In Azure DevOps, you can use ubuntu-latest.
Add the following line to install the Firebase CLI to the Linux/Mac agent:
curl -sL https://firebase.tools | bashRight after this line we can add the statement to upload the IPA file. We’ll use the firebase appdistribution:distribute command along with some parameters:
firebase appdistribution:distribute "$(System.DefaultWorkingDirectory)/_iOS/drop/myapp.ipa" --app 1:xxxxxxxx:ios:xxxxxxxxxxxxxx --token $(firebaseToken) The first parameter is the IPA file we want to upload. Here it’s pointing at the connected build artifact I set up in Azure DevOps. The --app parameter is the App ID that we saw right after we created our Firebase app. You can find this under Project Settings -> Your apps -> Apple apps. The --token parameter is the refresh token that we created at the very beginning. Here I’m using it from a variable that I’ve created for my pipeline.
As for Android, if you want to set which testers this should be pushed out to, you an use the --testers parameter along with a comma-separated list of emails. You can also use the --groups parameter along with the names of the groups it should go out to. Check out the documentation for more info.
Wrapping up
And there you have it – how to upload your Android or iOS app for distribution to testers via Firebase. Firebase has become a big and useful tool for mobile apps and it’s nice to see that there now exists alternatives to distribution services like App Center. Let me know if you think there is something missing from this guide and I’ll try to add it!