Installing gapps in Visual Studio Android Emulator (Marshmallow)
05 Apr 2016 | Visual Studio Xamarin.Android29/5/2017: Visual Studio Android Emulator has been discontinued. Microsoft recommends using the Emulator Images that Google provides. The Google images rely on HAXM as described below, so no AMD support and you can't run it with Hyper-V running at the same time.
The images Google provides in the Android SDK are all great and work fine if you have Intel HAXM installed on the machine. However, a lot of developers using Visual Studio, also use Hyper-V to run Windows device emulators. This means Intel HAXM doesn't work and in turn means that the x86 images from Google won't run because there is another hypervisor running.
Microsoft have been so kind to provide the Visual Studio Android Emulator which uses Hyper-V as hypervisor and does not require you to reboot your machine every time you want to switch between using Hyper-V and another hypervisor. Great!
There is one caveat. None of the images included in the Visual Studio Android Emulator tools have Google Play Services installed. Hence, you have to install them yourself. It turned out to be more complicated than I thought it would. Hence, I am documenting it in this blog post.
At first I tried the tried and great OpenGapps, which a lot of custom roms for Android devices recommend using. Picked x86 and the pico package for Android M and tried to install that on a Marshmallow image. It just threw an error telling me that the system/ folder was missing in the zip. Great, what then? I tried adding that folder with an empty file manually to the zip, as it seems it doesn't care whether the zip is signed or not when installing. This made the zip install. Well not really, no Play Store or Play Services where actually installed.
I tried some other GAPPS zips from various sources, none of them seemed to work. I searched around without finding any solution.
Alexandre Chohfi over at the Xamarin Community Slack pointed out that he had the same issues with Genymotion, which runs on VirtualBox and pointed me in the direction of this gist explaining how to do it on Genymotion. Following the instructions from arcao in the comments works! Without installing that Genymotion ARM translation package too.
Steps I used
Prerequisites
1. Install a Marshmallow image in the Visual Studio Emulator for Android tools (can be opened through Tools > Visual Studio Emulator for Android in Visual Studio)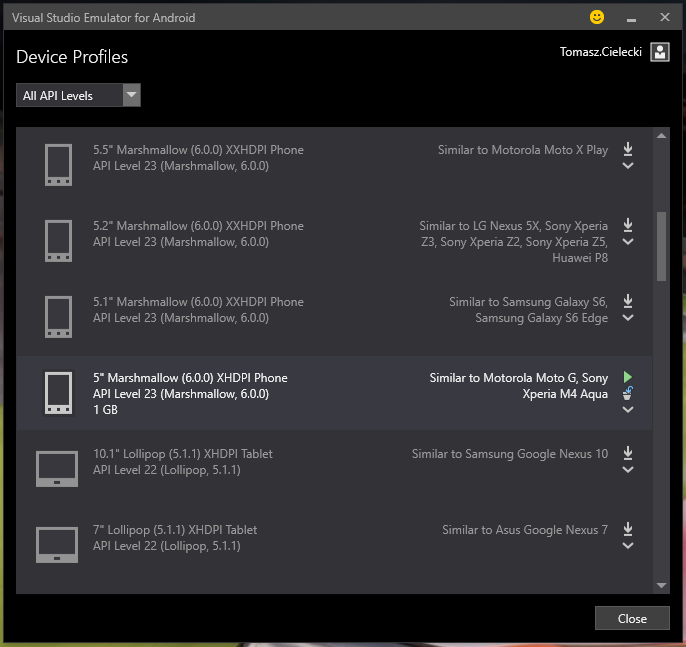
2. Download gapps-L-4-21-15.zip
3. Download benzo-gapps-M-20151011-signed-chroma-r3.zip
Installing
1. Start the Marshmallow image
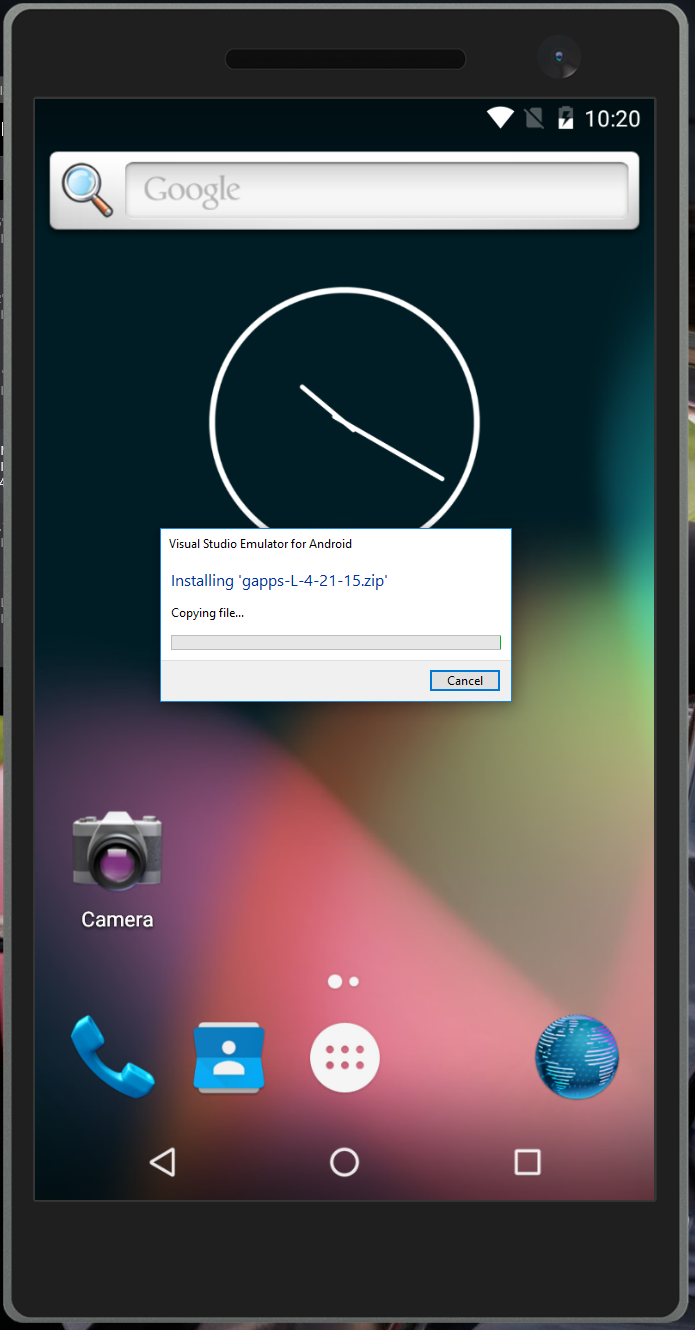
2. Drag the gapps-L-4-21-15.zip onto the Emulator after it has booted. It will prompt you to install the zip and shutdown the device after that.

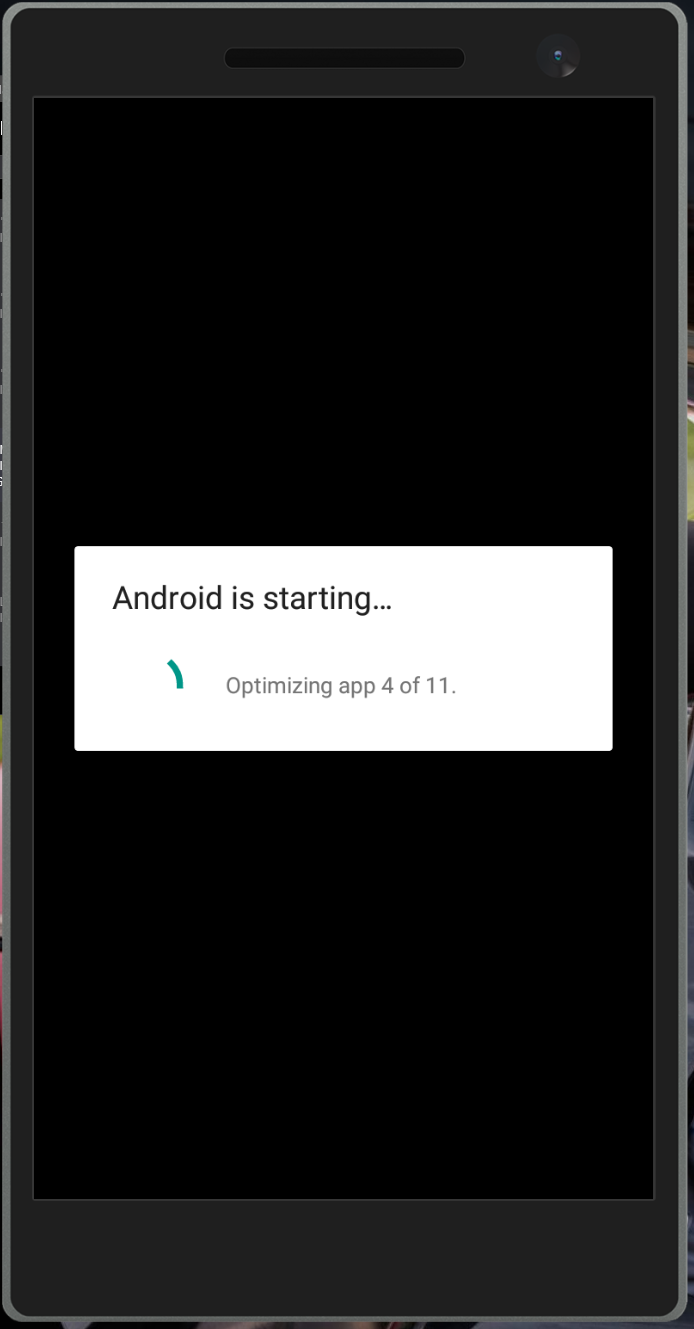
3. After having install the gapps boot up your Emulator again, it will show a dialog about optimizing newly installed packages.
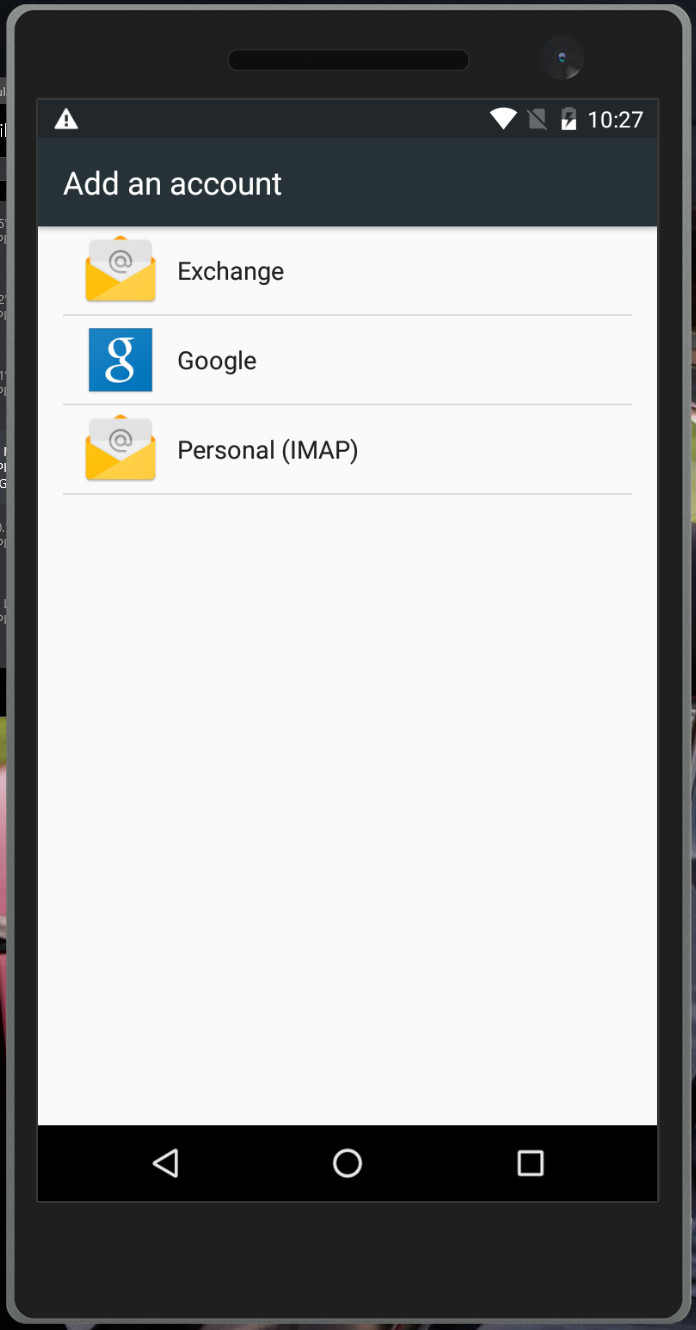
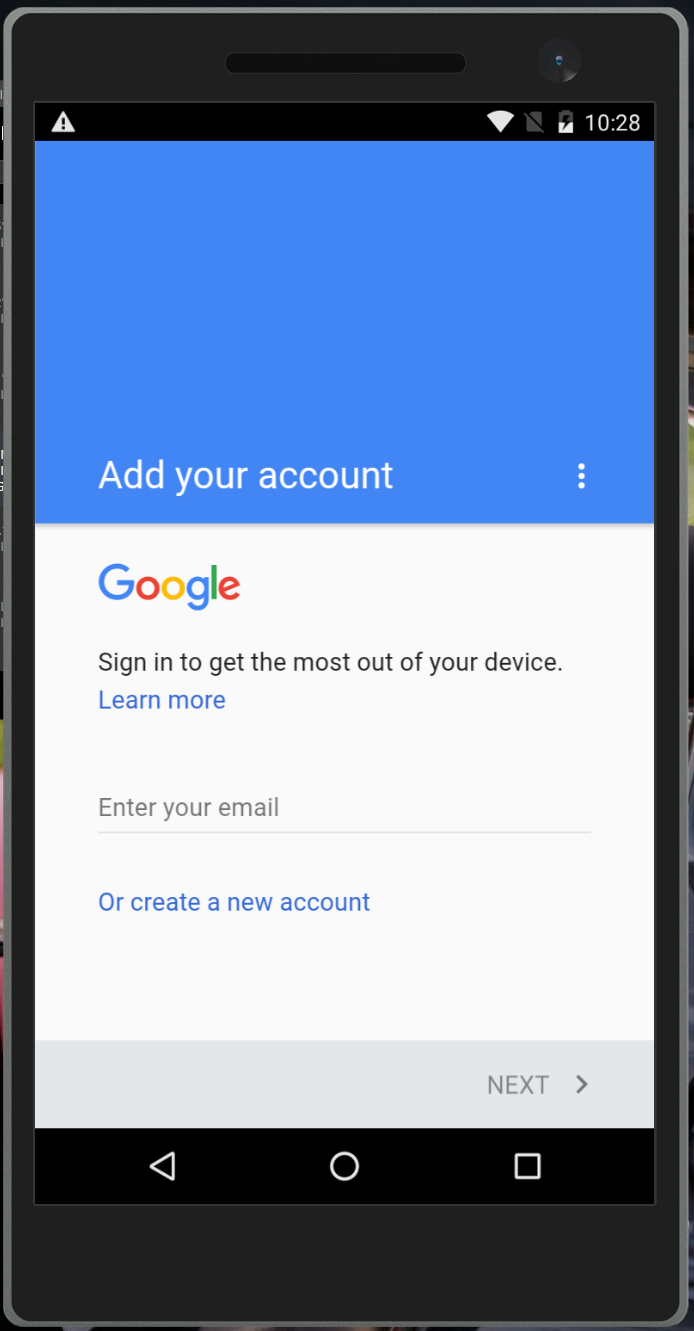
4. Go to Settings > Accounts and Add a Google Account. Ignore all crashes.
5. After adding the Account, install the benzo-gapps-M-20151011-signed-chroma-r3.zip by dragging it onto your Emulator, like in step 2.
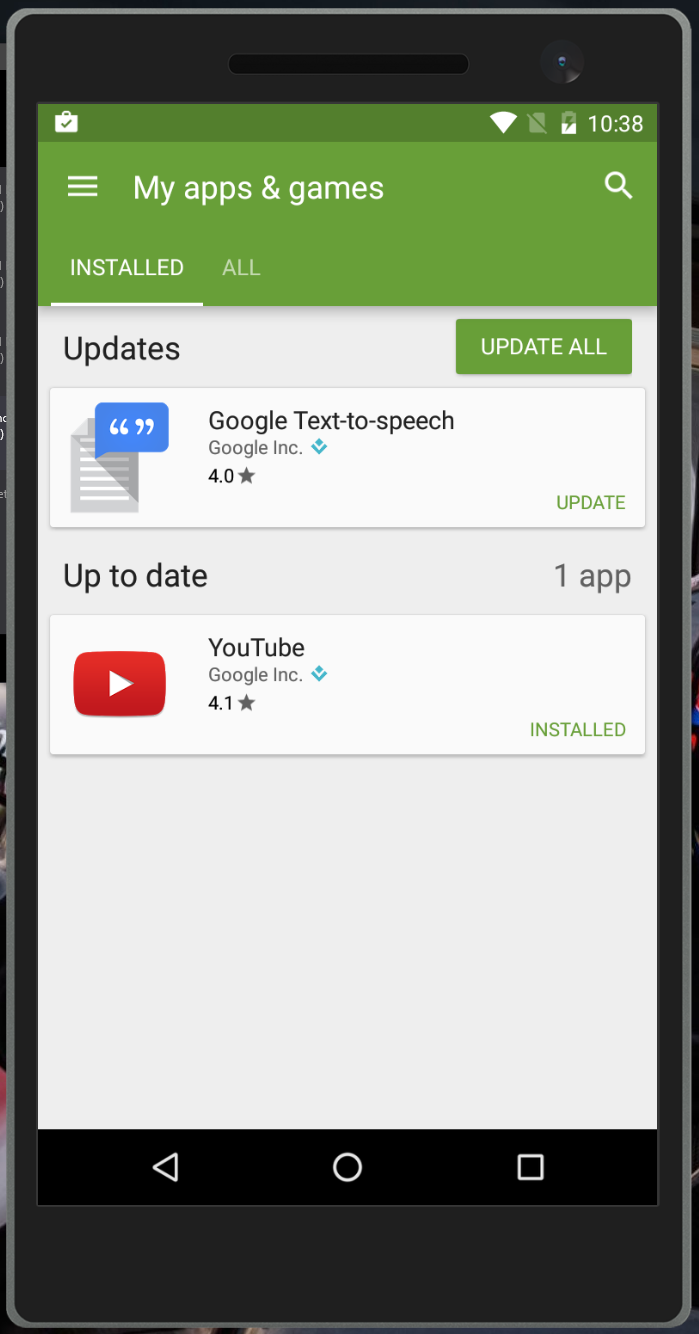
6. After rebooting after step 5. is done, you should now have working Play Services and Play Store on your Visual Studio Emulator for Android.