

Maps are very useful in our applications, they allow us to display in a graphic way the location of the desired place. The fact of being able to identify a location, through a Map, within our application makes our users have a better experience. Let us imagine the following two scenarios:
📱App A:The user has a list of restaurants and will choose their favorite, each item indicates their address on a label, but not the option to open the Map. What if we don’t know how to get to this location? Indirectly we will be causing the user to exit our application to find the address on the Map.
📱App B:Where the user has the same list of restaurants but when clicking on each item he has the option to directly open the address on the Map!
Which one would you choose? If we choose App B, we will make our users have a better experience and also save them time to reach their final goal of knowing where to find their favorite restaurant.
In this post, we will learn how to use them in a simple way thanks to Xamarin Essentials! 💚💕
Let’s start!
Let’s speak about Map class
Map class provided by Xamarin Essentials allow us to open the installed map application with a specific location or placemark.
To be able to open a location on the map we need to indicate its coordinates, which are composed by latitude and longitude. In this post, we will send direct coordinates for the sample application but we have different ways to obtain a desired location, you can choose one of the following depending on your needs:
📍 Using Geocoding class provides APIs to geocode a placemark to positional coordinates and reverse geocode coordinates to a placemark.
📍Using Geolocation class provides APIs to retrieve the device’s current geolocation coordinates.
Launching Maps
To launch a Map you need to add de Map class, followed by the OpenAsync method. Let’s see what the required parameters are:
🔹Location: This is the latitude, longitude, altitude, and time information reported by the device.
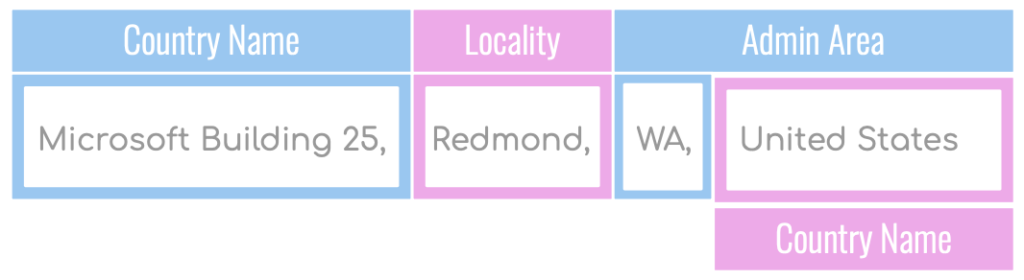
🔹 Placemark: User-friendly description of a geographic coordinate. It contains information such as the name of the place, address between others.
🔹Latitude & Longitude: They are the data of which a coordinate is composed. Example: The coordinates of Disney World are: Latitude: 28.3772 & Longitude: 81.5707.
🔹MapLaunchOptions: Launch options of opening a map. Within these options is the name and type of navigation of the map (We will see this more detailed topic later).
And now, let’s see how to do it with code!
Opening a Placemark
To open a Placemark, we need some information with are the following:
And now, let’s see how to do it with code!
Navigation mode
We can also calculate a navigation route from the current position, to achieve this we have the NavigationMode.
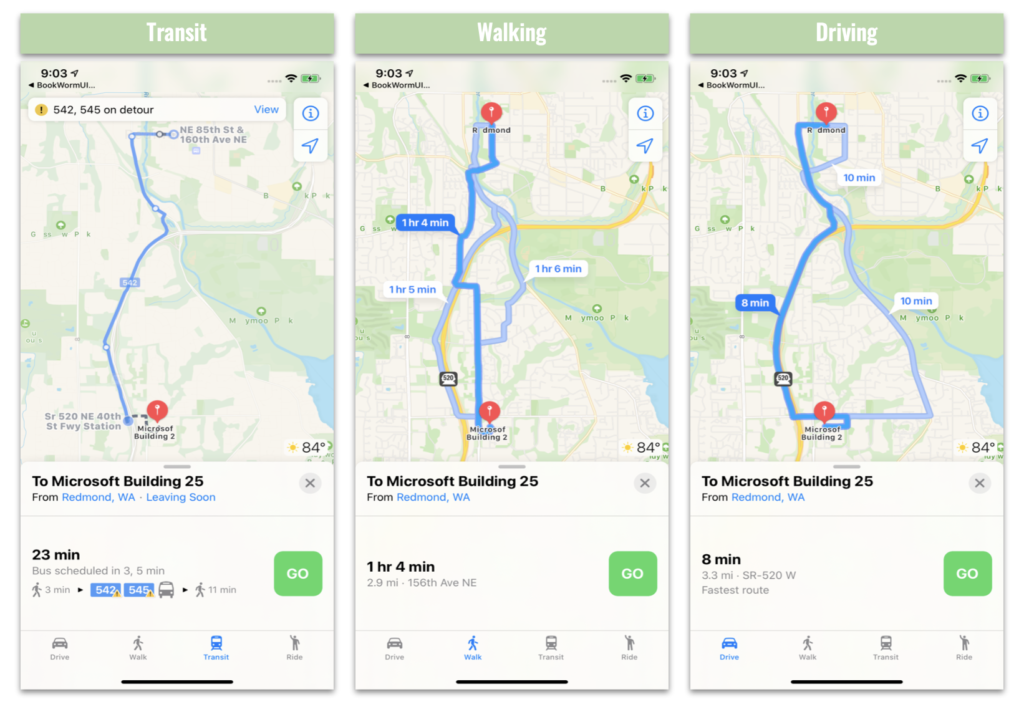
NavigationMode helps us to reflect this calculation of distances on our map, making the location much more readable, we can even configure the type of map we want such as Driving, Bicycling, walking between others.
To do it, you just have to include this parameter in the MapLaunchOptions as I show below:
Let’s look at some types of maps
Platform differences
There are different types of navigation in maps, but each of them can be supported or not, depending on the platform.

On Android, NavigationMode supports three types of maps which are the following: Bicycling, Driving, and Walking.
⚠ It’s important to know that Android uses the geo: Uri scheme to launch the map application on the device. This is supported by Google Maps, otherwise, it might ask the user to select an existing application that supports this Uri scheme.
 Both IOS and UWP support Driving, Transit, and Walking.
Hoping this post has been of good use to you! See you next time! 🙋♀️
Thanks for reading 
 !!
!!
Spanish post: https://es.askxammy.com/aprendiendo-a-usar-maps-con-xamarin-essentials/

Hola Leo, encantado con tu blog y tus ejemplos en xamarin. Crees que sería mucha molestia pedirte ayudita con un ejemplo de Tabbed Page + Prism. Como regresar al Tabbed Page seleccionado? Muchísimas gracias y disculpa el atrevimiento
Hoal Oscar! Muchas gracias! 💚 Dale un vistazo a este link! https://prismlibrary.com/docs/xamarin-forms/navigation/working-with-tabbedpages.html Espero te ayude! 😊