Did you notice that graphic designers love gradients? It was a trend in mobile designs that started in 2017 and now it’s getting even more popular. Let me share a few useful code snippets that will help you to make awesome looking iOS applications with Xamarin.
First the gradient itself. We’re going to use a radial gradient.
[Register("UIGradientView")]
public class UIGradientView : UIView
{
    [Export("InsideColor")]
    public UIColor InsideColor { get; set; } = UIColor.FromRGB(48, 43, 99);
    [Export("OutsideColor")]
    public UIColor OutsideColor { get; set; } = UIColor.FromRGB(36, 36, 62);
    public override void Draw(CGRect rect)
    {
        base.Draw(rect);
        var colors = new CGColor[] { InsideColor.CGColor, OutsideColor.CGColor };
        var center = new CGPoint(Bounds.Size.Width / 3, 90);
        var endRadius = Math.Sqrt(Math.Pow(Bounds.Size.Width / 3 * 2, 2) + Math.Pow(Frame.Height - 90, 2));
        var gradient = new CGGradient(null, colors);
        using (var context = UIGraphics.GetCurrentContext())
        {
            context.DrawRadialGradient(
                gradient: gradient,
                startCenter: center,
                startRadius: 0,
                endCenter: center,
                endRadius: (nfloat)endRadius,
                options: CGGradientDrawingOptions.DrawsBeforeStartLocation);
        }
    }
    public UIGradientView(IntPtr handle) : base(handle)
    {
    }
}
Now to explain the code above. As the center, I took an arbitrary point that provides good results. In this case, it’s 1/3 of the view width and 90 points from the top of the screen. To make sure that the gradient covers the whole view, we need to calculate a distance to the farthest corner.

Now the next bit of code:
public static class ColorExtensions
{
    public static UIImage ToImage(this UIColor color)
    {
        var rect = new CGRect(0, 0, 1, 1);
        UIGraphics.BeginImageContext(rect.Size);
        var context = UIGraphics.GetCurrentContext();
        context.SetFillColor(color.CGColor);
        context.FillRect(rect);
        var img = UIGraphics.GetImageFromCurrentImageContext();
        UIGraphics.EndImageContext();
        return img;
    }
}
We have a simple extension method that creates an UIImage filled with a given color. We’re going to use this extension to make the navigation bar semi-transparent. Let’s put everything together now.
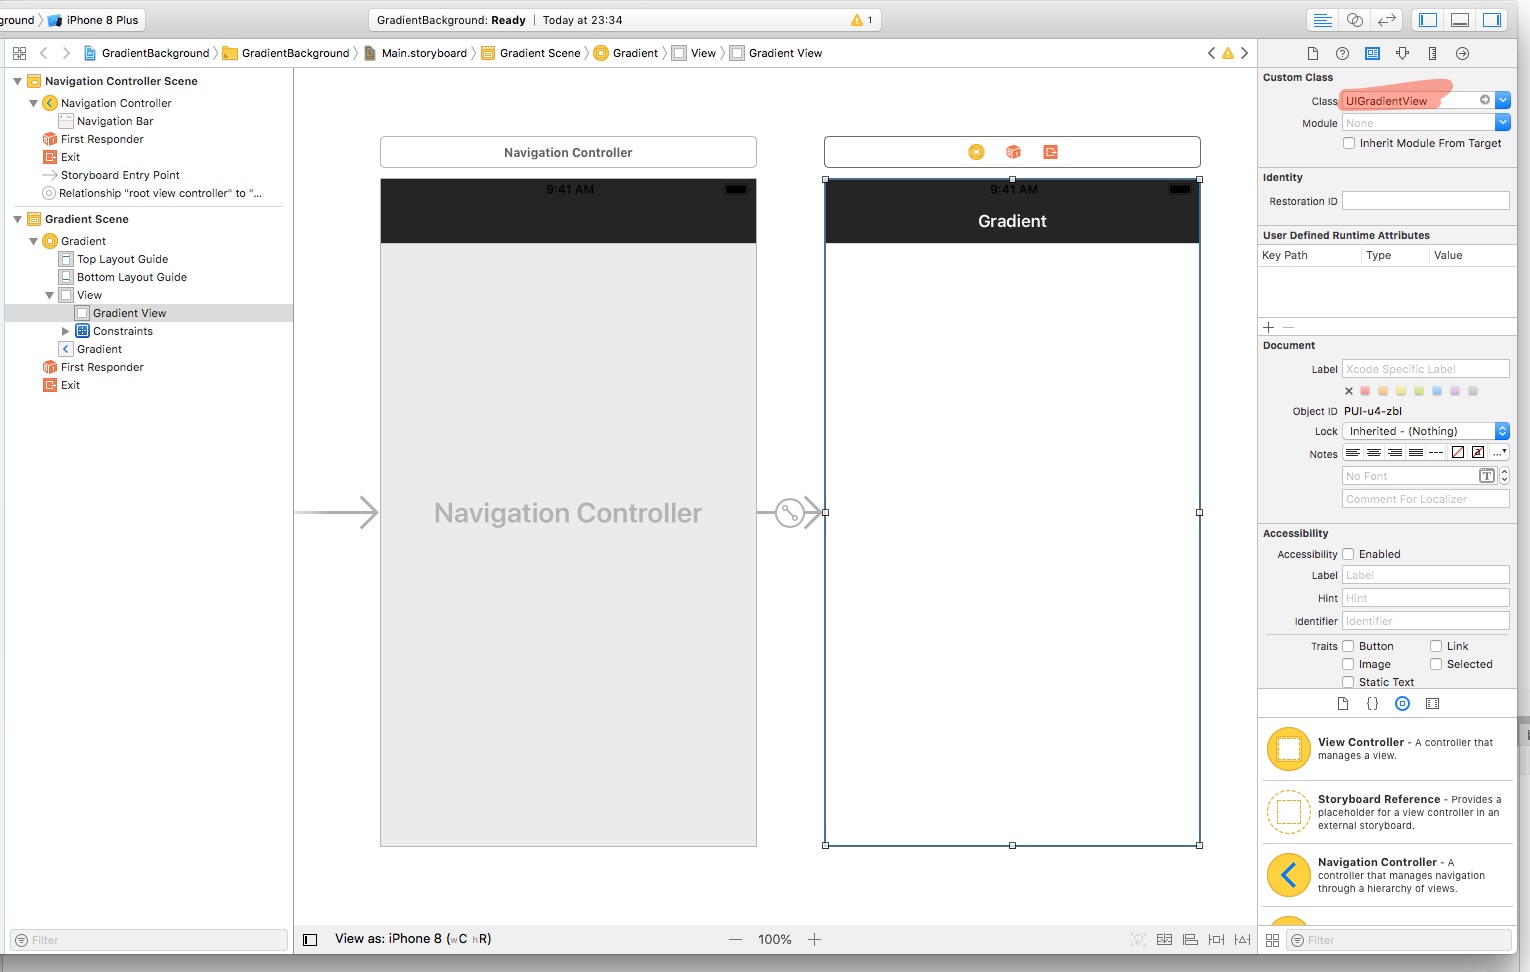
A storyboard with a navigation controller and a single view controller. The view controller contains a view with Custom Class set to UIGradientView.
public partial class ViewController : UIViewController
{
    protected ViewController(IntPtr handle) : base(handle)
    {
    }
    public override void ViewDidLoad()
    {
        base.ViewDidLoad();
        NavigationController.NavigationBar.SetBackgroundImage((UIColor.FromRGBA(0, 0, 0, 0.3f).ToImage()), UIBarMetrics.Default);
    }
}
And here we use the extension method created above to make the navigation bar semi-transparent. Let’s take a look at the results!
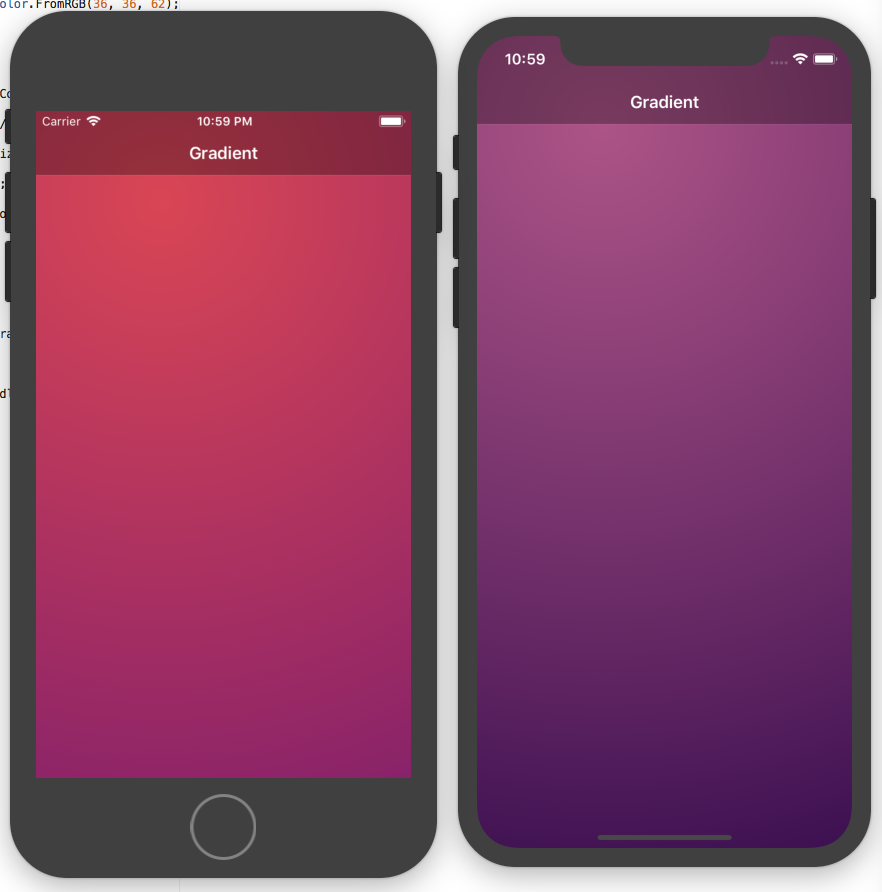
Beautiful, isn’t it? There is an awesome resource with a lot of cool gradients to help you start at uigradients.com. Happy coding!