
Important: Before enabling and customizing gifts, you’ll need to check to see if the Gift Block code is in your email template by going to the Settings page in ARPU, selecting Email Templates, clicking Configure by one of your email templates, and searching for {{ gift_block }}. If this code block is missing, you’ll need to add it. In the default email template, we recommend inserting the Gift Block under the upsell block so that the style is consistent. Make sure to add {{ gift_block }} to all email templates you want to feature gifts in.
Settings
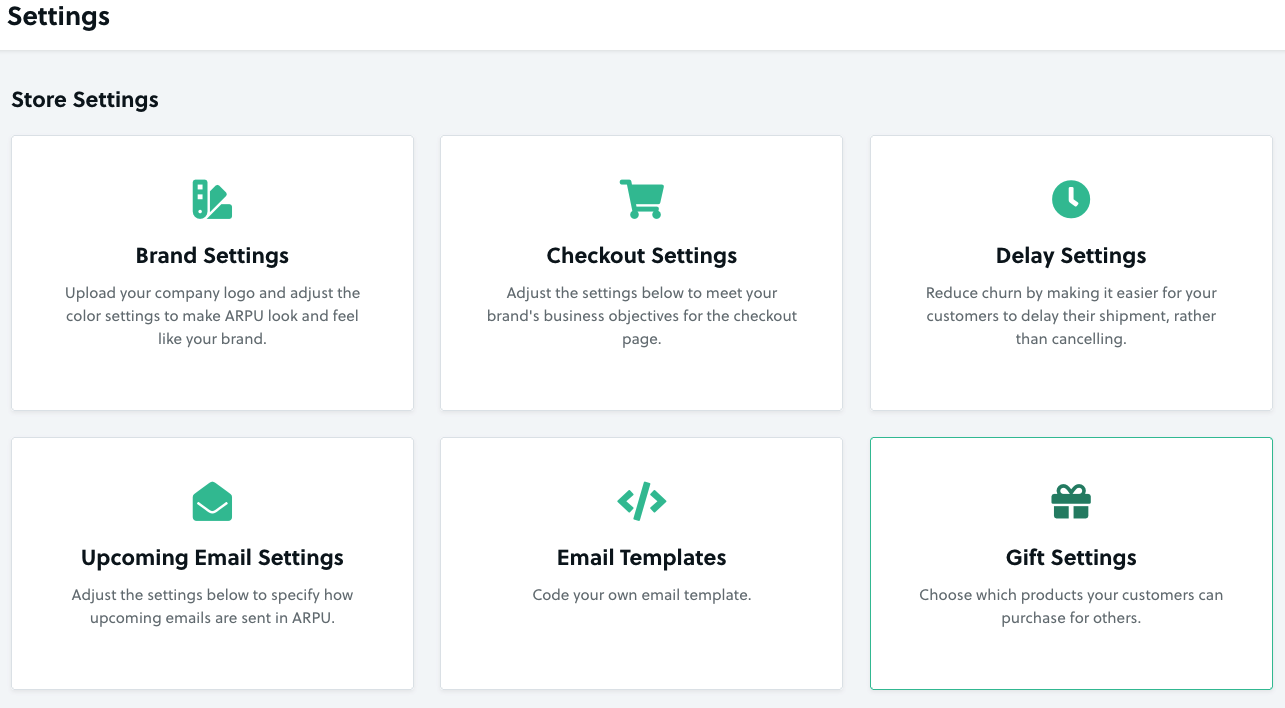
To allow subscribers to purchase your products as a gift for someone else, go to the Settings page in ARPU and select Gift Settings.
At the top of the page, you can enable gifts* by clicking the toggle button. Note: the Gift Block will not appear in your upcoming shipment notifications until you select at least one product as a gift option.
Further down the page, you can customize the purchase experience in your upcoming shipment notification. We’ll break down the different settings by their tabs.
*If you want to test the Gift Block with a small group of subscribers first, make sure to review the Testing section at the bottom of this page.

Products
You can allow subscribers to add a personalized gift message by checking the box beside “Allow customer to add gift message”. These gift messages will be included in the email notifications that are sent to gift recipients.
You can also set the date for when a gift message should be sent after a subscriber purchases a gift. To do this, choose the number of days AFTER the charge date to send the notification. Take into account the number of days that the gift will take to arrive.
You’re also able to set a Reply To email address that the gift recipient can use to contact your business if they need to make changes to their order.
At the bottom of the Products tab, you can choose which products to list as gift options under the Gift Products section. The first 3 products you select will be shown in the Gift Block in the upcoming shipment notification. All of the products you select will be featured on the gift checkout page that the subscriber is taken to when they click the “Shop Gifts” button.
You can also set individual discounts for gift products. These discounts are separate from (and will not affect) any discounts you might have on your existing upsell products.
Note: The subscriber purchasing the gift pays for gift shipping.
Messages
Here you can set the text that’s shown on the following pages:
- Gift Block in the upcoming charge notification
- Email notification sent to the gift recipient
- Gift checkout page - the page your subscriber lands on after clicking in the Gift Block
- Thank you page - the page your subscriber lands on after purchasing a gift
Appearance
In this tab, you can modify the colors of buttons and text in the Gift Block of your emails. Note that the gift checkout page will use colors and any custom CSS you’ve applied in the Brand Settings section of your ARPU account.
When you’re done customizing your Gift Block, be sure to click the Save Changes button at the bottom of the page.
Once you’ve added the Gift Block code and have selected at least one product to list as a gift option and click the Save Changes button at the bottom of the Gift Settings page, the Gift Block will be live and active for all of your campaigns that use an email template with the Gift Block code.
Testing
Before launching gifts to your entire subscriber base, you can test it with a small group of subscribers by following these steps:
- In Shopify, choose the subscribers that you want to test the Gift Block on and tag them with a Shopify tag
- In ARPU, go to the Email Templates settings page and create a new template that has the Gift Block code in it (make sure that the Gift Block code isn’t in any other email templates)
- Go to the Gift Settings page and enable gifts. Make sure you have at least one product listed as a gift
- Go to the Campaigns tab and create a new campaign
- Under the Customer Tags section of the campaign creation page, enter the Shopify customer tag you created earlier so that this campaign is only sent to subscribers with that tag
- Make sure the campaign criteria, both number of renewals and products in the upcoming order, are left blank
- Select whichever campaign products you want to show as upsells
- Create the campaign
- Click the Configure button associated with the campaign you just created and select the email template that has the Gift Block and click Save
- Move the campaign to the top of the campaign list
- Enable the campaign
When you’re ready to add the Gift Block to your other campaigns, you can add the Gift Block code in the email templates that they use. If you’re done testing, make sure to disable the campaign you created to test.