Custom actions and bulk actions are a powerful feature in Django's admin dashboard that allow you to perform specific tasks on a single object or a group of objects. They can greatly improve the functionality of the dashboard and make it easier for administrators to manage their data.
In this tutorial, we will learn how to add custom actions and bulk actions to the Django admin dashboard by creating a simple blog app. We will cover the following topics:
- Setting up the project and creating a new Django app
- Setting up the blog model and registering it with the Django admin
- Writing the admin model and adding custom actions and bulk actions
- Writing the actions for publishing and unpublishing blog posts
- Testing the custom actions and bulk actions in the Django admin dashboard
- Further customizing and refining the actions as needed
Setting Up the Project
To start, we need to set up a Django project and app. If you already have a Django project and app set up, you can skip this step.
Creating a new Django project and app
First, create a new Django project by running the following command:
django-admin startproject myproject
Navigate to the project directory:
cd myproject
Create a new Django app by running the following command:
python manage.py startapp blog
Open the myproject/settings.py file and add blog to the INSTALLED_APPS list.
INSTALLED_APPS = [
    'django.contrib.admin',
    'django.contrib.auth',
    'django.contrib.contenttypes',
    'django.contrib.sessions',
    'django.contrib.messages',
    'django.contrib.staticfiles',
    'blog'
]
Add Blog Model
To add blog model ,open blog/admin.py file and add the following code:
from django.db import models

class Blog(models.Model):
    title = models.CharField(max_length=200)
    text = models.TextField(blank=True)
    published = models.BooleanField(default=False)

    def __str__(self):
        return self.title
Adding the app to the Django admin
To add the app to the Django admin, open the blog/admin.py file and add the following code:
from django.contrib import admin
from .models import Blog

admin.site.register(Blog)
Run the following command to create a superuser:
Run the following command to create a migration file for the model:
python manage.py makemigrations
Run the following command to apply the migration:
python manage.py migrate
Run the following command to create a superuser:
python manage.py createsuperuser
Run the development server by running the following command:
python manage.py runserver
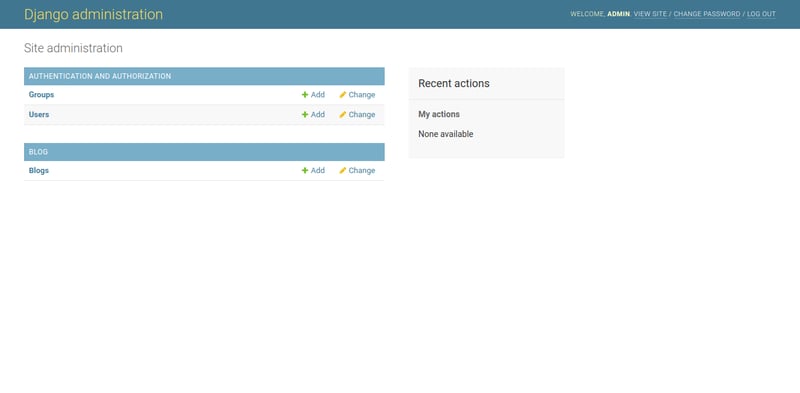
Navigate to http://127.0.0.1:8000/admin in your web browser and log in with the superuser credentials you created. You should now see the Blog model in the dashboard.
Creating Custom Actions
Now that we have our model and admin dashboard set up, we can start creating custom actions. Custom actions allow us to perform specific tasks on a single object or a group of objects.
In the Blog/admin.py file, define the BlogAdmin class and register it with the Django admin.
from django.contrib import admin
from .models import Blog

class BlogAdmin(admin.ModelAdmin):
    list_display = ['title', 'published']
admin.site.register(Blog)
Now, we can add our custom actions to the BlogAdmin class.
To create a custom action, we will define a function in the BlogAdmin class and decorate it with the admin.action decorator. The description argument allows us to specify a short description for the action that will be displayed in the Django admin.
For example, let's create a custom action to publish a blog post.
from django.contrib import admin
from .models import Blog

@admin.register(Blog)
class BlogAdmin(admin.ModelAdmin):
    list_display = ['title', 'published']
    actions=['publish_blog','unpublish_blog']

    @admin.action(description='Publish Blog Post')
    def publish_blog(self, request, queryset):
        queryset.update(published=True)
This function takes in three arguments: self, request, and queryset. The self argument refers to the BlogAdmin class itself, the request argument is the HTTP request object, and the queryset argument is the queryset of objects selected in the Django admin.
In this function, we simply update the published field of the selected objects to True.
Finally, we need to add this action to the actions list in the BlogAdmin class.
from django.contrib import admin
from .models import Blog

@admin.register(Blog)
class BlogAdmin(admin.ModelAdmin):
    list_display = ['title', 'published']
    actions=['publish_blog','unpublish_blog']

    @admin.action(description='Publish Blog Post')
    def publish_blog(self, request, queryset):
        queryset.update(published=True)

    @admin.action(description='UnPublish Blog Post')
    def unpublish_blog(self, request, queryset):
        queryset.update(published=False)
With this custom action in place, we can now easily publish blog posts from the Django admin dashboard.
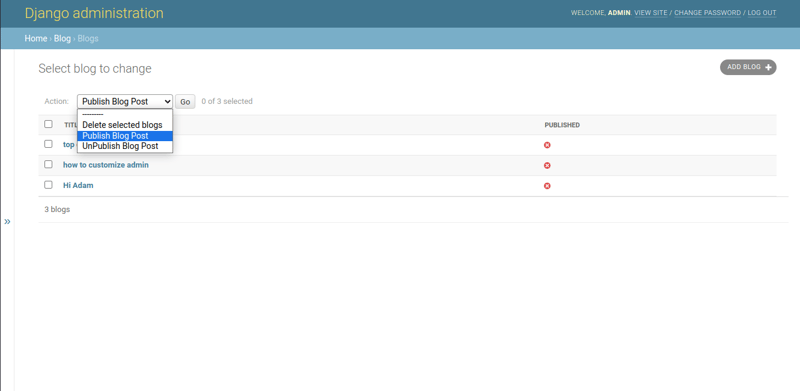
Testing the Custom Action
To test the custom actions, navigate to the Blog model in the Django admin dashboard and select one or more blog posts. In the Action dropdown, select the Publish Blog Post or Unpublish Blog Post action. Click Go to apply the action.
After apply action
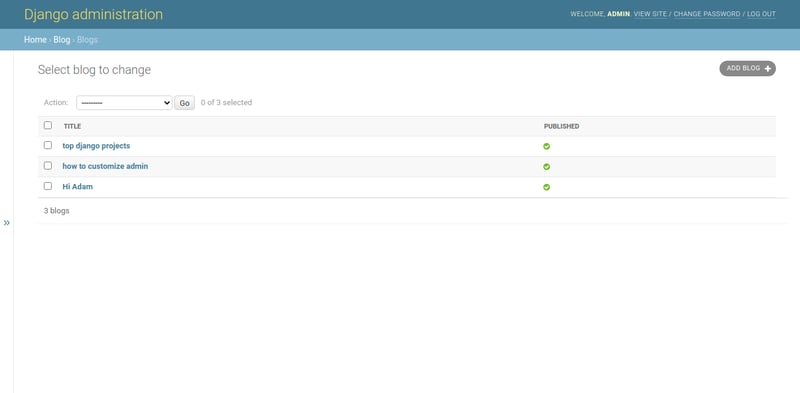
Custom actions
The selected blog posts will be published or unpublished, depending on the action you selected.
Further Customizing and Refining the Actions
There are many ways to further customize and refine the actions to fit your specific needs. For example, you can add additional functionality to the action functions, or you can add extra fields to the action form to get more data from the user.
You can also customize the appearance of the action form by overriding the default template. To do this, create a new template file in your app's templates directory and specify the template path in the template_name argument of the action function, "I will write posts for all this topics".
Finally, don't forget to add appropriate permissions to your custom actions to ensure that only authorized users can access them.
I hope this tutorial has helped you learn how to add custom actions and bulk actions to the Django admin dashboard. With these tools at your disposal, you can greatly improve the functionality of your Django app and make it easier for your users to manage their data.


Top comments (0)