iOS 9 Multitasking Tutorial
Discover how to get your apps in shape to take advantage of iOS 9’s advanced multitasking functionality with this iOS 9 multitasking tutorial. By Soheil Azarpour.
Note: Updated for Xcode 7.3, iOS 9.3, and Swift 2.2 on 04-04-2016
iOS 9 introduces a phenomenal feature for the iPad — multitasking. For the first time, iPad users can run two apps on the screen at the same time.
Maybe you want to read a proposal in your email app while you research the topic in Safari. Or you’d like to keep an eye on Twitter while you enjoy your favorite sports show. For a device that you can hold in one hand, this is a crazy amount of productivity power. It’s undoubtedly going to change the way users interact with their iPads.
In this iOS 9 multitasking tutorial, you’ll learn how to update an existing app so that it plays nicely in a multi-tasking iPad environment.
Getting started
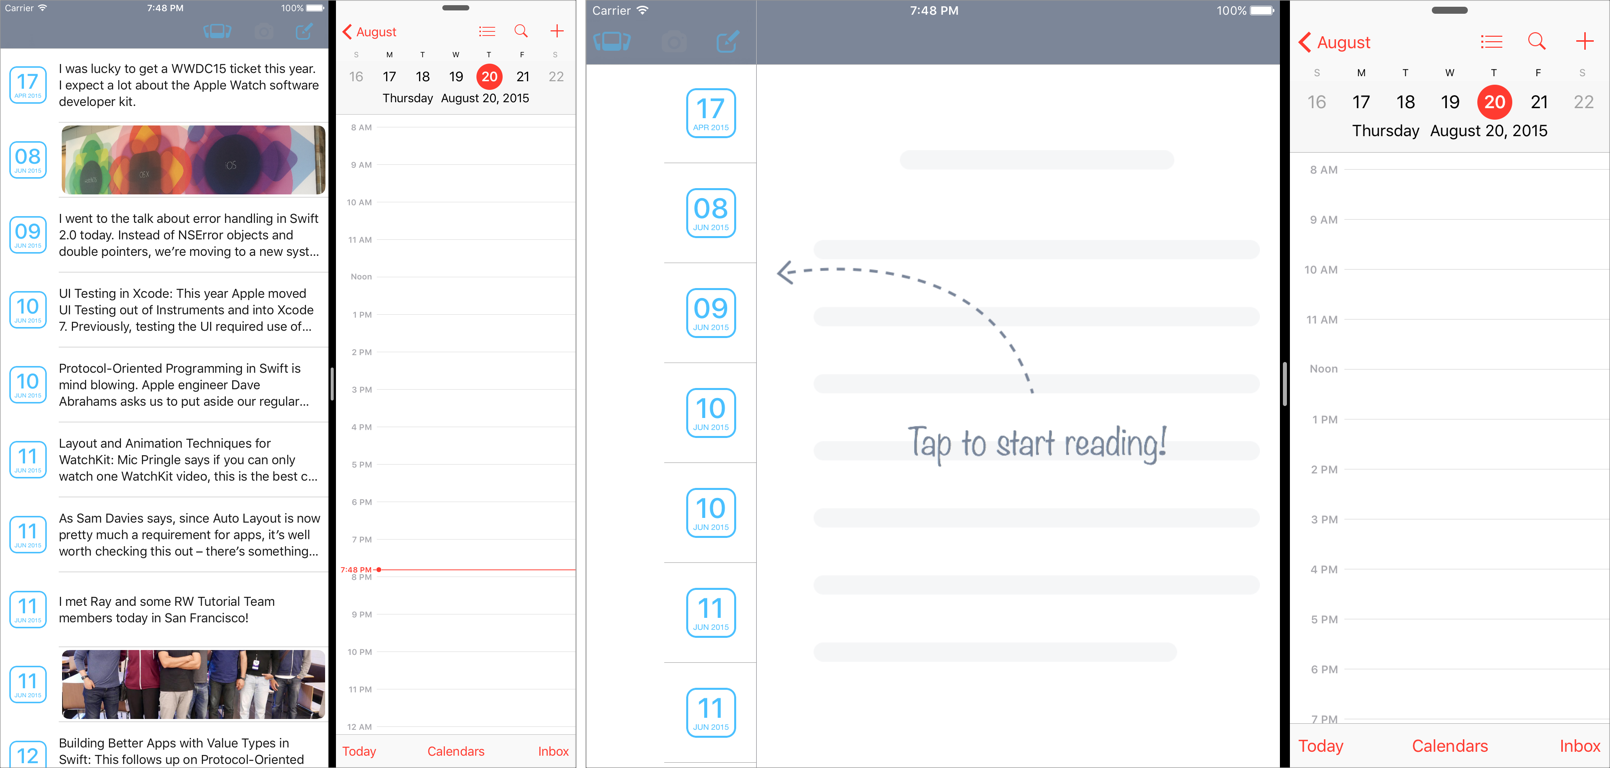
In this tutorial, you’ll work on an app called Travelog. It’s a simple app that you use to keep a diary of a business trip or a vacation. Start by downloading the starter project for this tutorial and run it on the iPad Air 2 Simulator. The app is already seeded with some entries:
The app uses UISplitViewController to display entries on the left side. Tap any entry to display it in the right-hand view; rotate the device and you’ll find both master and detail views of the Split View Controller are visible in both orientations.
It’s time to see how the app behaves in a multitasking environment. Swipe from the right edge of the screen to expose the list of multitasking-ready apps on your iPad. This can be tricky in the simulator; try starting with your mouse pointer just inside the simulator window to simulate a swipe in from the edge.
Tap on any app to launch it. A small version of the app opens in the previous position of the list. At this point you’re in Slide Over multitasking mode. Note that Travelog is dimmed out but otherwise unaffected. The app running in Slide Over mode sits on top of Travelog, and a short handle bar sits at top of the Slide Over. Swipe down on the handle to expose the list of multitasking apps and launch a different app in the Slide Over.
You’ll notice a handle at the edge of the Slide Over view. Tap it, and you’ll see the following:

W00t! The screen just divided in two! Isn’t that neat?! This is Split View multitasking mode. Travelog is now available for use and resized itself to fit the new, narrower portion of the window.
The primary app is the original running app, while the secondary app is the newly opened app. If you drag the divider further out, the screen will split 50:50 between the apps. Drag it all the way to the other side and you’re back to single app mode. The primary app is backgrounded at this point.
Now that you have an idea of the multitasking modes on iPad, it’s time to take a closer look and improve your app to better support multitasking.
Preparing your app for multitasking
Here’s the good news: if you paid attention at WWDC 2014 and built a universal app with size classes, adaptive layout and a launch storyboard or XIB, you’re done! Rebuild your app with the iOS 9 SDK, go grab yourself a beverage and I’ll see you next year!
What’s that? You live in the real world and don’t quite have all the above implemented in your app? Okay then; this tutorial will walk you through what it takes to make your app multitasking-ready.
Any new project created in Xcode 7 is automatically multitasking-ready. An existing app you convert to Xcode 7 automatically becomes multitasking-ready if your app:
- Is a universal app
- Is compiled with SDK 9.x
- Supports all orientations
- Uses a launch storyboard
Since all the required criteria are in place, Travelog automatically becomes multitasking ready. That’s great news, but just because it’s multitasking ready doesn’t mean that everything will work as expected. The remainder of this tutorial will help you work through common pitfalls encountered when converting existing apps to multitasking apps.
Orientation and size changes
Run Travelog in Split View mode and rotate the iPad to portrait orientation; you’ll see the app layout changes:
While this layout is functional, it can certainly stand to be improved. There’s whitespace wasted on the left hand side and all the labels are squashed over to the right hand side.
Now rotate the device to landscape orientation:
Again, it’s functional, but the master view column is too narrow and the text inside the table view cells doesn’t really provide any value.
The app already performs some layout updates on orientation change; that seems like the best place to start.
Open SplitViewController.swift; this is a subclass of UISplitViewController and overrides viewDidLayoutSubviews() so it can update the maximum width of primary column via helper method updateMaximumPrimaryColumnWidth(). The implementation of updateMaximumPrimaryColumnWidth() checks the status bar orientation to determine what the maximum width should be. This approach won’t work any longer, since the app can still have a narrow window in split view mode when it’s in landscape orientation.
UIKit provides a number of anchor points where you can hook in and update your layout:
- willTransitionToTraitCollection(_:, withTransitionCoordinator:)
- viewWillTransitionToSize(_:, withTransitionCoordinator:)
- traitCollectionDidChange(_:):
Not all multitasking or orientation changes trigger a size class change, so you can’t simply rely on size class changes to provide the best user experience.
It looks like viewWillTransitionToSize(_:, withTransitionCoordinator:) is a good candidate for an update. Remove viewDidLayoutSubviews() and updateMaximumPrimaryColumnWidth() from SplitViewController.swift and add the following:
func updateMaximumPrimaryColumnWidthBasedOnSize(size: CGSize) {
  if size.width < UIScreen.mainScreen().bounds.width
    || size.width < size.height {
      maximumPrimaryColumnWidth = 170.0
  } else {
    maximumPrimaryColumnWidth = UISplitViewControllerAutomaticDimension
  }
}
This helper method updates the split view's maximum primary column width; it returns the smaller version when the split view is narrower than the screen, such as in a multitasking situation, or when the split view itself has a portrait orientation.
You'll need to call this helper method when the view is first loaded, so add the following:
override func viewDidLoad() {
  super.viewDidLoad()
  updateMaximumPrimaryColumnWidthBasedOnSize(view.bounds.size)
}
This ensures that the split view starts in the right configuration.
Add one final method:
override func viewWillTransitionToSize(size: CGSize,
  withTransitionCoordinator coordinator:
  UIViewControllerTransitionCoordinator) {
    super.viewWillTransitionToSize(size,
      withTransitionCoordinator: coordinator)
    updateMaximumPrimaryColumnWidthBasedOnSize(size)
}
This method updates the primary column when the size changes.
Build and run your app; first verify for all orientations that the app still looks and behaves as it did before multitasking. Then bring in another app in Split View and try some different orientations:

Hmm — it's certainly not fixed. It even looks more broken now: with multitasking enabled in landscape orientation, the master column view has been jacked up! It looks like the table view cell doesn't adapt to size changes appropriately.
Open LogCell.swift and find the implementation of layoutSubviews(); you'll see the code checks for UIScreen.mainScreen().bounds.width to determine whether it should use the compact view or regular view.
UIScreen always represents the entire screen, regardless of the multitasking state. However, you can't rely on screen sizes alone anymore. Update the implementation of layoutSubviews() as follows:
override func layoutSubviews() {
  super.layoutSubviews()
  let isTooNarrow = bounds.width <= LogCell.widthThreshold
  // some code ...
}
Also update widthThreshold, declared at the beginning of LogCell, as follows:
static let widthThreshold: CGFloat = 180.0
The updated code checks the width of the cell itself instead of the width of the screen. This decouples the view's behavior from that of its superview. Adaptivity is now self-contained! :]
Build and run; again, verify the app still looks and behaves as it did before multitasking. This time around, Split View mode should play nicely in all orientations: