Edit: This blog post was originally written in 2014 but we have updated it for ExpressionEngine 3.x as of 1/30/17. Hope you enjoy!
Welcome back to the Blue Fish ExpressionEngine Tutorial - Create a blog series. Part 2 is all about creating custom fields, categories and channels. Before we begin, if you haven't read Part 1: Installation, you can do so here.
Creating Channel Fields
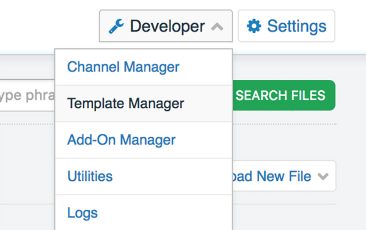
Creating channel fields, categories and a channel is pretty easy to do. To begin you'll need to log in to your EE install and click Create from the top nav. Hover over and click New Channel.
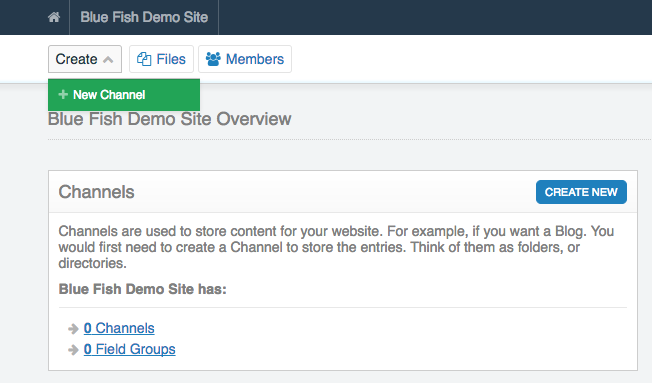
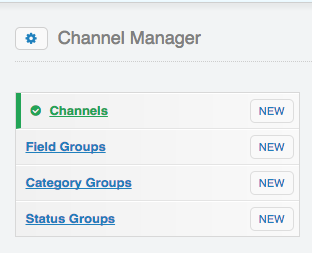
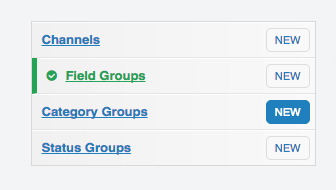
You are now at the Create Channel screen. We actually want to create the Channel Fields first so click on the New button next to Field Groups.
Channel Fields in ExpressionEngine are organized into Channel Field Groups. At Blue Fish, we like to create Channel Field Groups for each Channel we create as it keeps the site more organized and manageable. To create just give the Field Group a name. In this situation, we will name ours 'Blog'. Hit the Save Field Group button and your field group has been created.
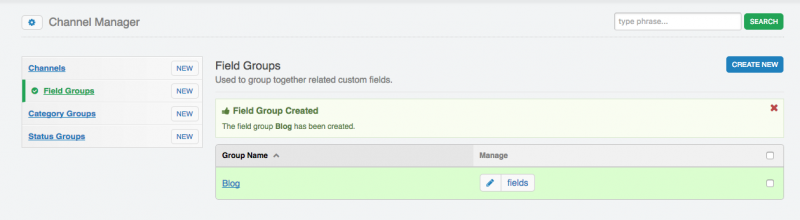
Now its time to start adding fields within that group. These fields will make up the sections of content we will input for each entry in the blog. To start, click the Fields button next to the pencil looking (edit) button. You are now at the Channel Field screen for the Blog Channel Field Group. Lets create our first Channel Field by clicking the button titled Create New on the far right.
Welcome to the create a new channel field screen. On this page you're presented with a number settings and options for the new channel field we are going to create.
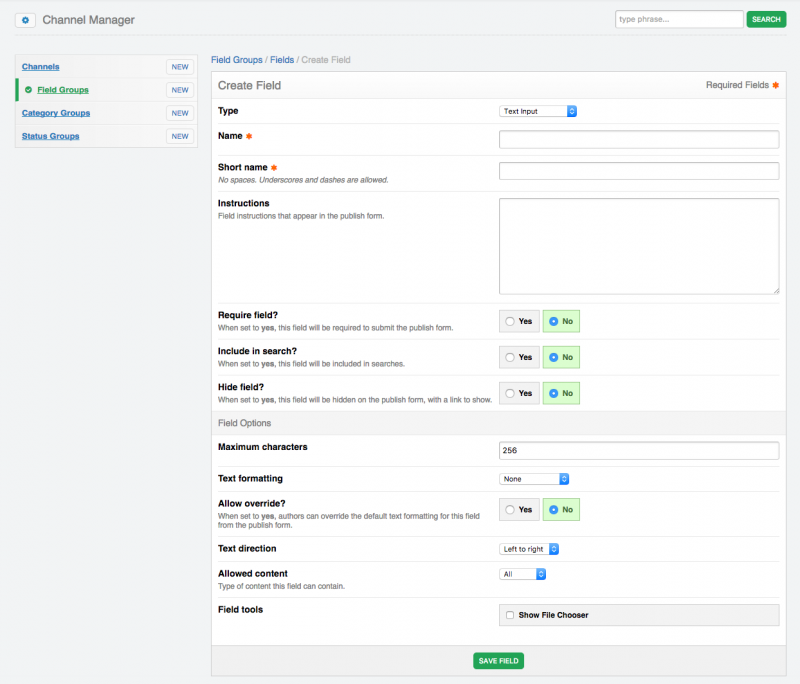
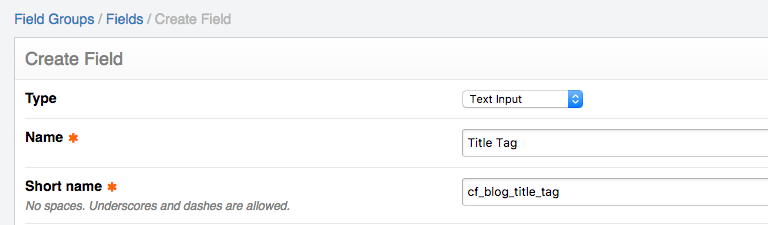
This page lets you create or edit fields. There are 11 fieldtypes by default and lots more via third party add-ons. The first section is the field settings; type, label, short name, etc. For our blog section the first channel field we will create will be for our Title tag (an explaination for this field will come in part 3). For the type select 'Text input' (should be selected by default). For the Field Label type in Title Tag. Notice the Short Name is automatically being created with what you place in the field label section. After you've input the field label, we will want to update the short name by adding cf_blog_ in front of the text already in place.
Some of the fields have a brief explanation of what they are and do, such as Field Instructions. Continuing with the field creation we won't add any instructions and the settings for the remaining 4 settings will remain as is.
Next section are the Field Options. This is where we can add a little more customization to the field. These have a default value in place of which we can edit. For this field we will only edit the Maxlength field, changing it from 256 to 60. We'll go more in depth on why we are limiting it to 60 characters in a future blog post in this series but the short explanation is that that is all the characters that Google recognizes for Title Tags. We are now done with this field, so at the bottom click the green Save Field button. You are now taken back to the Blog Field Group page, show the newly created field.
Let continue by creating another field by clicking the Create New button on the far right again. This field will have a lot of the same settings as the first field but with a few changes. The field type will be text input, field label will be Meta Description, add cf_blog_ in front of the created short name and the rest of settings stay the same. Under options the only thing we will change will be the Maxlength from 256 to 160. Hit the Save Field button.
The next field we will create is going to be using a third-party add-on called Channel Images. This add-on was installed in Part 1. Click the Create New button on the far right and once on the create a new channel field page, select Channel Images in the type drop down.
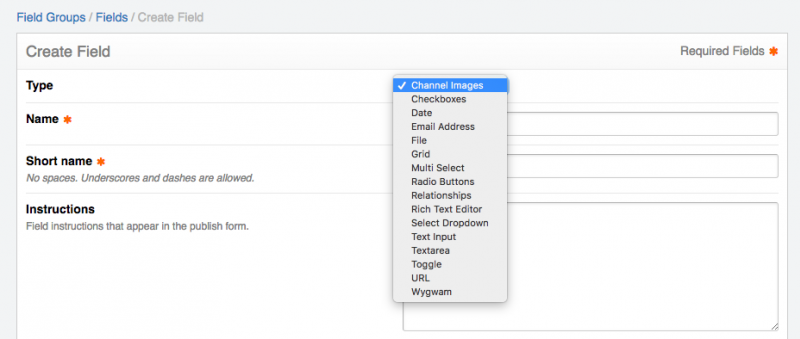
We are going to label this field Images. Again make sure to add the cf_blog_ in the front of the created Short Name. The remaining settings stay the same. Under Field Options we will make adjustments and customize this field. You'll see 5 sections, the first being 'Field Options'.
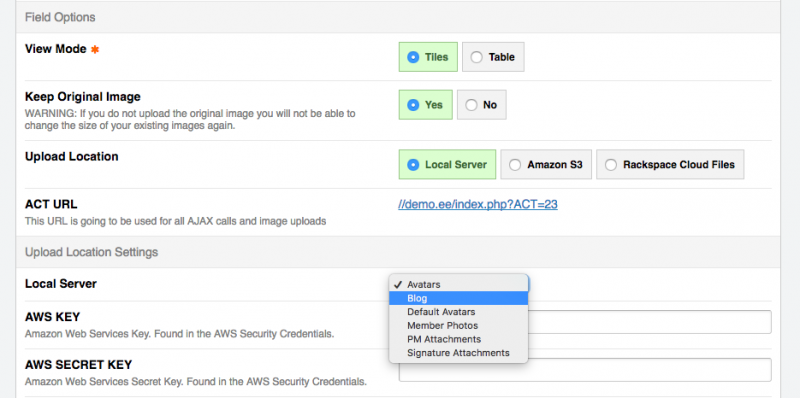
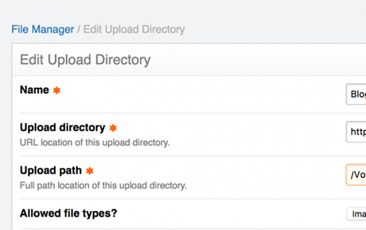
We need to address the upload location settings, here you'll basically select the location you are uploading the images to. We will keep it as Local Server and for the Local Server location (right below in the Upload Location section) we select 'Blog'.
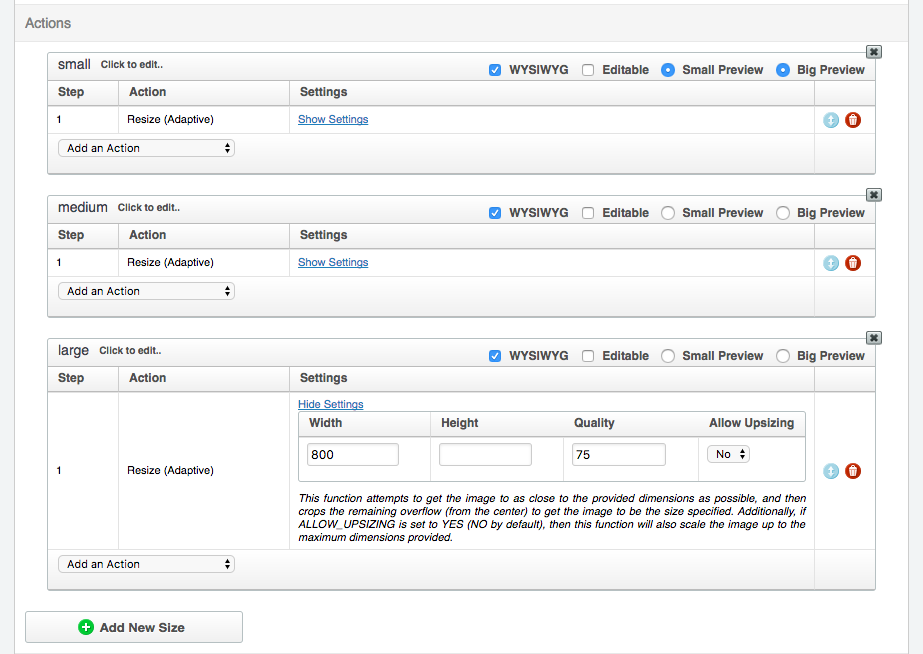
In the Actions Section you are presented with 3 image sizes. A brief explanation of how Channel Images works is when you upload an image in this field any actions you have in this tab will be preformed. You can have the field preform many actions if needed but for this tutorial we will stick with the basic adaptive resize. The only change we will make here is editing the 'large' action. Click the 'Show Settings' link and remove the height, leaving it blank. This tells Channel Images to resize the image width and just adjust the height to maintain the same aspect ratio.
Scroll all of the way down and click on the Save Field button to create the Images Field.
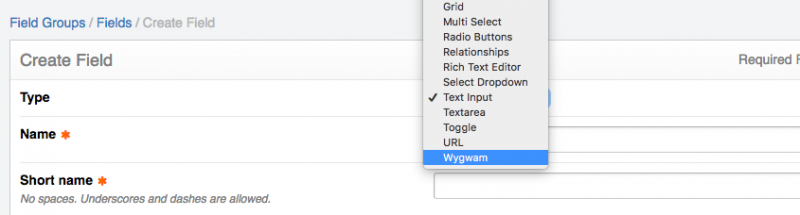
We are ready to create our last channel field for the Blog Group. Click the Create New button on the far right once again. This field is going to be our main content field. For this field type select another third-party add-on in the drop down titled 'WYGWAM'.
Label this field Content and make sure to add the cf_blog in front of the created Short Name. The remaining settings will stay the same. Next is the Field Options; we will make a few adjustments to customize this field.
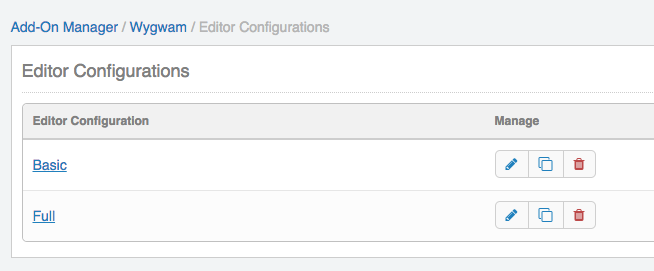
There are 2 settings here, both of which you'll leave as is, however you'll want to click the 'Edit Configurations' link (see image above). Once you click that you are at the Editor Configurations page and are provided with two default configurations, both of which are default to Wygwam. We want to edit the Basic configuration; to do so either cmd/click or ctrl/click 'Basic' so that it opens up in a new tab.
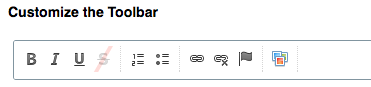
Customizing the toolbar is pretty simple. What we want to do is add the Channel Images icon to the toolbar. To do so click, drag and drop the icon into the top toolbar so it looks like the following:
After doing that click the green Save button at the bottom. The page will refresh. You will need to close the tab to return back to the previous tab/window. Once you have done that you can click Save to create the Content field.
Categories
Creating categories in ExpressionEngine is pretty easy. To do so, click New next to Category Groups.
Name the category group Blog. The rest of the preferences will stay the same.
Click the green Save button and the 'Blog' category group has been created.
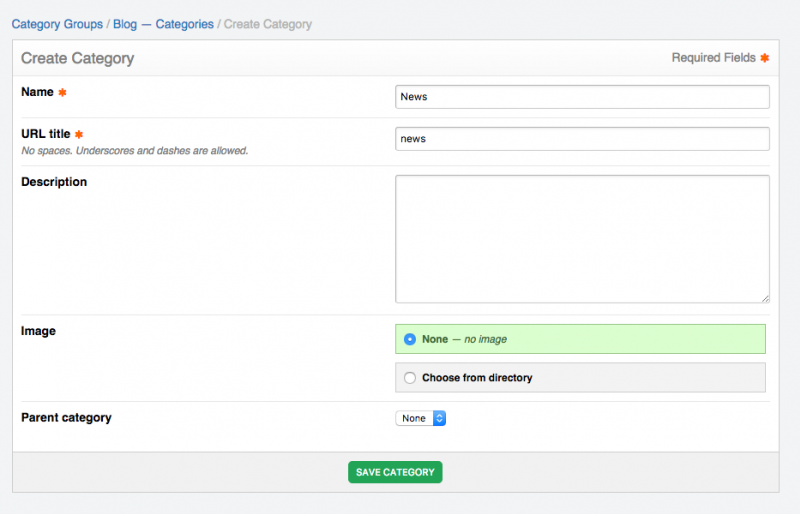
Clicking on the title of the Category Group, Blog, will take us to the Blog category group page. On the far right click the 'Create New Category' button. Once on the create a new category page give the category a name, for this tutorial our first category will be News. The category URL title will automatically be filled in reference to the category name. Nothing else will be added so go ahead and click the green Save Category button.
Repeat the above process 2 more times naming the categories Sports and Weather, this will fill out our Blog category group.
Channel
The last step is to create our Channel. To do so, click the New button next to Channel.
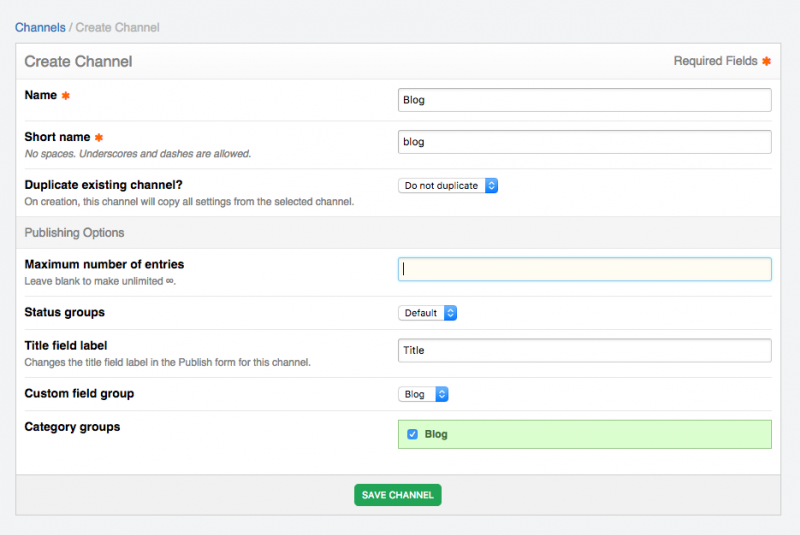
Name the channel Blog, again the short name is automatically created. Under the Publishing Options section, select 'Blog' in the Category Group row, Status Groups select 'Default' from the drow down, and select 'Blog' from the drop down for Channel Field Group. Click that little green Save Channel button and boom, our Blog channel has been created.
That's it! We have created everything we'll need to start publishing entries in our Blog section. Check back next week for Part 3 of the ExpressionEngine Tutorial: Create a Blog series
As always, if you need any help with ExpressionEngine; drop us a line.