
Routing in Shell - The New Navigation Paradigm in Xamarin Forms

Since my previous posts about the new Shell, Xamarin released Xamarin Forms 4, and with it the release (non-beta) version of the Shell, which comes immediately with some improvements. Without changing the code that I created in the previous post -in which I created a few elements that the flyout menu displayed, as well as some tabs and “secondary” tabs- the interface now looks better. It finally includes that hamburger icon, and the list of items looks ok on notched-iPhones, something that was missing at least on the Xamarin Forms 3.6 version I used in the post I mentioned:

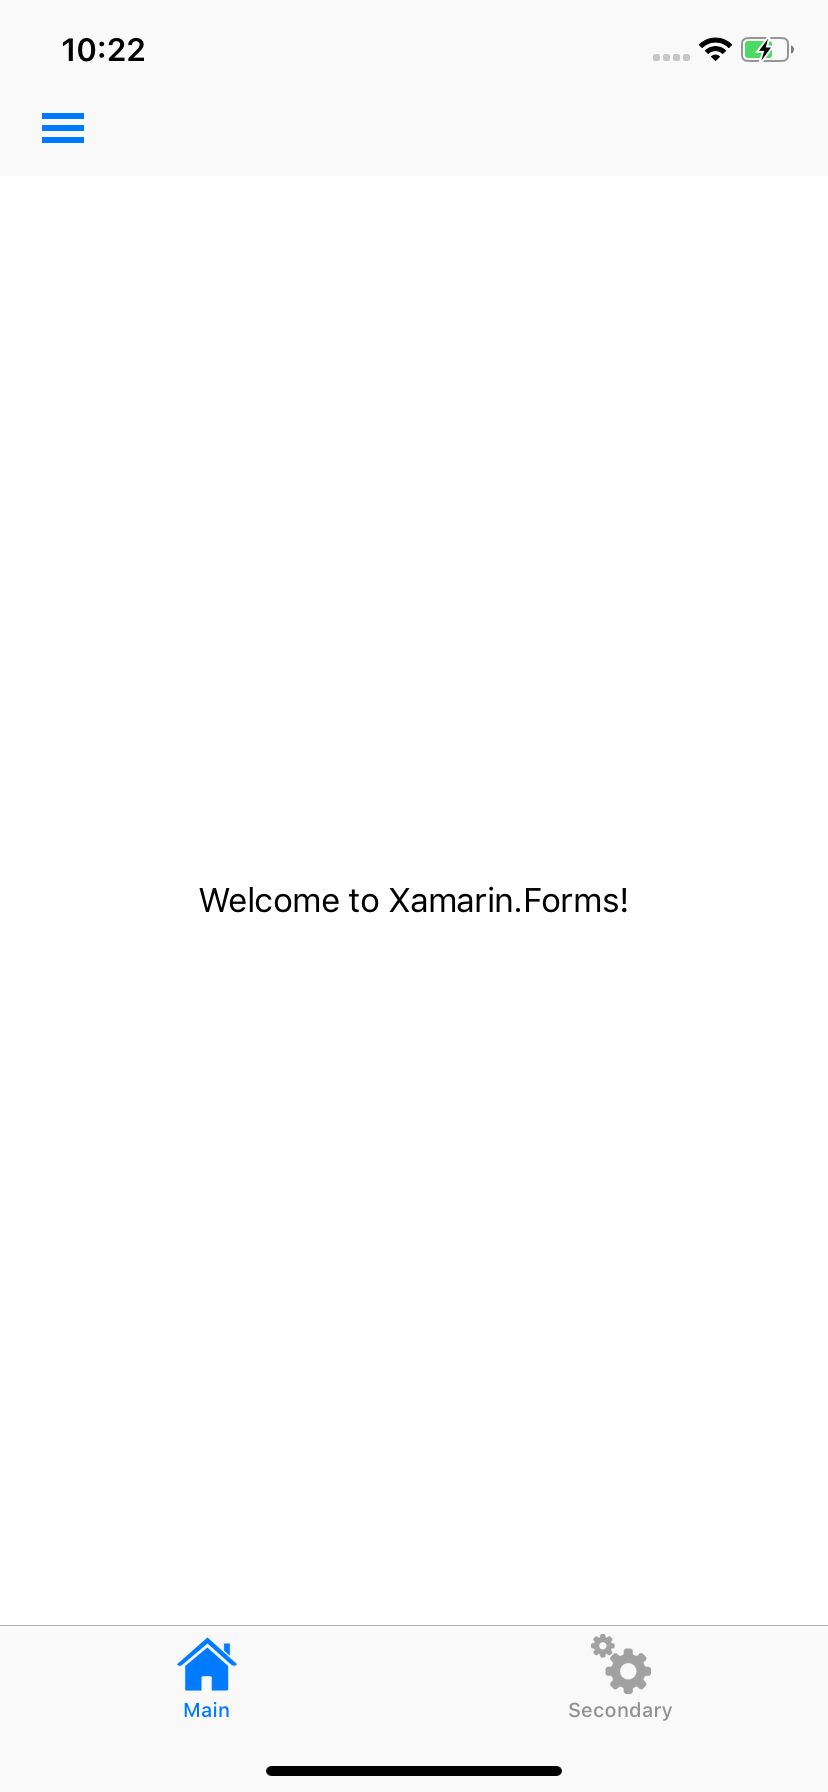
Better, right?
With the 4th version of Xamarin Forms, and being the Shell out of preview, it also means that you should finally feel comfortable using it on your production apps. These production apps, more often than not, need to rely on more complex navigation than just tabs and flyout menus, so in this post, I cover how you can use routing to navigate to any part of the shell with just a few lines of code.
Setting up the Routes
Before you begin, make sure you fork the repository that contains the code for this post.
By using routing within your apps, you can navigate to any part of it with just one line of code, no matter how deep in the Shell structure that page is on. All you need is to assign some route to the individual elements inside of your Shell definition so you can identify each of them, and then navigate to them in a very similar way to which you would use on the traditional navigation that you may remember from the NavigationPage days.
Following up on the example that I set in the previous post then, here is how my Shell XAML looks like now with all the elements with their Route property set.
<ShellItem Route="First"
           Title="Example"
           Icon="main.png">
    <ShellContent Route="Main"
                  Title="Main"
                  Icon="main.png">
        <local:MainPage/>
    </ShellContent>
    <ShellContent Route="Secondary"
                  Title="Secondary"
                  Icon="sec.png">
        <local:SecondaryPage/>
    </ShellContent>
</ShellItem>
<ShellItem Route="Second"
           Title="Another one"
           Icon="sec.png"
           FlyoutDisplayOptions="AsMultipleItems">
    <ShellContent Route="Secondary"
                  Title="Secondary"
                  Icon="sec.png">
        <local:SecondaryPage/>
    </ShellContent>
    <ShellContent Route="Main"
                  Title="Main"
                  Icon="main.png">
        <local:MainPage/>
    </ShellContent>
</ShellItem>
<ShellItem Route="Third"
           Title="Third element"
           Icon="main.png">
    <ShellSection Route="Section">
        <ShellContent Route="Main"
                      Title="Main"
                      Icon="main.png">
            <local:MainPage/>
        </ShellContent>
        <ShellContent Route="Secondary"
                      Title="Secondary"
                      Icon="sec.png">
            <local:SecondaryPage/>
        </ShellContent>
    </ShellSection>
</ShellItem>
Notice that every ShellItem, every ShellSection, and every ShellContent has a Route. True, some values may repeat themselves, but they end up being unique when you combine them with their parent’s Route. For example, the full route to the first content in the first item is First/Main, while the route to the first content in the third item (even though also called Main) would be Third/Section/Main. So every route ends up being unique.
Navigating using Routes
Now that we have set the routes navigating to a particular place in the whole Shell structure is very easy. In my case, I have added a button to the MainPage that I have been using, and for simplicity set an event handler for its click event.
I know that the first page that is displayed is this MainPage, from inside the first ShellItem, say that from there I want to navigate to the Secondary page in the Third item (that which is inside the Section). All I need is to identify its route: Third/Section/Secondary, and with that route, call this method:
Shell.Current.GoToAsync("//Third/Section/Secondary");
This method is using an absolute route, meaning that no matter where I am on the Shell structure, I always end up on the same route. In my example, I can verify this by clicking that button from any of the MainPages that I have (notice that a MainPage exists in three different locations within the Shell). No matter in which route I’m in if I click that button, I end up in the SecondaryPage that exists inside the Section inside the Third ShellItem.
BTW, there is a second -boolean- argument for the GoToAsync method. By default, it is already set to true and defines whether or not the Shell should perform the navigation with an animation. You can, of course, always change it to false.
Navigating to a Page that is not part of the Shell Structure
That GoToAsync is quite easy to use, right? However, what happens if you have a page that is not part of the Shell structure? Say a LoginPage that shouldn’t be anywhere in that structure (you don’t get to it from a tab or the flyout menu) but to which you still want to navigate to in some scenarios.
In this case, you first have to register the route, not from the Shell’s XAML file, but its constructor. For example, if you have a LoginPage to which you want to navigate on the click of a button from the SecondaryPage you need to follow these steps:
Register the route
As I mentioned, from Shell’s constructor, you can register a unique route that points to this new page:
public MainShell()
{
    InitializeComponent();

    Routing.RegisterRoute("login", typeof(LoginPage));
}
Use the route
Just as we did with the Routes registered directly from the XAML file, you can use the GoToAsync method now using this new route. It works in the same way. So if I add a new button to my SecondaryPage and for simplicity define a click event handler, the handler can use the method as you’d expect:
void Handle_Clicked(object sender, System.EventArgs e)
{
    Shell.Current.GoToAsync("login");
}
The result is slightly different, though. The Shell knows what kind of navigation it is performing, so it uses a different animation accordingly. Also, because this route doesn’t exist within the main Shell structure, you are navigated differently into a new view with its back button and all:

Navigate back
To navigate back (say from that Log in button, after we have authenticated the user), you can use a familiar method. If that button also has an event handler, from there, you can access the current Shell’s Navigation property, which happens to have a bunch of familiar methods, including the PopAsync method:
Shell.Current.Navigation.PopAsync();
But that is not a log in page!
True, if this is an actual LoginPage, you don’t see a back button nor the tabs from inside it! You see the LoginPage and the LoginPage only. So there is alternative navigation that you can use if you only want this page to be displayed, not within the Shell, but using the full screen.
Using the Route
When using the route, instead of using GoToAsync, you can use another familiar method from the Navigation property of the current Shell. Just like there is a PopAsync method, there is a PushModalAsync method, which as you can imagine, executes modal push navigation.
That SecondaryPage’s button’s event handler could look like this instead:
void Handle_Clicked(object sender, System.EventArgs e)
{
    //// Shell.Current.GoToAsync("login");
    Shell.Current.Navigation.PushModalAsync(new LoginPage());
}
Navigating back
Of course, this also means that navigating back has to be slightly different as well after all the navigation was different. The updated event handler for the LoginPage’s login button looks like this:
void Handle_Clicked(object sender, System.EventArgs e)
{
    //// Shell.Current.Navigation.PopAsync();
    Shell.Current.Navigation.PopModalAsync();
}
These couple of changes maintain the navigation to the LoginPage and back, except this time, the user sees this instead of what we saw in the previous screenshot -no more back buttons or tab bars in sight.

There you have it, how to use routing inside of your Xamarin Forms apps using the new Shell. Still a bunch of things left to cover about this new navigation paradigm, namely how to pass data when navigating using this routing technique, and how to do some customizations to make our app look better, but for now I hope you start to use the Shell in even more scenarios!
This topic, along with many many others, is covered in greater depth in my 25-hour long "The Complete Xamarin Developer Course: iOS and Android" course, which you can practically steal from me by