How to Make a Game Like Mega Jump With Sprite Kit and Swift: Part 2/2
In this final part of the tutorial series, you’ll finish your game like Mega Jump, and add the level design, accelerometer support, and HUD using Swift and Sprite Kit! By Michael Briscoe.
Update April 17, 2015: This tutorial was updated for Xcode 6.3 / Swift 1.2 by Michael Briscoe. Original post by tutorial team member Toby Stephens.
Welcome to the second part of the tutorial series that walks you through using Sprite Kit and Swift to create a game like Mega Jump.
In the first part of the tutorial, you created a new Sprite Kit game called “Uber Jump.” You added graphics, a player sprite and some gameplay elements.
In this second part, you’ll use that firm foundation to build an entire level for Uber Jump, including a scoring system. You’ll also add accelerometer support so that your Uber Jumper can move from side to side as well as up and down. When you’re done, you’ll have a completely playable game that you could expand in many different ways.
As with Part One, be sure you are familiar with the basics of Sprite Kit before continuing.
Your level awaits; so let’s jump to it!
Getting Started
If you don’t have it already, grab a copy of the complete project from Part One.
Your level will contain many stars and platforms. Rather than arrange them manually, download this level configuration file, and drag Level01.plist into your Xcode project. Make sure that “Destination: Copy items if needed” is checked and that your UberJump target is selected.
Open Level01.plist and examine its contents. At the root, it has three elements:
- EndY specifies the height the player must reach to finish the level.
- Stars defines the positions of all the stars in the level.
- Platforms defines the positions of all the platforms in the level.
The Stars and Platforms elements each contain two sub-elements:
- Patterns contains a number of reusable patterns of stars or platforms.
- Positions specifies where to place the patterns of stars or platforms throughout the level.

To better understand the file format, take a look at Stars/Positions/Item 0. This contains three elements telling the game to place stars in a cross pattern positioned at (160, 240).

Now look at Patterns/Cross and you’ll see this pattern is made up of five items, including (x, y) coordinates relative to the position given in Stars/Positions and the type of star, where Normal = 0 or Special = 1.

This is simply a convenient way of reusing patterns of stars and platforms without having to code the position of every individual object.

Loading the Level Data
To add support for loading the level from Level01.plist, open GameScene.swift and add the following property to the class:
// Height at which level ends
var endLevelY = 0
endLevelY will store the height, or y-value, that the player must reach to finish the level.
Insert the following code into init(size:), just before the lines that instantiate and add a platform:
// Load the level
let levelPlist = NSBundle.mainBundle().pathForResource("Level01", ofType: "plist")
let levelData = NSDictionary(contentsOfFile: levelPlist!)!

// Height at which the player ends the level
endLevelY = levelData["EndY"]!.integerValue!
This loads the data from the property list into a dictionary named levelData and stores the property list’s EndY value in endLevelY.
Now for the stars and platforms. Begin with the platforms. In init(size:), replace the following lines:
// Add a platform
let platform = createPlatformAtPosition(CGPoint(x: 160, y: 320), ofType: .Normal)
foregroundNode.addChild(platform)
With this code:
// Add the platforms
let platforms = levelData["Platforms"] as! NSDictionary
let platformPatterns = platforms["Patterns"] as! NSDictionary
let platformPositions = platforms["Positions"] as! [NSDictionary]

for platformPosition in platformPositions {
  let patternX = platformPosition["x"]?.floatValue
  let patternY = platformPosition["y"]?.floatValue
  let pattern = platformPosition["pattern"] as! NSString

  // Look up the pattern
  let platformPattern = platformPatterns[pattern] as! [NSDictionary]
  for platformPoint in platformPattern {
    let x = platformPoint["x"]?.floatValue
    let y = platformPoint["y"]?.floatValue
    let type = PlatformType(rawValue: platformPoint["type"]!.integerValue)
    let positionX = CGFloat(x! + patternX!)
    let positionY = CGFloat(y! + patternY!)
    let platformNode = createPlatformAtPosition(CGPoint(x: positionX, y: positionY), ofType: type!)
    foregroundNode.addChild(platformNode)
  }
}
There’s a lot going on here, but it’s simple stuff. You load the Platforms dictionary from levelData and then loop through its Positions array. For each item in the array, you load the relevant pattern and instantiate a PlatformNode of the correct type at the specified (x, y) positions. You add all the platform nodes to the foreground node, where all the game objects belong.
Build and run. You’ll see a set of three platforms aligned in the scene, which is the “Triple” pattern described in Level01.plist.

Now do the same for the stars. Inside GameScene.swift, replace the following line in init(size:):
// Add a star
let star = createStarAtPosition(CGPoint(x: 160, y: 220), ofType: .Special)
foregroundNode.addChild(star)
With this code:
// Add the stars
let stars = levelData["Stars"] as! NSDictionary
let starPatterns = stars["Patterns"] as! NSDictionary
let starPositions = stars["Positions"] as! [NSDictionary]

for starPosition in starPositions {
  let patternX = starPosition["x"]?.floatValue
  let patternY = starPosition["y"]?.floatValue
  let pattern = starPosition["pattern"] as! NSString

  // Look up the pattern
  let starPattern = starPatterns[pattern] as! [NSDictionary]
  for starPoint in starPattern {
    let x = starPoint["x"]?.floatValue
    let y = starPoint["y"]?.floatValue
    let type = StarType(rawValue: starPoint["type"]!.integerValue)
    let positionX = CGFloat(x! + patternX!)
    let positionY = CGFloat(y! + patternY!)
    let starNode = createStarAtPosition(CGPoint(x: positionX, y: positionY), ofType: type!)
    foregroundNode.addChild(starNode)
  }
}
This is exactly what you did to create the platforms, but this time you create stars for the items in the Stars dictionary.
Build and run. This is starting to look like a real game!

The Midground Layer
Graphically, there’s just one more thing to add to give the game a greater illusion of depth, and that’s the midground layer. This is the node that’s going to contain decorative graphics to bring the game to life.
Add the following method to GameScene.swift:
func createMidgroundNode() -> SKNode {
  // Create the node
  let theMidgroundNode = SKNode()
  var anchor: CGPoint!
  var xPosition: CGFloat!

  // 1
  // Add some branches to the midground
  for index in 0...9 {
    var spriteName: String
    // 2
    let r = arc4random() % 2
    if r > 0 {
      spriteName = "BranchRight"
      anchor = CGPoint(x: 1.0, y: 0.5)
      xPosition = self.size.width
    } else {
      spriteName = "BranchLeft"
      anchor = CGPoint(x: 0.0, y: 0.5)
      xPosition = 0.0
    }
    // 3
    let branchNode = SKSpriteNode(imageNamed: spriteName)
    branchNode.anchorPoint = anchor
    branchNode.position = CGPoint(x: xPosition, y: 500.0 * CGFloat(index))
    theMidgroundNode.addChild(branchNode)
  }

  // Return the completed midground node
  return theMidgroundNode
}
Take a closer look at this code:
- You add ten branches to
midgroundNode, spaced evenly throughout the level. - There are two different branch images, one showing branches coming in from the left of the screen and the other from the right. Here you grab one randomly.
- You space the branches at 500-point intervals on the y-axis of the midground node.
Now add the midground node to your scene by inserting the following code into init(size:), immediately after the line that adds the background node:
// Midground
midgroundNode = createMidgroundNode()
addChild(midgroundNode)
Build and run. Look! It’s a branch (of sorts) and maybe some pink butterflies!
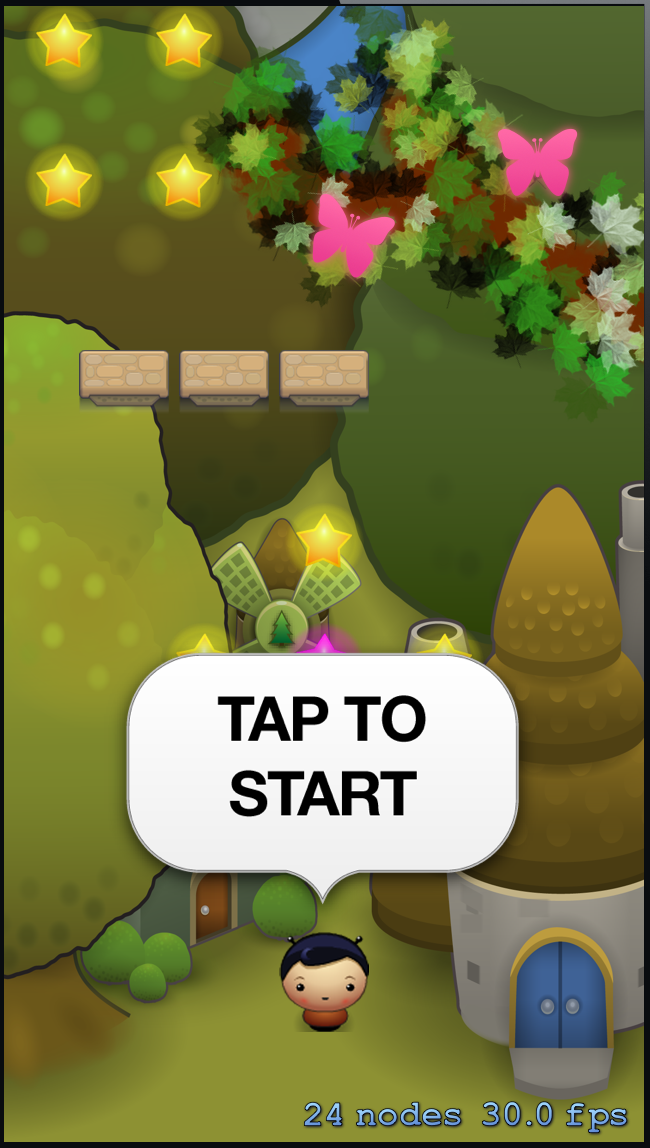
Note: The pink butterflies will only appear if the randomly-chosen branch is the one coming from the right side of the screen. The left branch image does not include the butterflies.
Tap to start the game and you will see the player sprite shoot up the screen. However, even as the Uber Jumper ascends, the game world remains still.

The background, midground and foreground layers should all move with the player node to keep the player sprite in the center of the screen. You’re going to sort that out next.