Routing in Shell - Passing Information Between Pages

In the previous post I explained how you can use routing to navigate from any page inside the Shell to any other page (within or outside the Shell itself). Now I want to focus on the steps that you need to perform to get data flowing between the two pages.
This is of course crucial, as you create your application, many times, you will want the origin page to send data to the destination page, whether to display it or to use it to do something else, like read from a database the elements that contain a specific keyword or something.
Doing this is very easy, and we will have everything working in no time, so let’s get started.
Passing the data
If you have been following the previous post you know where we stand, if not, take a few minutes to explore the state of our example in this repo (the code in branch “post-3” is the one in which we begin this post).
Quick setup
So to that example in which we have been working on, I will add a couple of things. First, I will let the user type something inside of an entry that will be located in the MainPage. So I define that Entry and its name. We will add the text from that entry from the click of the button that is already there:
<StackLayout VerticalOptions="CenterAndExpand"
             Margin="16,0">
    ...
    <Entry x:Name="entryEntry"
           Placeholder="Type anything..."/>
    ...
</StackLayout>
Nothing new in here, of course. The next thing that I want to setup before diving into the actual communication between pages is that the SecondaryPage’s label should also have a name. The reason is that eventually, we want to change its text from the code-behind to whatever the user wrote in the entry that we just defined.
GoToAsync
In the event handler for the click of the MainPage’s button we are already calling a GoToAsync method that successfully navigates us to the SecondaryPage through some routing that we established from the Shell XAML file. Now, we have to modify the route that the GoToAsync method receives so that it includes the data that we want to send.
The first step is of course to get the text from the entry, that is easy to do:
string entry = entryEntry.Text;
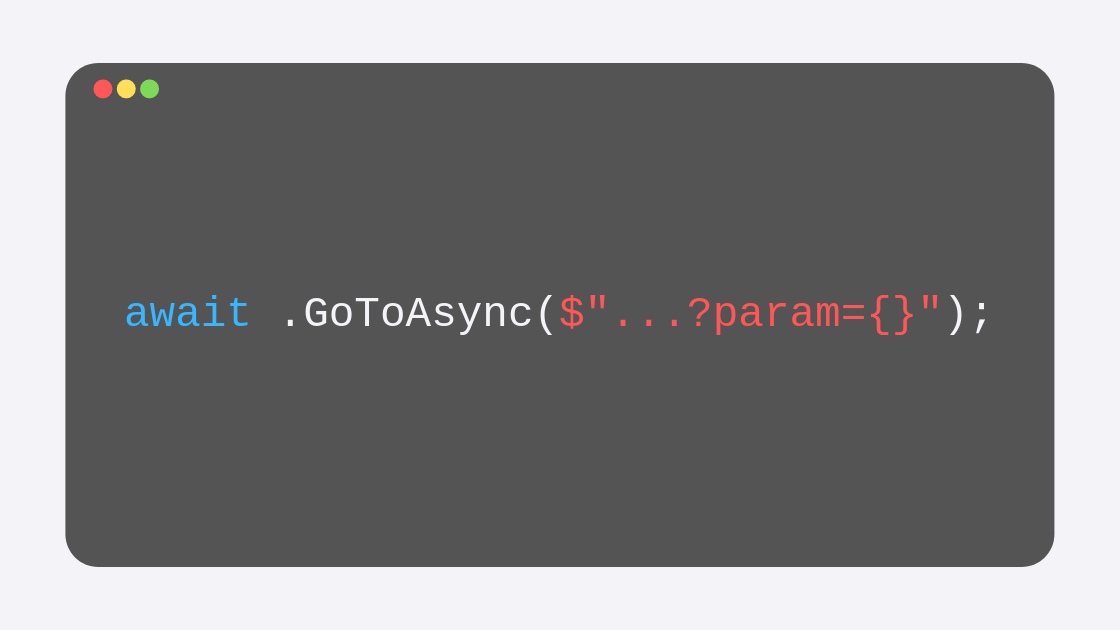
So all we need to do now is pass that entry value to the route inside the GoToAsync. After the complete route to which GoToAsync should navigate, we can pass parameters, any amount of parameters we may need. Let’s take a look at how we can do that:
Shell.Current.GoToAsync($"//Third/Section/Secondary?entry=");
Hopefully this string interpolation syntax of C# is nothing new to you, but if it is, essentially it will take the entry’s value and interpolate it within the string. For this the ‘$’ character is needed, and the variable must be passed inside the curly brackets.
But the main thing to notice here is how the parameter is being passed. Just as you would do with other URIs, after the path you add a question mark, marking the beginning of the list of parameters. From there, you type the name of the parameter and its value after the equal sign. If you want to pass more than one parameter you can use the ‘&’ character to separate parameters.
If the user types “Hello World!” and then presses the button, the entire string that the GoToAsync method gets is this:
//Third/Section/Secondary?entry=Hello World!
Now the path contains the parameter.
Reading the passed value
Now it is the destination page’s role to read that value. We know that the navigation works, now we have to read that parameter. This requires a couple of steps.
Define a property
That parameter will eventually reside inside a property, so the destination page should define a property for each parameter. In my case I could define a new string Entry property inside the SecondaryPage class, like this:
public string Entry
{
    set
    {
        textLabel.Text = Uri.UnescapeDataString(value);
    }
}
Notice that as soon as the setter is called (which will happen after we finish the second step), I am setting the Text for my textLabel (which is the name I assigned to the label in my XAML file) to the value that the setter receives, but, since that value will be encoded for navigation, I have to decode it.
This just means that if the user types “Hello World!”, the value received by the setter will be encoded to “Hello%20World!”, and I don’t want that, so I use Uri’s UnescapeDataString method to decode it.
Add a Property Attribute
For each parameter that you pass in the route, you must add an attribute to the class. The Attribute is the QueryProperty, that will take:
The name of the Property (in my case Entry)
The name of the parameter that you passed to the route (in my case entry)
Very important to notice the name of the parameter that you passed to the GoToAsync method. Decorated with the attribute, my SecondaryPage class will look like this:
[QueryProperty("Entry", "entry")]
public partial class SecondaryPage : ContentPage
This attribute will call the setter of the property with the appropriate value, completing our post for today, that easy!
With this post, I conclude the series on the new Shell, if you read the four posts, you now know the basics of working with this new Xamarin Forms navigation paradigm.
Feel free to check the entire code for this post in the repo’s “post-4” branch, create issues if you find any, fork the repo, etc. And let me know how you will be using the new Shell on your own projects!
This topic, along with many many others, is covered in greater depth in my 25-hour long "The Complete Xamarin Developer Course: iOS and Android" course, which you can practically steal from me by