I am new to the Arduino community and have only done two simple projects so far using an Arduino Uno. I really like the way Arduino makes electronics so easy and opens it up to a wide range of people with varying abilities.
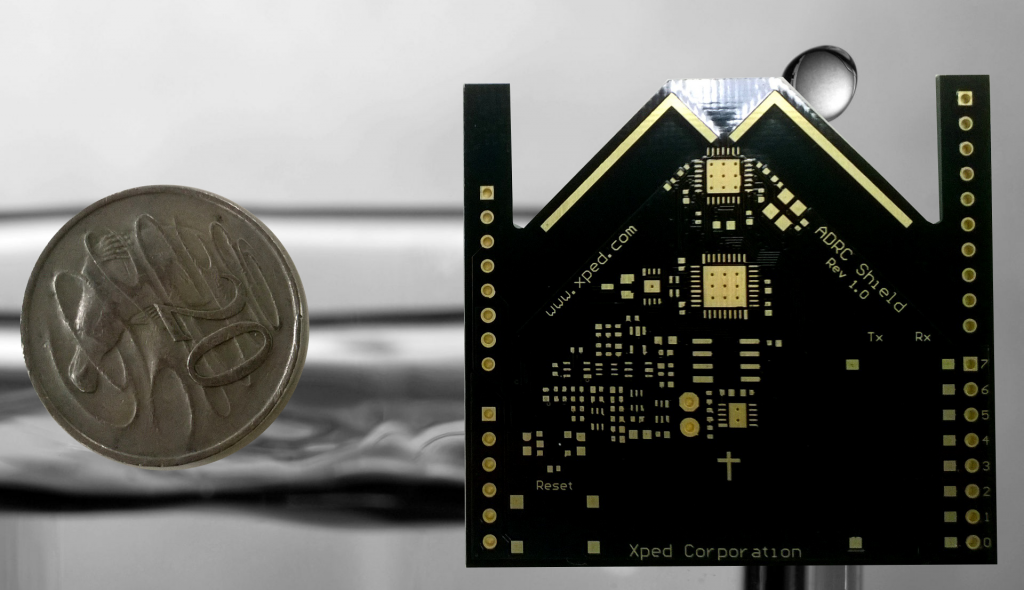
One thing I have been looking for is a way of making really stunning graphical user interfaces for my future Arduino projects. About 4 months ago I convinced the management to turn some of Xped's high tech into a Shield. And 2 months later we had the first prototype boards ready for alpha testing.
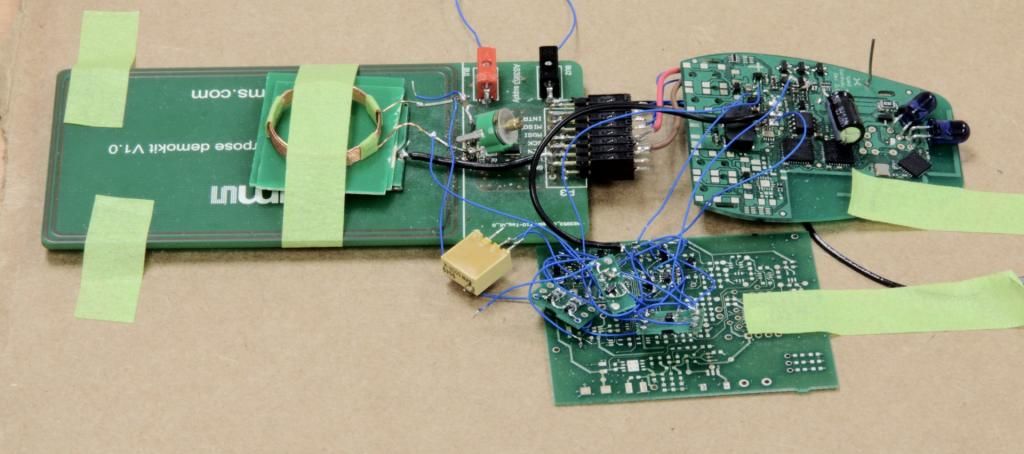
Here is a picture of how the project began. The board on the top left is an NFC development board we bought. The other 2 boards are in house boards we made for various other projects.
We wired together the parts of each board that we needed to get the features we were looking for. Here is a list of the main functions we came up with for the shield:
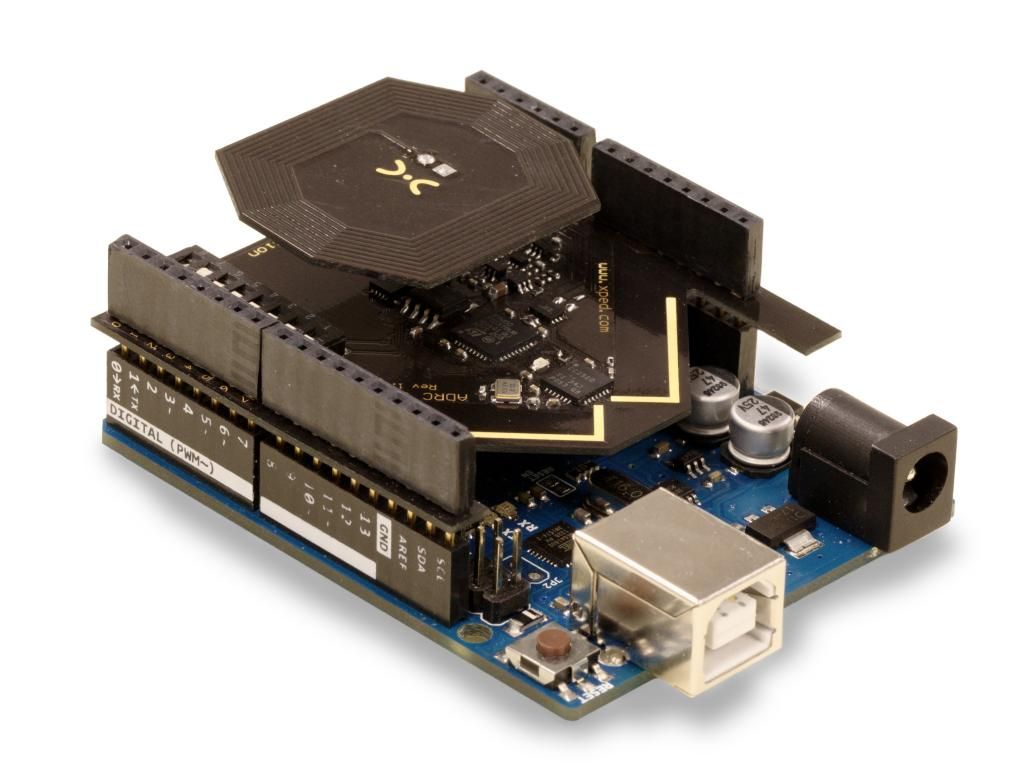
And not long after this we had a fully loaded and working shield. Here it is stacked on an Arduino Uno.
When the device browser is not running, tap a smartphone to a device and its webpage will open in the web browser. The phone's NFC feature is used.
This video shows how easy it is to pair a new device with a smartphone. With the device browser running tap the phone to a device. The phone's NFC feature is used.
The ADRC system allows you to setup rules so that devices can interact with each other to perform useful functions. This is sometimes referred to as M2M.
You can use more than one controller and controllers can be of different types. The display of all controllers will be kept in sync. This video shows three controllers all controlling the same device. One of the controllers is a soft-controller running on a desktop PC.
I don't know if you are familiar with Qt and how it builds GUIs (which is in some ways similar to the way it is done in Java SWING)? These systems use 3 main types of widgets: containers, controls and layout items. Our app on the phone is developed using Qt technology and our XML language (we call it Resource Markup Language or RML) describes the GUI in terms of arrangements of these kinds of widgets. I guess what I am trying to say (and doing it badly) is that using RML you can describe GUIs of any level of complexity.
Here are some examples:
SIMPLE EXAMPLE (the hello world for a GUI i.e. LED on/of):
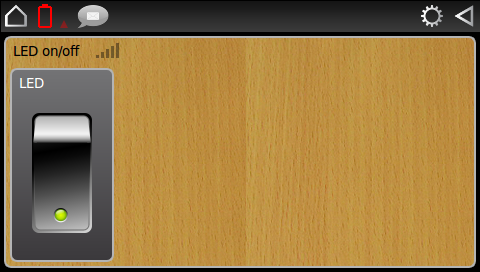
<screen name="main-page" margins="4">
<devicebox title="$(NICKNAME)" layout="horizontal" spacing="4" margins="4" skin="wood">
<xpcontrolbox bind="on" layout="horizontal" leftmargin="20" rightmargin="20" stretch="1">
<localetitle><en>LED</en></localetitle>
<xpsvgtoggleswitch bind="on" skin="Beryl"/>
</xpcontrolbox>
<spacer stretch="4"/>
</devicebox>
</screen>
MEDIUM COMPLEXITY:
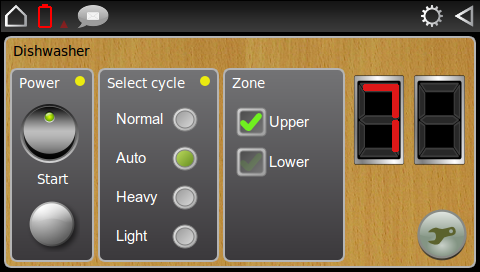
HIGH COMPLEXITY EXAMPLE (with style sheets and multi-screen):
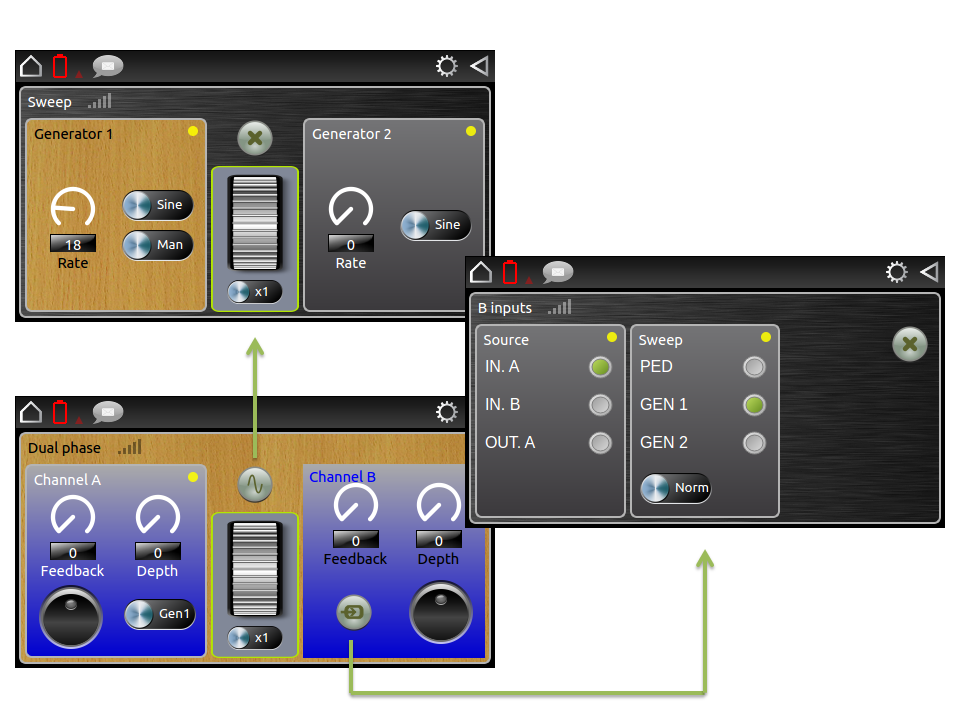
Here is a current list of widgets by type:
Layout/container items
A while ago I was looking for a low cost robot that could be controlled using Arduino. I found the Zumo Robot and bought a couple of these. A few days ago I spent about 20 minutes creating the RML and Arduino code for controlling the Zumo and here is a short video of the result.
The shield interfaces any Arduino project into the ADRC ecosystem as shown in this diagram:

At this time the ADRC Shield is in alpha test phase. A second board iteration is due soon at which time the shield will progress to beta test.
One thing I have been looking for is a way of making really stunning graphical user interfaces for my future Arduino projects. About 4 months ago I convinced the management to turn some of Xped's high tech into a Shield. And 2 months later we had the first prototype boards ready for alpha testing.
Here is a picture of how the project began. The board on the top left is an NFC development board we bought. The other 2 boards are in house boards we made for various other projects.
We wired together the parts of each board that we needed to get the features we were looking for. Here is a list of the main functions we came up with for the shield:
- Near Field Communications or NFC for short. This is the same technology behind wireless payments and is also known as PayWave and PayPass. NFC is a feature on many smartphones.
- Personal Area Networking or PAN for short using the 802.15.4 MAC layer communications protocol. This kind of PAN provides much greater range than Bluetooth.
- A hashing chip for participating in secure operations such as over-the-air firmware upgrades.
- An STM32F103R8 ARM Cortex M3 32-bit microcontroller.
- 256 KB of external FLASH memory.
- File system for storing data and other files.
And not long after this we had a fully loaded and working shield. Here it is stacked on an Arduino Uno.
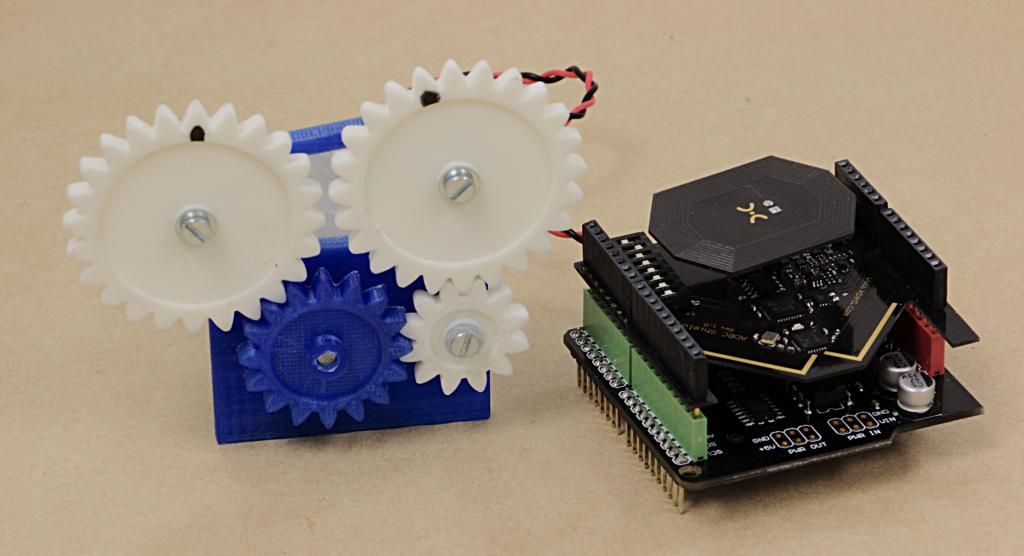
So currently we are writing a library for the shield that will make it really easy to use. Here is the first demo project we made with it. In this project
the shield is stacked on an off the shelf motor control shield which
connects to a small DC motor which drives some plastic gears we made on a
3D printer.
When the device browser is not running, tap a smartphone to a device and its webpage will open in the web browser. The phone's NFC feature is used.
This video shows how easy it is to pair a new device with a smartphone. With the device browser running tap the phone to a device. The phone's NFC feature is used.
The ADRC system allows you to setup rules so that devices can interact with each other to perform useful functions. This is sometimes referred to as M2M.
You can use more than one controller and controllers can be of different types. The display of all controllers will be kept in sync. This video shows three controllers all controlling the same device. One of the controllers is a soft-controller running on a desktop PC.
I don't know if you are familiar with Qt and how it builds GUIs (which is in some ways similar to the way it is done in Java SWING)? These systems use 3 main types of widgets: containers, controls and layout items. Our app on the phone is developed using Qt technology and our XML language (we call it Resource Markup Language or RML) describes the GUI in terms of arrangements of these kinds of widgets. I guess what I am trying to say (and doing it badly) is that using RML you can describe GUIs of any level of complexity.
Here are some examples:
SIMPLE EXAMPLE (the hello world for a GUI i.e. LED on/of):
<screen name="main-page" margins="4">
<devicebox title="$(NICKNAME)" layout="horizontal" spacing="4" margins="4" skin="wood">
<xpcontrolbox bind="on" layout="horizontal" leftmargin="20" rightmargin="20" stretch="1">
<localetitle><en>LED</en></localetitle>
<xpsvgtoggleswitch bind="on" skin="Beryl"/>
</xpcontrolbox>
<spacer stretch="4"/>
</devicebox>
</screen>
MEDIUM COMPLEXITY:
HIGH COMPLEXITY EXAMPLE (with style sheets and multi-screen):
Here is a current list of widgets by type:
Layout/container items
- box
- groupbox
- devicebox
- signalbox
- controlbox
- separator
- spacer
- label
- checkbox
- pushbutton
- svgbutton
- svgtoggleswitch
- svgslideswitch
- slider
- scrolldial
- scrollwheel
- scrolldialwheel
- 5waybutton
- 3waybutton
- 2waybutton
- rockerbutton
- radiogroup
- progress
- led
- 7seg
- dialgauge
- lineedit
- listbox
A while ago I was looking for a low cost robot that could be controlled using Arduino. I found the Zumo Robot and bought a couple of these. A few days ago I spent about 20 minutes creating the RML and Arduino code for controlling the Zumo and here is a short video of the result.
The shield interfaces any Arduino project into the ADRC ecosystem as shown in this diagram:
At this time the ADRC Shield is in alpha test phase. A second board iteration is due soon at which time the shield will progress to beta test.
No comments:
Post a Comment