Photo by
 My journey into the world of Xamarin.Forms continue, and recently I have been exploring the Model View View Model (MVVM) pattern and how it changes a solution’s profile and my approach to building mobile experiences. One of the most critical parts of adopting an MVVM approach comes with implementing data binding.
In this post, we’ll look at the steps necessary to make a Xamarin.Forms view in the MVVM style.
The View Model
The first step is to create a ViewModel. This type of class will hold our values and actions. Let’s take a look at a HelloWorldViewModel.
public class HelloWorldViewModel
{
    public HelloWorldViewModel()
    {
        Text = "Hello, World!";
    }

    public string Text { get; set; }
}
Currently, this object is a plain old C# object (POCO). It will work as a backing model, but will not participate in two-way binding. Before we update it, let’s set up our MainPage.xaml to use our ViewModel. We need to set the BindingContext to our object.
public partial class MainPage : ContentPage
{
    public MainPage()
    {
        InitializeComponent();
        BindingContext = new HelloWorldViewModel();
    }
}
We can now update our MainPage.xaml markup.
<?xml version="1.0" encoding="utf-8" ?>
<ContentPage xmlns="http://xamarin.com/schemas/2014/forms"
             xmlns:x="http://schemas.microsoft.com/winfx/2009/xaml"
             xmlns:local="clr-namespace:HelloWorld"
             xmlns:vm="clr-namespace:HelloWorld.ViewModels;assembly=HelloWorld"
             x:DataType="vm:HelloWorldViewModel"
             x:Class="HelloWorld.MainPage">

    <StackLayout>
        <!-- Place new controls here -->
        <Label Text="{Binding Text}"
           HorizontalOptions="Center"
           VerticalOptions="CenterAndExpand" />
    </StackLayout>

</ContentPage>
Let’s take note of a few things:
- The inclusion of our
ViewModelsnamespace with avm:prefix. - We set up
x:DataTypeto be ourHelloWorldViewModelfor type safety and IntelliSense help. - The use of
Bindingin ourLabeltag.
When we run the application, we will see our updated text. In this screenshot, we can see the iOS Simulator displaying our text value.
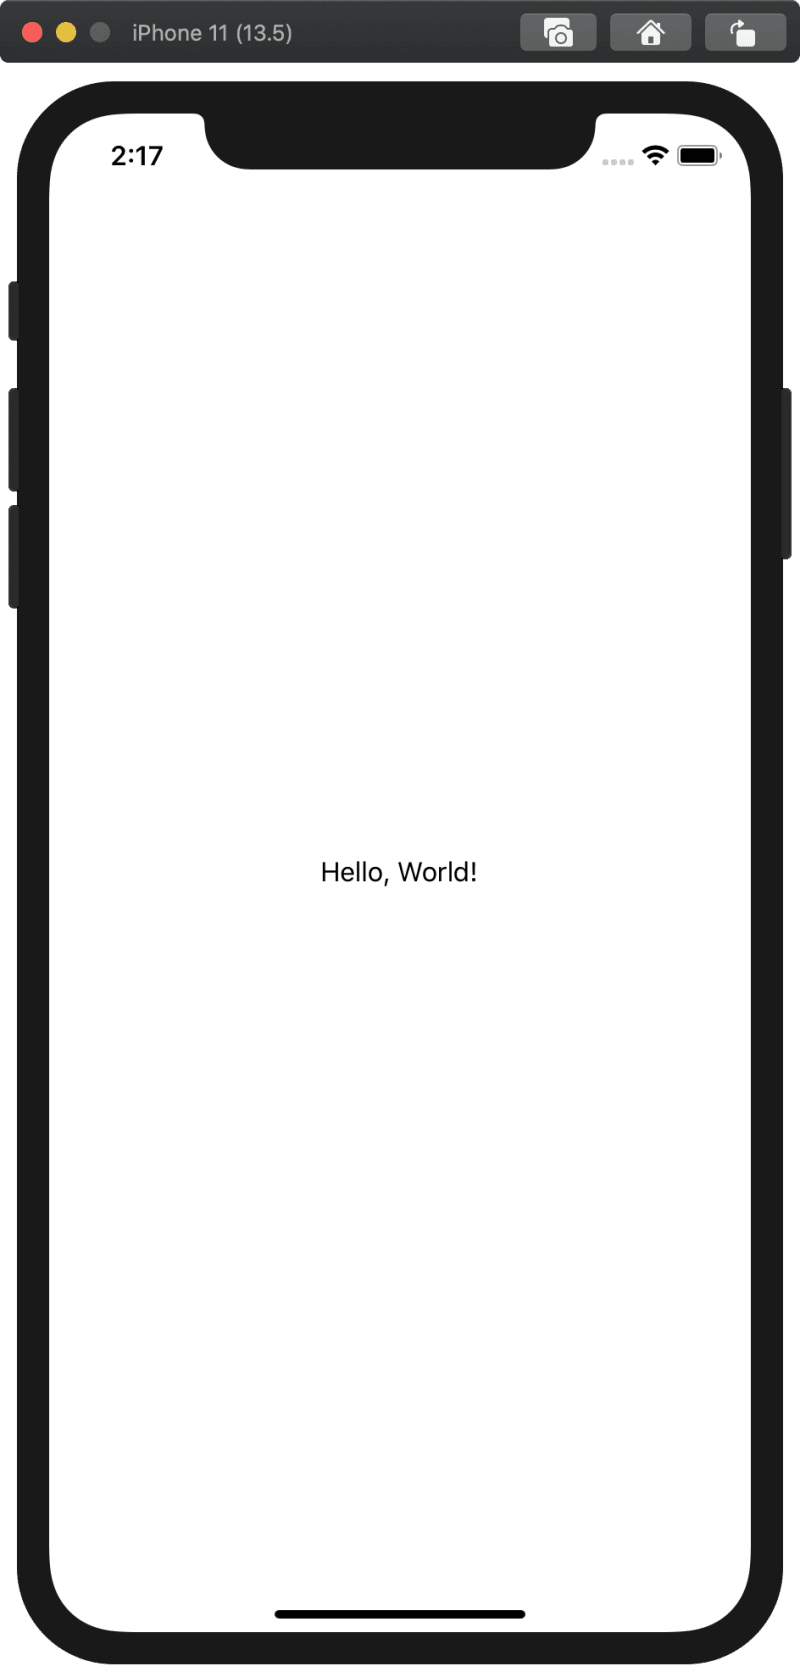
It works!
Implementing INotifyPropertyChanged
Let’s change the view to add some more standard features. We’ll add a text entry, keep the label, and add an action.
<StackLayout
    VerticalOptions="CenterAndExpand"
    Margin="20" >

    <Entry Text="{Binding Text}" />

    <!-- Place new controls here -->
    <Label Text="{Binding Text}"
       HorizontalOptions="Center" />

    <Button
        Command="{Binding ResetCommand}"
        Text="Reset" />

</StackLayout>
We’ll be binding a property from our view model to each element. Let’s update our HelloWorldViewModel. Note that we are using a the JetBrains.Annotations package, to help Rider improve our Xamarin.Forms experience.

As you can see, JetBrains Rider does a lot to help us enhance our view model and implement INotifyPropertyChanged. Here is the final view model.
public class HelloWorldViewModel : INotifyPropertyChanged
{
    private string _text;

    public HelloWorldViewModel()
    {
        Text = "Hello, World!";

        ResetCommand = new Command(() =>
        {
            Text = String.Empty;
        });
    }

    public string Text
    {
        get => _text;
        set
        {
            if (value == _text) return;
            _text = value;
            OnPropertyChanged();
        }
    }

    public Command ResetCommand { get; set; }

    public event PropertyChangedEventHandler PropertyChanged;

    [NotifyPropertyChangedInvocator]
    protected virtual void OnPropertyChanged([CallerMemberName] string propertyName = null)
    {
        PropertyChanged?.Invoke(this, new PropertyChangedEventArgs(propertyName));
    }
}
Now, let us see how our updated application behaves.

Awesome! So what did we do?
- We bound our text values to both the
Entryand ourLabel. - We bound our
ResetCommandto a button - Our view notifies our ViewModel, and our ViewModel informs our view.
The magic happens in our OnPropertyChanged method, which our ViewModel invokes whenever our view invokes a set.
Conclusion
The MVVM pattern is a powerful one to separate our UI and logic. It is excellent that Xamarin.Forms supports the model through data binding. The example you’ve seen is the most simplified implementation I could come up with but only begins to scratch the surface of what’s possible with the MVVM approach. As you could also tell, JetBrains Rider makes the experience of developing Xamarin.Forms fun, with code completion that supercharges the progress a developer can make when building mobile experiences.