
Gatsby is a static site generator for React that released its first major version last month. It’s a tool that not only scaffolds projects (or websites) for you but claims that those sites are fast in performance. If you decide to use Gatsby you will be enjoying the power of the latest web technologies such as React.js, Webpack, and so on.
There are a lot of modern paradigms that Gatsby takes care for its developer behind the scenes to start building and launch their project. Another cool thing about Gatsby that I like is its ever-growing data plugin ecosystem. It lets a developer fetch data directly into a Gatsby generated application using GraphQL.
Here are some of the advantages of using Gatsby:
- HTML code is generated server side
- Easily extensible by plugin ecosystem
- Pre-configured Webpack based build system (no need to break your head)
- Optimized for speed. Gatsby loads only critical parts, so that your site loads as fast as possible. Once loaded, Gatsby prefetches resources for other pages so that clicking on the site feels incredibly fast.
- Automatic routing based on your directory structure. (no need for separate routing/navigation library)
If you know the nitty-gritty of React, you can definitely get started with Gatsbyjs in no time by reading this tutorial. I am not asking you to be advanced with React but only the familiar with its concepts. If you like to refresh your knowledge on the same or learn more about it, I recommend following links:
Enough with the introduction. Let’s get started.
Installing Gatsby CLI
We will be using npm to install our first and basic tool that we need to setup any Gatsby project. You can use yarn too. In your terminal, please execute this command:
npm install --global gatsby-cliYou might need to add sudo at the start of the command if it gives an error for permissions.
To start a new site, go to your desired project directly. Select a place on your system where you might be storing all the playground or applications in their initial stage and then in terminal:
gatsby new first-gatsby-siteYou can name your project anything you like, I named that just for the brevity.
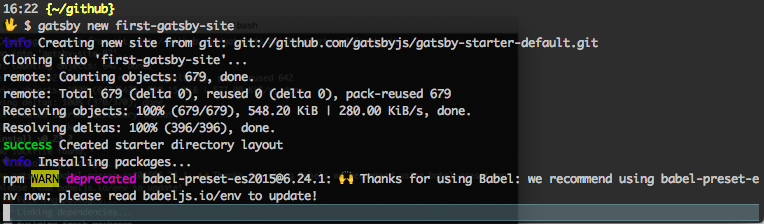
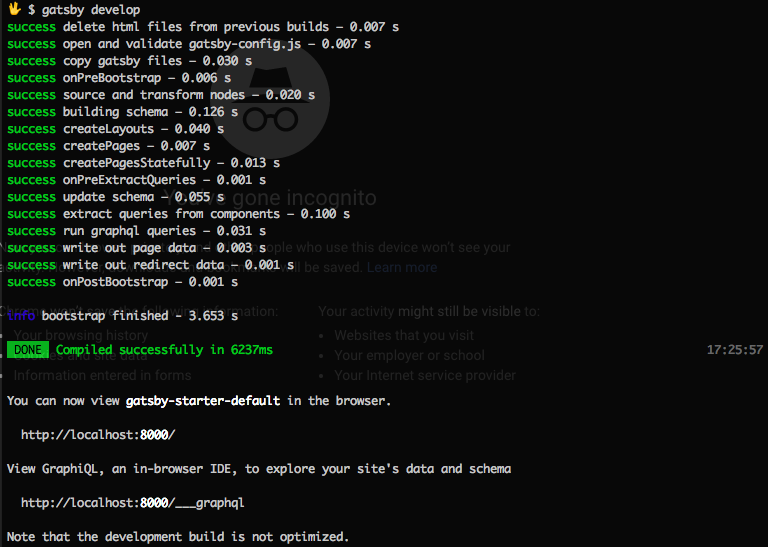
Finish the installation and set up of the project. Then change the directory into the newly created folder. Run gatsby develop from the command line to see your site running live at http://localhost:8000.
In your browser window, the default Gatsby.js application looks like this:
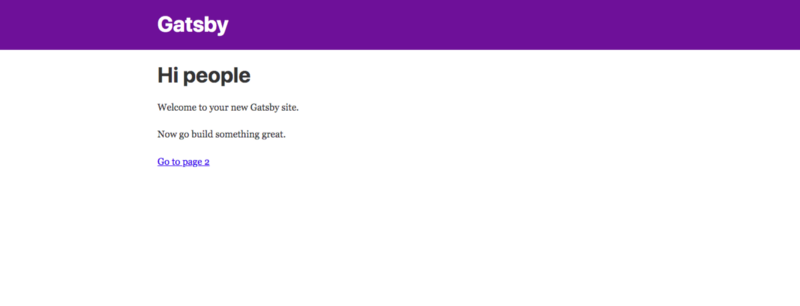
Leave the command running since it enables Hot Reloading. Now any change we make to our project will be reflected directly, without refreshing the page.
Currently, our application contains two pages. Hence, the bare minimum routing is already done for us. Before diving into the code and making any amendments to it, we need to understand the project structure. Then you can make use of it by manipulating it in your future projects.
Diving deep in the Project Structure
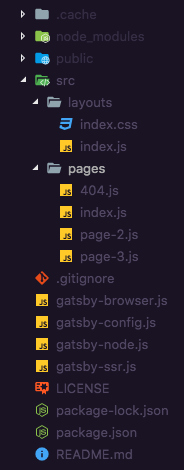
Every Gatsby project contains at least these files. You might be familiar with some such as node_modules, public directory, which is served when deployed. It also contains package.json, which contains the metadata of any modern Javascript application.
Our main focus and concern are in the directory src and file gatsby-config.js.These contain the metadata and other essential information about our current application.
Inside the src/ there are two sub-directories: layouts/ and pages/.
The layouts/ contain further two files: index.css and index.js. These serve as the starting point of our application.
import React from "react";
import PropTypes from "prop-types";
import Link from "gatsby-link";
import Helmet from "react-helmet";

import "./index.css";

const Header = () => (
  <div
    style={{
      background: "rebeccapurple",
      marginBottom: "1.45rem"
    }}
  >
    <div
      style={{
        margin: "0 auto",
        maxWidth: 960,
        padding: "1.45rem 1.0875rem"
      }}
    >
      <h1 style={{ margin: 0 }}>
        <Link
          to="/"
          style={{
            color: "white",
            textDecoration: "none"
          }}
        >
          Gatsby
        </Link>
      </h1>
    </div>
  </div>
);

const TemplateWrapper = ({ children }) => (
  <div>
    <Helmet
      title="My First Gatsby Site"
      meta={[
        { name: "author", content: "amanhimself" },
        { name: "keywords", content: "sample, something" }
      ]}
    />
    <Header />
    <div
      style={{
        margin: "0 auto",
        maxWidth: 960,
        padding: "0px 1.0875rem 1.45rem",
        paddingTop: 0
      }}
    >
      {children()}
    </div>
  </div>
);

TemplateWrapper.propTypes = {
  children: PropTypes.func
};

export default TemplateWrapper;
The Header component contains the styles and markup that is currently serving as the header of our application. It is reflected on every page by TempplateWrapper which is our main layout component in the application. This certainly means that this component can be used for displaying navigation menu (which we are going to do in a while) or a footer.
The Link tag you are seeing is the way Gatsby let our visitors navigate from one page to another. The react-helmet library that serves the purpose of attaching header information in HTML. It is being currently generated by the JSX. You can read about this useful, beginner friendly library on its official doc here.
Do notice the {children()} prop. This is a function that executes within the JSX code to determine the exact location for the child components to render.
Main Application Page
Our second concerned directory pages/ contain rest of the pages that build up our application. They are plain React components. Let's take a look at the index.js file inside this directory which currently serves as the main page of our application.
import React from "react";
import Link from "gatsby-link";

const IndexPage = () => (
  <div>
    <h1>Hi people</h1>
    <p>Welcome to your new Gatsby site.</p>
    <p>Now go build something great.</p>
    <Link to="/page-2/">Go to page 2</Link>
  </div>
);

export default IndexPage;
Similarly, you will find the code in page-2.js. If in our browser window, we try to navigate to the second page, notice the URL of the site when the second page loads.
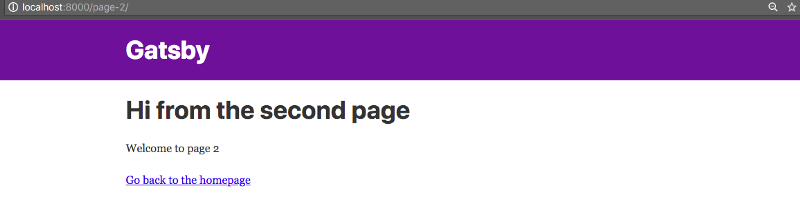
It is same as the file name. We are also using Link tag from Gatsby to navigate back to the homepage.
Let’s add another page to our site. Inside the pages directory, create a new file page-3.js.
import React from "react";
import Link from "gatsby-link";

const ThridPage = () => (
  <div>
    <h1>Third Page</h1>
    <p>This is my first Gtasby site</p>
    <Link to="/page-2/">Back to Page 2</Link>
    <br />
    <Link to="/">Go back to the homepage</Link>
  </div>
);

export default ThridPage;
Now let’s add the link to our new page to the homepage. Open index.js file:
import React from "react";
import Link from "gatsby-link";

const IndexPage = () => (
  <div>
    <h1>Hi people</h1>
    <p>Welcome to your new Gatsby site.</p>
    <p>Now go build something great.</p>
    <Link to="/page-2/">Go to page 2</Link>
    <br />
    <Link to="/page-3">New Page!</Link>
  </div>
);

export default IndexPage;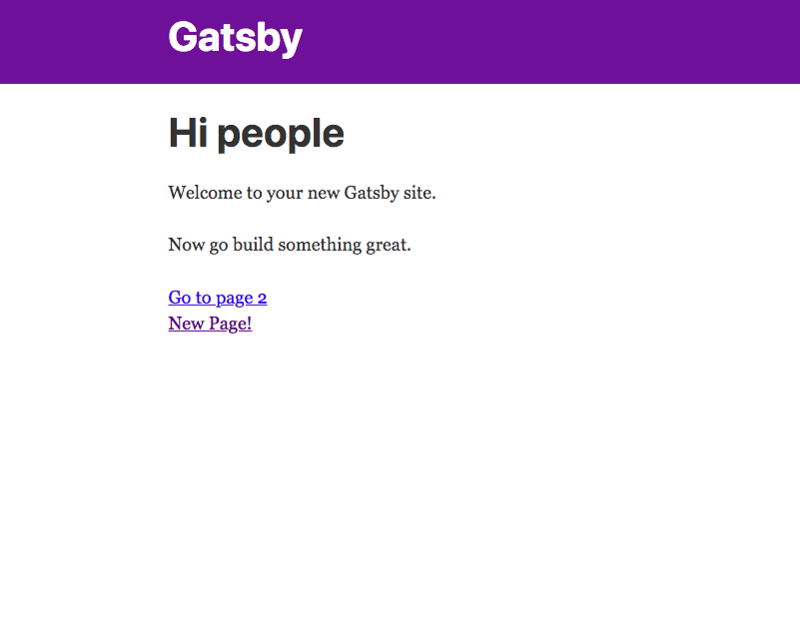
This renders correctly on our page. Do notice the 404.js file in the directory. This file is rendered when no desired URL is found. More info can be read in official Gatsby docs.
Now to make things a bit more interesting. Let’s add a navigation menu in the Header component of our layout.
Adding Navigation Menu
Open layouts/index.js and inside the Header component, add the following code:
const Header = () => (
<div
style={{
background: "rebeccapurple",
marginBottom: "1.45rem"
}}
>
<div
style={{
margin: "0 auto",
maxWidth: 960,
padding: "1.45rem 1.0875rem"
}}
>
<h1 style={{ margin: 0 }}>
<Link
to="/"
style={{
color: "white",
textDecoration: "none"
}}
>
Gatsby
</Link>
<ul style={{ listStyle: "none", float: "right" }}>
<li style={{ display: "inline-block", marginRight: "1rem" }}>
<Link
style={{
color: "white",
textDecoration: "none",
fontSize: "x-large"
}}
to="/"
>
Home
</Link>
</li>
<li style={{ display: "inline-block", marginRight: "1rem" }}>
<Link
style={{
color: "white",
textDecoration: "none",
fontSize: "x-large"
}}
to="/page-2"
>
Page 2
</Link>
</li>
<li style={{ display: "inline-block", marginRight: "1rem" }}>
<Link
style={{
color: "white",
textDecoration: "none",
fontSize: "x-large"
}}
to="/page-3"
>
Page 3
</Link>
</li>
</ul>
</h1>
</div>
</div>
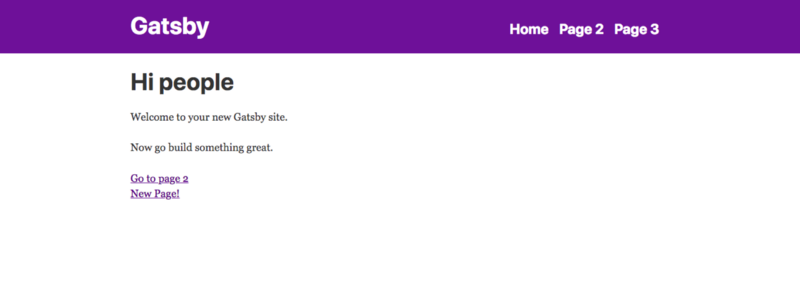
);If you save the file, the results are reflected immediately on the homepage and on every page.
Configuration File
https://gist.github.com/dfbefb5a09c93f1816198d9db253dd6c
The last important file of our concern is gatsby-config.js in the root folder. This file can contain site's metadata and additional information such plugins that we install using npm command. However, their scope of usage and concern are only with a project generated using Gatsby CLI. By default the plugin gatsby-plugin-react-helmet is installed.
A complete list of plugins is listed here.
Deployment of our Static site
So far we have come out with a bare minimum static site that serves the purpose of this walk-through. The last step that I want to focus is on deployment. I will be using GitHub Pages for deployment.
To deploy a project on GitHub pages make sure your current working directory is initialized as a git repository and hosted on GitHub. If that is good, let us add a module called gh-pages as a dev dependency.
npm install --save-dev gh-pagesAdd a deployment script in package.json:
"scripts": {
  "deploy": "gatsby build --prefix-paths && gh-pages -d public",
}
In gatsby.config.js add the pathname prefix of the repo such:
module.exports = {
  siteMetadata: {
    title: `Gatsby Default Starter`
  },
  pathPrefix: `/first-gatsby-site`,
  plugins: [`gatsby-plugin-react-helmet`]
};
See official docs on path prefixing.
Now from your terminal run:
npm run deployGreat! Your site is now live on https://username.github.io/project-name/.
You can find the complete code of this project at this GitHub Repo
For more questions, contact me on Twitter, or read more about me at my website.