Generate Craft CMS Plugin and Module Code
How to use Craft Generator to scaffold Craft CMS plugins, modules, and other components.
What is Craft Generator? #
Craft Generator is a utility for Craft CMS that scaffolds Craft CMS plugins, modules, and other components. In addition to creating new plugins or modules, you can also use Craft Generator to add new functionality (via new controllers, models, widget-types, Twig extensions) to an existing plugin or module.
Like to learn while watching? Watch the video version of the article!
Installation #
Craft Generator is a Composer package we need to require as part of our Craft CMS project.
Here are some important notes on installing Generator:
- It requires a working installation of Craft CMS 4.3.5+ (the latest version as of this writing)— if you’re running an older version of Craft, even Craft 4, you will need to update the project before installing it.
- If you’re using the craft starter project via
composer create-project craftcms/craft, then you do not need to require Craft Generator in the project. For all projects already created, you will need to install it. - If you’re using a handrolled starter project, you’ll likely want to go back and require the Generator package as part of your project.
Here’s how to install Craft Generator:
composer require craftcms/generator --dev
If we’re using the official DDEV support for Craft CMS, then you’d do:
ddev composer require craftcms/generator --dev
We pass in the --dev option, so Composer sets the package as the dev dependency. This means that the Generator package won’t be installed when you install your dependencies in production via composer install —no-dev.
To test that Generator is working and to see all of the commands available with Generator, run (for DDEV):
php craft make
Again, if you’re using DDEV for Craft (highly recommended, see our learning materials on the topic), then you should run the craft command right on the container:
ddev craft make
Running craft make is how we access all of the subcommands in Craft Generator.
Using Craft Generator to Create a Craft Plugin #
The most common entry point for using Craft Generator is scaffolding a Craft plugin. Here’s how we create one.
The first command is to start the generator wizard to help Generator know the details about your plugin.
php craft make plugin
If you’re new to Craft plugin development, append the --with-docblocks option to get DocBlock comments to the generated code that help explain the different classes, methods, etc., in the plugin.
php craft make plugin --with-docblocks
Generator will step you through an interactive setup process, where you input your desired naming and settings for the plugin.
- Plugin name — the name of your plugin. You can always change this but think about it first and then enter. Try to use something descriptive of what the plugin will do.
- Developer name — that is you (or your company)
- Plugin handle — Generator will suggest a handle based on your plugin name using kebab case. You can hit enter/return to accept the default.
- Plugin location — This is where your plugin will be stored inside the project (or outside of the project if you’re symlinking your plugins for development purposes). If you’re unsure, using the default plugins/plugin-handle is safe. This will create a
pluginsdirectory at the root of your project. - Composer package name — Generator will recommend a Composer package name using the author name and plugin handle. You can accept the default unless you have strong opinions (like pre-pending craft to the handle).
- Plugin description — Tell the world what your plugin does!
- How should the plugin be licensed? — Choose any license you want, but the two choices offered (MIT and Craft) will likely be your best choices. Choose Craft license if you plan to sell the plugin on the Plugin store (it’s required or MIT if you make it freely available and open to all.
- Support email — How users can contact you to get help!
- Github repo URL — This is required if you plan to list the plugin the Craft Plugin Store. If you don’t, or don’t have a Github URL yet, you can leave this blank.
- Minimum PHP version — The default is (as of this writing) 8.0.2, and you cannot allow anything lower because 8.0.2 is what Craft 4 requires. Accept the default here and continue one!
- Minimum Craft CMS version — You also need to accept the default as of this writing because you have to be on 4.3.5 to use this tool.
- Plugin class name — This will be the name of your main plugin class file and class. It defaults to the generic
Pluginname, but you should customize it to something specific to your plugin using PascalCase. E.g. MagicButton - Root namespace — Namespace can be tricky for new developers, but Generator is trying to make this easy. You can accept the default here unless you have strong opinions from previous experience.
- Should the plugin have settings? — Will your plugin have a Settings page in the control panel where users can input or select settings? If so, input
yes; otherwise, accept the default ofno. If unsure, it won’t hurt to indicate yes and then leave the settings page blank. - Include ECS? (For automated code styling) — The default is yes, and you should keep that. It’ll make it easier to have automatic code styling in your plugin project via ECS.
- Include PHPStan? (For automated code quality checks) — The default is yes, and you should keep that so you have built-in support for automated code quality checks.
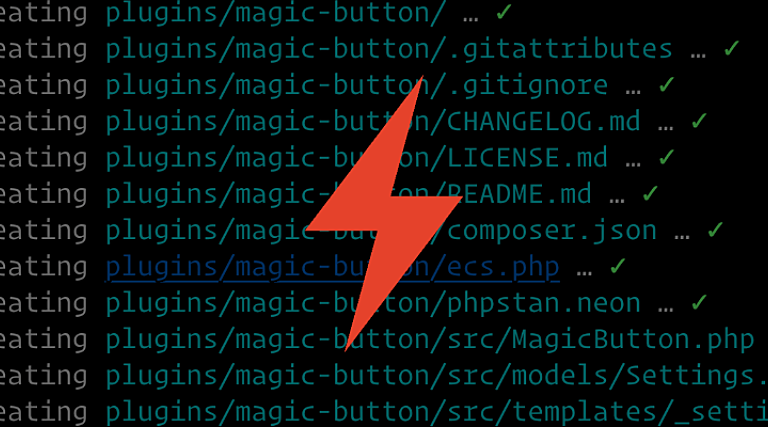
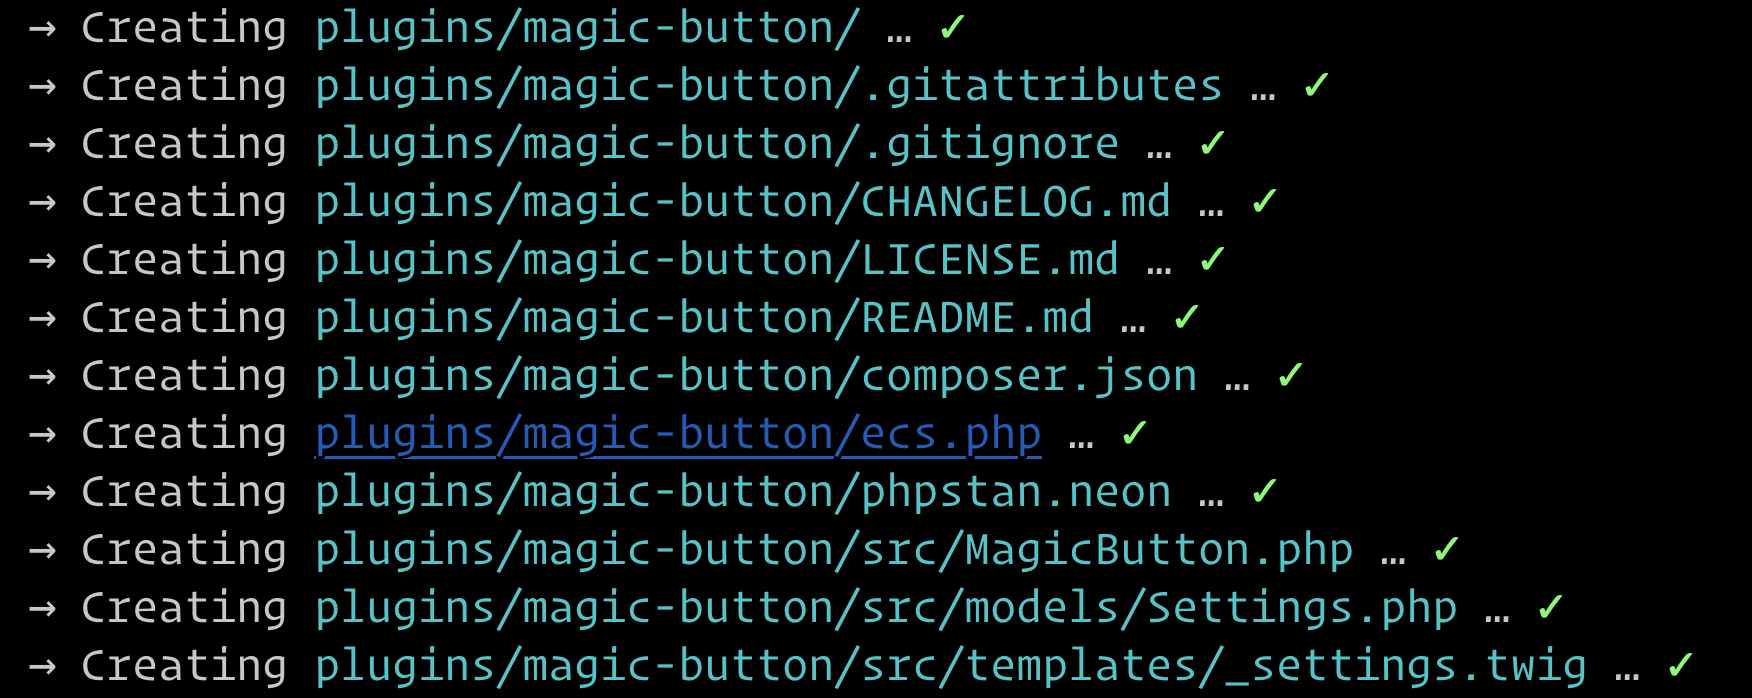
Generator will now create your plugin scaffold using the settings you inputted. If Generator throws an error for some reason, you will want to clean up your plugins directory before retrying. Generator doesn’t clean up after itself after a failed session.
Your plugin is created and ready to be required and installed. Craft Generator made this easier for you by adding the plugin path as a new repository in the project’s composer.json file.
"repositories": [{
    "type": "path",
    "url": "plugins/magic-button"
  }]
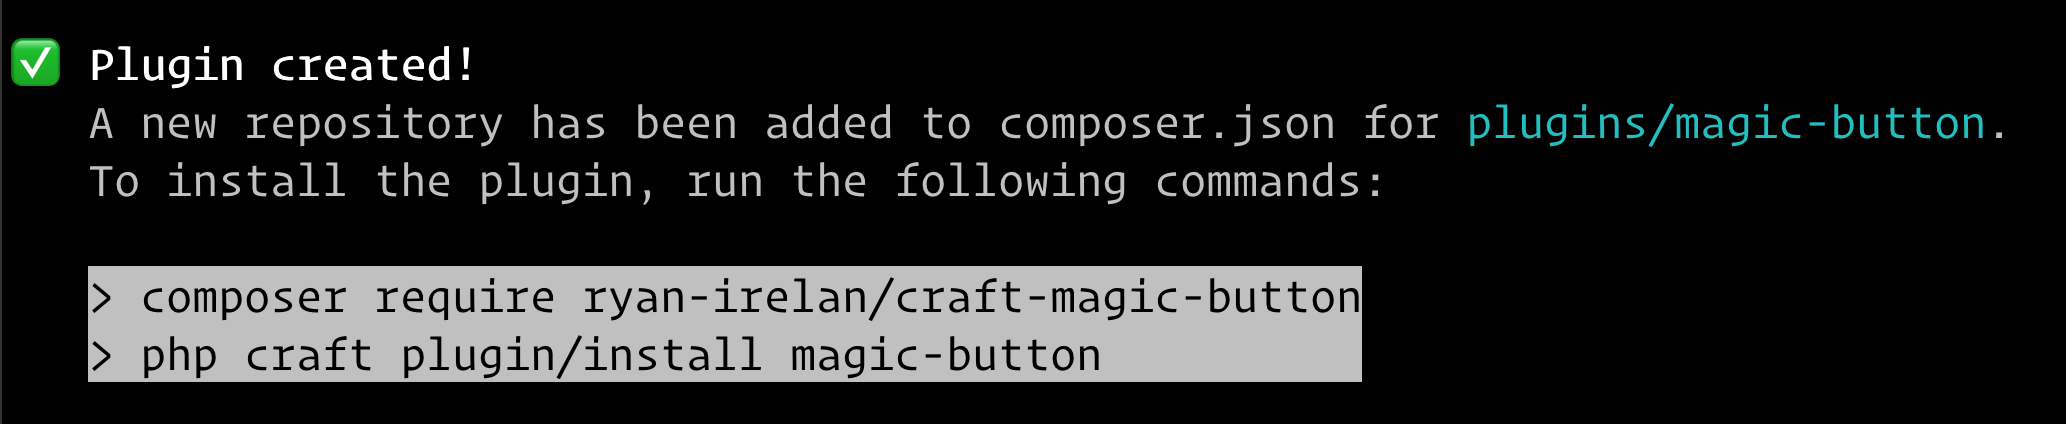
To install the plugin, we need to require it using the dev-main version, and then install it.
ddev composer require ryan-irelan/magic-button:dev-main
ddev craft plugin/install magic-button
And now you’re ready to work on your plugin! The files are symlinked from the plugins/magic-button, so any changes you make to the files in that location will be run as if they are in the vendor directory.
Using Craft Generator to Create a Craft CMS module #
If you need to create custom functionality for your Craft CMS project and don’t need the extra functionality offered via Craft plugins, then a module is the way to go.
The first command is to start the generator wizard to help Generator know the details about your module.
ddev craft make module
Generator will step you through an interactive setup process, where you input your desired naming and settings for the plugin.
- Module ID — In kebab case, enter a module id. For example, a plugin that handles basic project logic and customizations could be called
site-logic. - Module location — Input the location where you want the module saved inside your Craft project. Modules are stored in the project, not required via Composer like a plugin. The standard location is
modules/in the project root. You might get an error if you already have a module (like the default Module.php file) in the modules directory. Remove the defaultModule.phpfile (if you’re not using it!), and then continue. - Should the module be loaded during app initialization? — This is almost always yes.
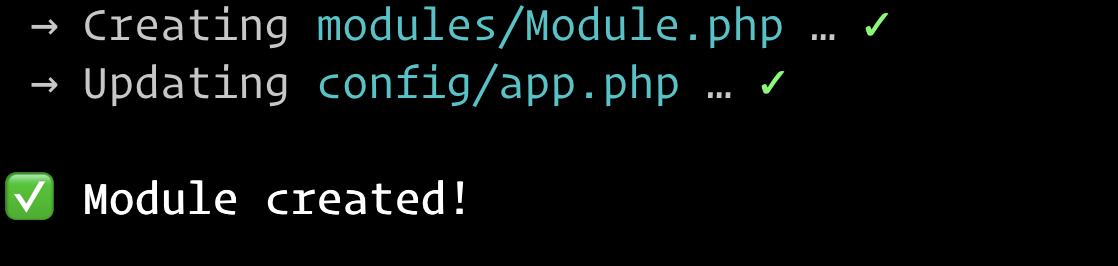
Now Generator will create the module file and update the config/app.php file to load the module class and bootstrap it.
Important note: The Craft starter project no longer includes the default modules/Module.php module since Generator will better set up a new module for you.
Adding New System Components #
After you’ve already created a new plugin or module, you might need an additional component, like a widget type in your module.
Use one of Generator’s commands, and pass in the --module or --plugin option, passing in the module ID or plugin handle.
ddev craft make widget-type --module=site-logic
- Widget type name (PascalCase) — Give the widget a name that describes what it will do, like
LatestInfo. - Widget type namespace — The default
modules/widgetsis good enough for me.
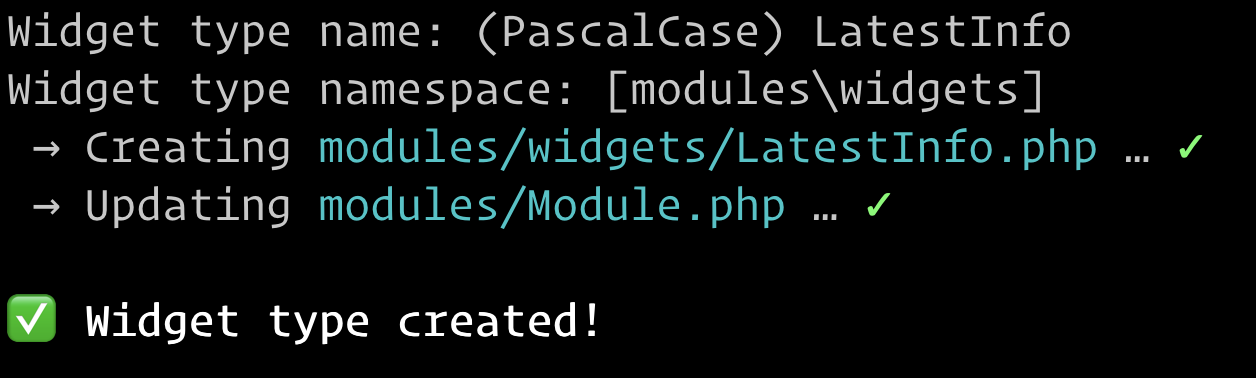
In modules/widgets, there is now a LatestInfo.php class file with some boilerplate code to get a module up and running. Generator also added the event to register the new widget type to the modules/Module.php file.
If you log into the project’s control panel, you should be able to add the widget to the control panel dashboard.
How can I learn more about extending Craft CMS? #
Now that you have your scaffolded plugin or module, you are ready to start the work of writing the code that will make do what you wish! This is the fun part where you start to see your idea come to life.
Your implementation details will be specific to your needs, so we can’t write a tutorial covering every single scenario out there. However, here are some helpful learning materials here on CraftQuest for learning how to extend Craft CMS.
- Extending Craft Quest — A collection of courses and lessons on extending Craft CMS.
- Getting Started with Craft Plugin Development — In this mini-course plugin developer Ben Croker walks through some Craft plugin development fundamentals. Learn the steps involved in setting up a basic plugin, how to add a Settings page, and more.
- Craft Plugin Development In-Depth — Join plugin developer Ben Croker on a journey of exploring Craft plugins in-depth. Go beyond and the basics and learn how and why plugins work the way they do. Along the way improve your own plugin development chops and learn how to write better plugins.
- Extending Twig in Craft CMS — We learn how to build a Twig filter that manipulates text pass into it.
- Building a Craft CMS Dashboard Widget — We build a deprecation notifier widget named DeprecNotifier. The widget will give quick insight into the number of deprecation errors logged for your site. It will provide you with a glance at how many depreciation notices there are for your site.
- Creating a Craft CMS Field Type — In this course we learn how to create a custom field type for Craft CMS. It’s perfect if you find yourself in need of a custom field type for Craft and want to know how to build it.
Plugin Development DX and Setup #
Once you get rolling with plugin and module devlopment, you might want to improve your local development environment. Here are some resources that will aid you in just that!
- A Craft CMS PluginLocal Development Envrionment by Andrew Welch — “This article details a containerized local development environment that you can use to develop, debug, and test Craft CMS plugins with ease”
- A Vite Buildchain for Craft CMS Plugins by Andrew Welch — “A drop-in buildchain you can use in your Craft CMS plugins and modules, giving you Hot Module Replacement for JavaScript, Tailwind CSS, and optimized production builds.”
Do you have a resource that you think should be on this page? Email and let us know.