- Azure
- Azure DevOps
- UWP
- App Center
In this tutorial I m going to show you how to build and sign your UWP application and distribute it to your users through App Center.
To do that, we need to follow these steps:
- Create an UWP certificate (PFX) for your application
- Install the PFX file into your build agent
- Build and sign your UWP application using Azure DevOps
- Publish the appx packages into Azure DevOps or App Center
So let’s start by going to Azure DevOps!
Inside the Pipelines tab create a New pipeline and follow the 4 steps to get the source code from the correct repository. Azure DevOps will automatically create a new azure-pipelines.yml at the root of your project folder. This is where the job definition will be defined and then interpreted by Azure DevOps.
Prepare the certificate
First of all we need to create the PFX certificate and install it to the agent. To do that just follow my previous tutorial about it.
Now we have our certificate installed to our agent and a variables group called uwp-pipeline ready to use. We first need to restore the Nugets associated to our project, to do that just add these two tasks as first steps:
- task: NuGetToolInstaller@1

- task: NuGetCommand@2
  inputs:
    restoreSolution: '$(solution)'
If you correctly follow the previous steps you should have an azure-pipelines.yml looking like this:
trigger:
- master

pool:
  vmImage: 'windows-latest'

variables:
  - group: uwp-pipeline

steps:
- task: NuGetToolInstaller@1

- task: NuGetCommand@2
  inputs:
    restoreSolution: '$(solution)'

- task: DownloadSecureFile@1
  name: mySecureFile
  displayName: 'Get the pfx file certificat'
  inputs:
    secureFile: '$(signingCert.secureFilePath)'

- task: PowerShell@2
  inputs:
    targetType: 'inline'
    script: |
      Write-Host "Start adding the PFX file to the certificate store."

      $pfxpath = '$(mySecureFile.secureFilePath)'
      $password = '$(signingCert.password)'

      Add-Type -AssemblyName System.Security
      $cert = New-Object System.Security.Cryptography.X509Certificates.X509Certificate2
      $cert.Import($pfxpath, $password, [System.Security.Cryptography.X509Certificates.X509KeyStorageFlags]"PersistKeySet")
      $store = new-object system.security.cryptography.X509Certificates.X509Store -argumentlist "MY", CurrentUser
      $store.Open([System.Security.Cryptography.X509Certificates.OpenFlags]"ReadWrite")
      $store.Add($cert)
      $store.Close()
I personally like to automatically run my pipeline when the master branch is updated, it’s why I added the trigger option to the script.
Build and sign your UWP application
It’s time to build your UWP application and sign it using your certificate.
First, complete your list of variables as below by adding the solution path, the build platform, the build configuration and the appx Package Directory:
variables:
  - group: uwp-pipeline
  - name: solution
    value: '**/*.sln'
  - name: buildPlatform
    value: 'x86|x64|ARM'
  - name: buildConfiguration
    value: 'Release'
  - name: appxPackageDir
    value: '$(build.artifactStagingDirectory)\AppxPackages\\'
To sign the appx package we need to enable the signature configuration, pass the PFX certificate location, the associated password and finally we need the thumbprint of the certificate. The thumbprint can be found inside the .csproj of your UWP project after choosing the certificate inside Visual Studio.
Add the thumbprint to the variables group and then add the build task like this:
- task: VSBuild@1
  inputs:
    platform: 'x86'
    solution: '$(solution)'
    configuration: '$(buildConfiguration)'
    msbuildArgs: '/p:AppxBundlePlatforms="$(buildPlatform)"
                  /p:AppxPackageDir="$(appxPackageDir)"
                  /p:AppxBundle=Always
                  /p:UapAppxPackageBuildMode=StoreUpload
                  /p:AppxPackageSigningEnabled=true
                  /p:PackageCertificateThumbprint="$(signingCert.thumbprint)"
                  /p:PackageCertificateKeyFile="$(mySecureFile.secureFilePath)"
                  /p:PackageCertificatePassword="$(signingCert.password)"'
Notice that the variable called mySecureFile correspond to the name we previously setup in the download secure file task. This variable allow us to get the PFX file path installed on the agent. This build task will generate the Appx Packages.
Distibute your application
We first need to add a task to copy our files from the working directory of our agent to the artifact staging directory like this:
- task: CopyFiles@2
  displayName: 'Copy Files to: $(build.artifactstagingdirectory)'
  inputs:
    SourceFolder: '$(system.defaultworkingdirectory)'
    Contents: '**\bin\$(BuildConfiguration)\**'
    TargetFolder: '$(build.artifactstagingdirectory)'
Now we have two options:
- Publish the entire Appx Packages folder inside Azure DevOps so it will be downloadable
- Publish the
.appxuploadinto App Center so it will be easily accessible to your users
Publish your artifact
If you choose the first option just add the publish artifacts task to your pipeline like this:
- task: PublishBuildArtifacts@1
  displayName: 'Publish Artifact: drop'
  inputs:
    PathtoPublish: '$(build.artifactstagingdirectory)'
When you run the pipeline, you will be able to download the Appx Packages. Here is what you should have if you display it inside Azure DevOps:
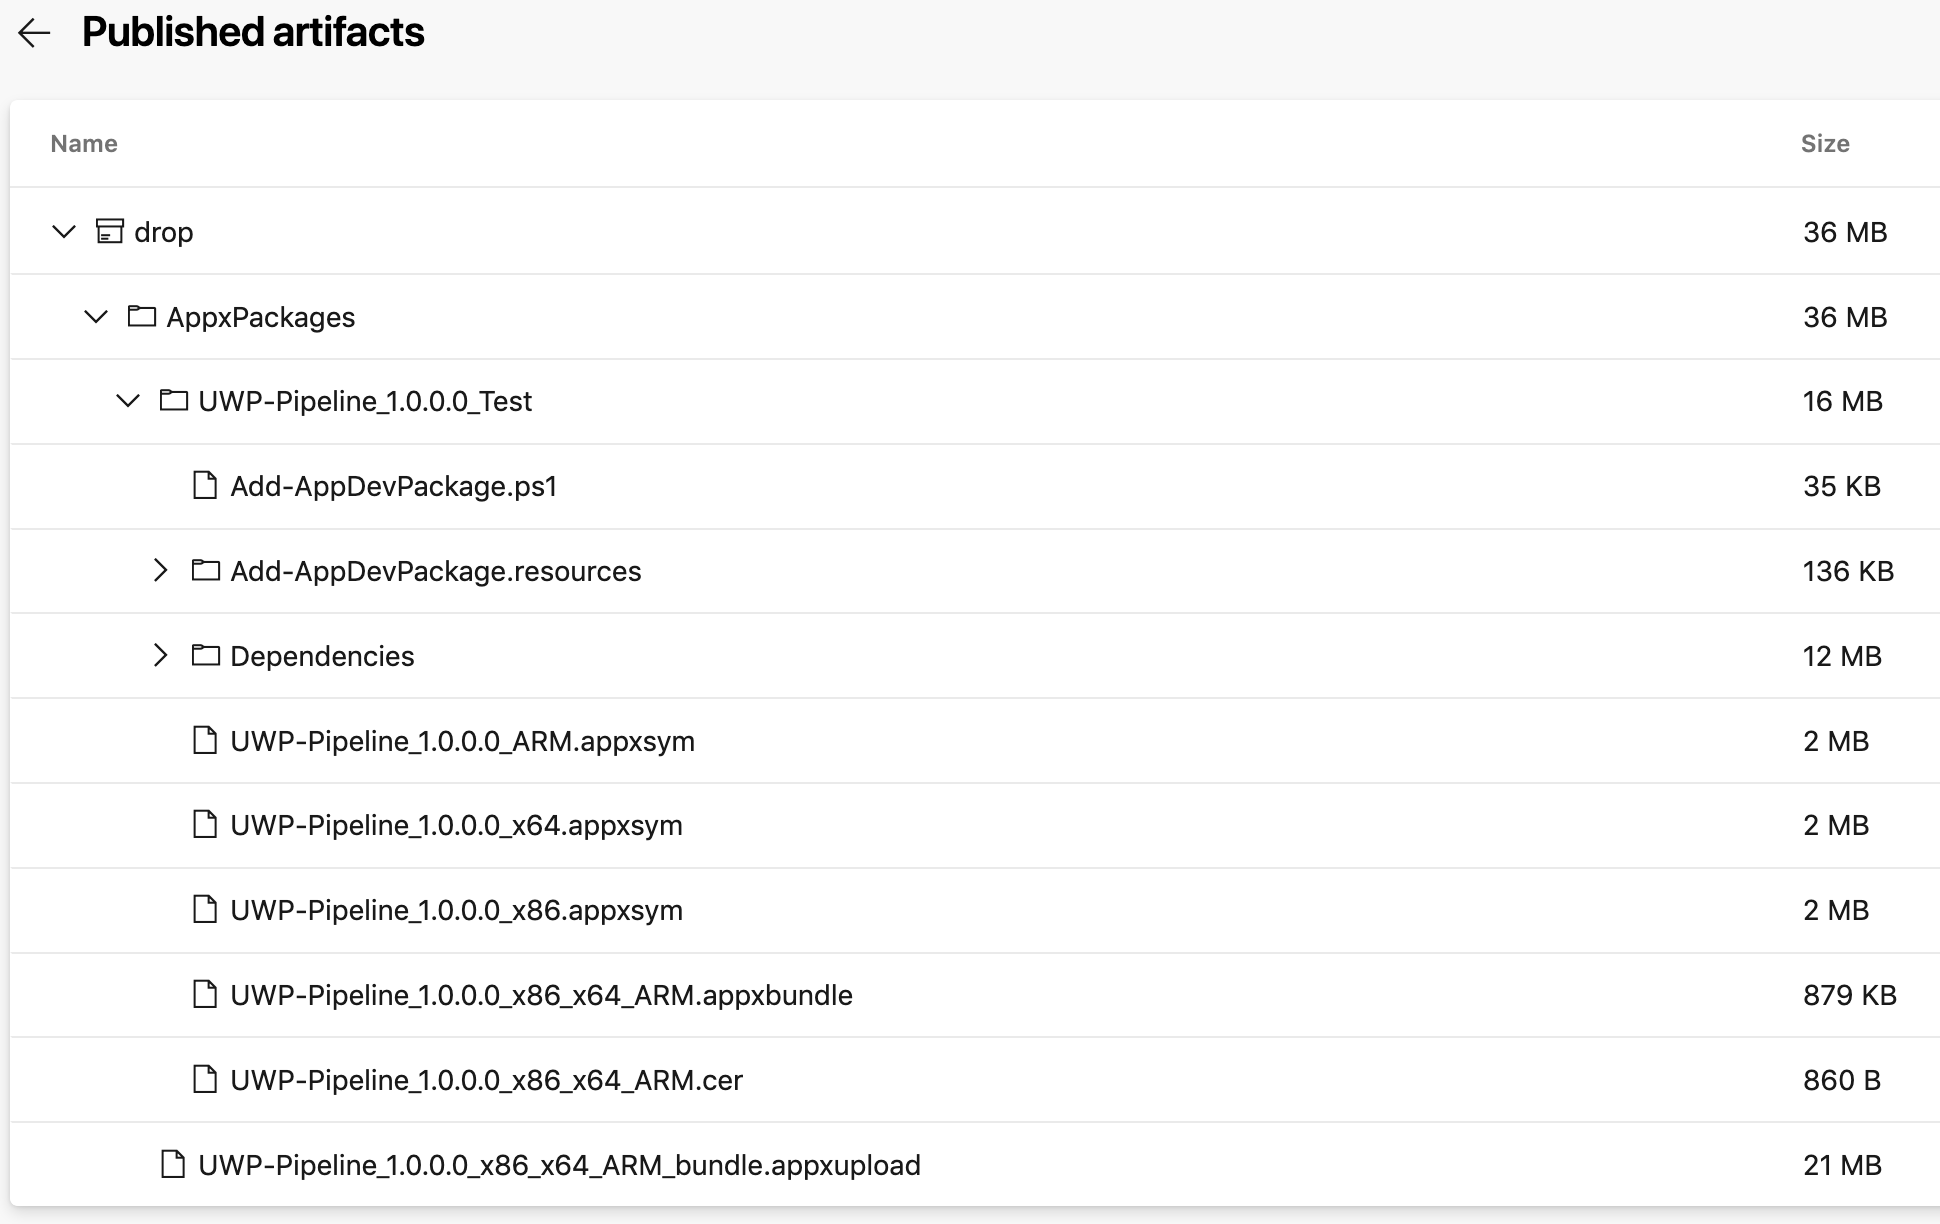
As you can see in the image above, you have the .appxupload file that can be uploaded to App Center, let’s do that in the next section!
Upload your package to App Center
Now we have our appxupload signed and ready to be sent to our users. My favorite tool for that is App Center, you can share your application with different groups of testers before publish it to a store and that’s really useful.
Let’s continue by setting up the connection between App Center to Azure DevOps. To do this, just follow my tutorial about it and then follow the next steps.
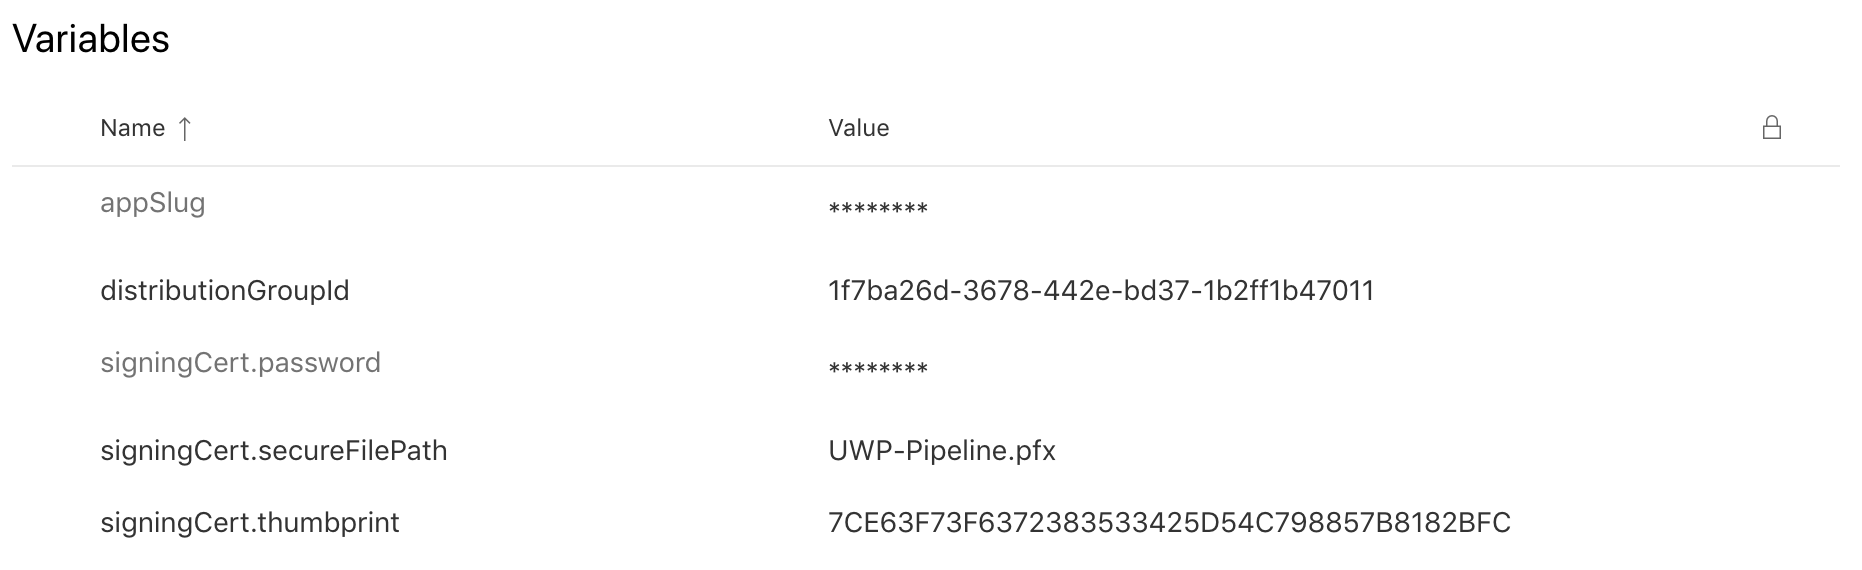
If you followed correcly the previous instructions you can now add your app slug and distribution group ID to the variables group. At this point your uwp-pipeline variables group should look like this:
Finally let’s add the following task to send our .appxupload into App Center like this:
- task: AppCenterDistribute@3
  inputs:
    serverEndpoint: 'VSAC'
    appSlug: '$(appSlug)'
    appFile: '$(build.artifactstagingdirectory)\AppxPackages\*.appxupload'
    releaseNotesOption: 'input'
    releaseNotesInput: 'New release!'
    destinationType: 'groups'
    distributionGroupId: '$(distributionGroupId)'
If you run the pipeline now you will see the application in your App Center account:
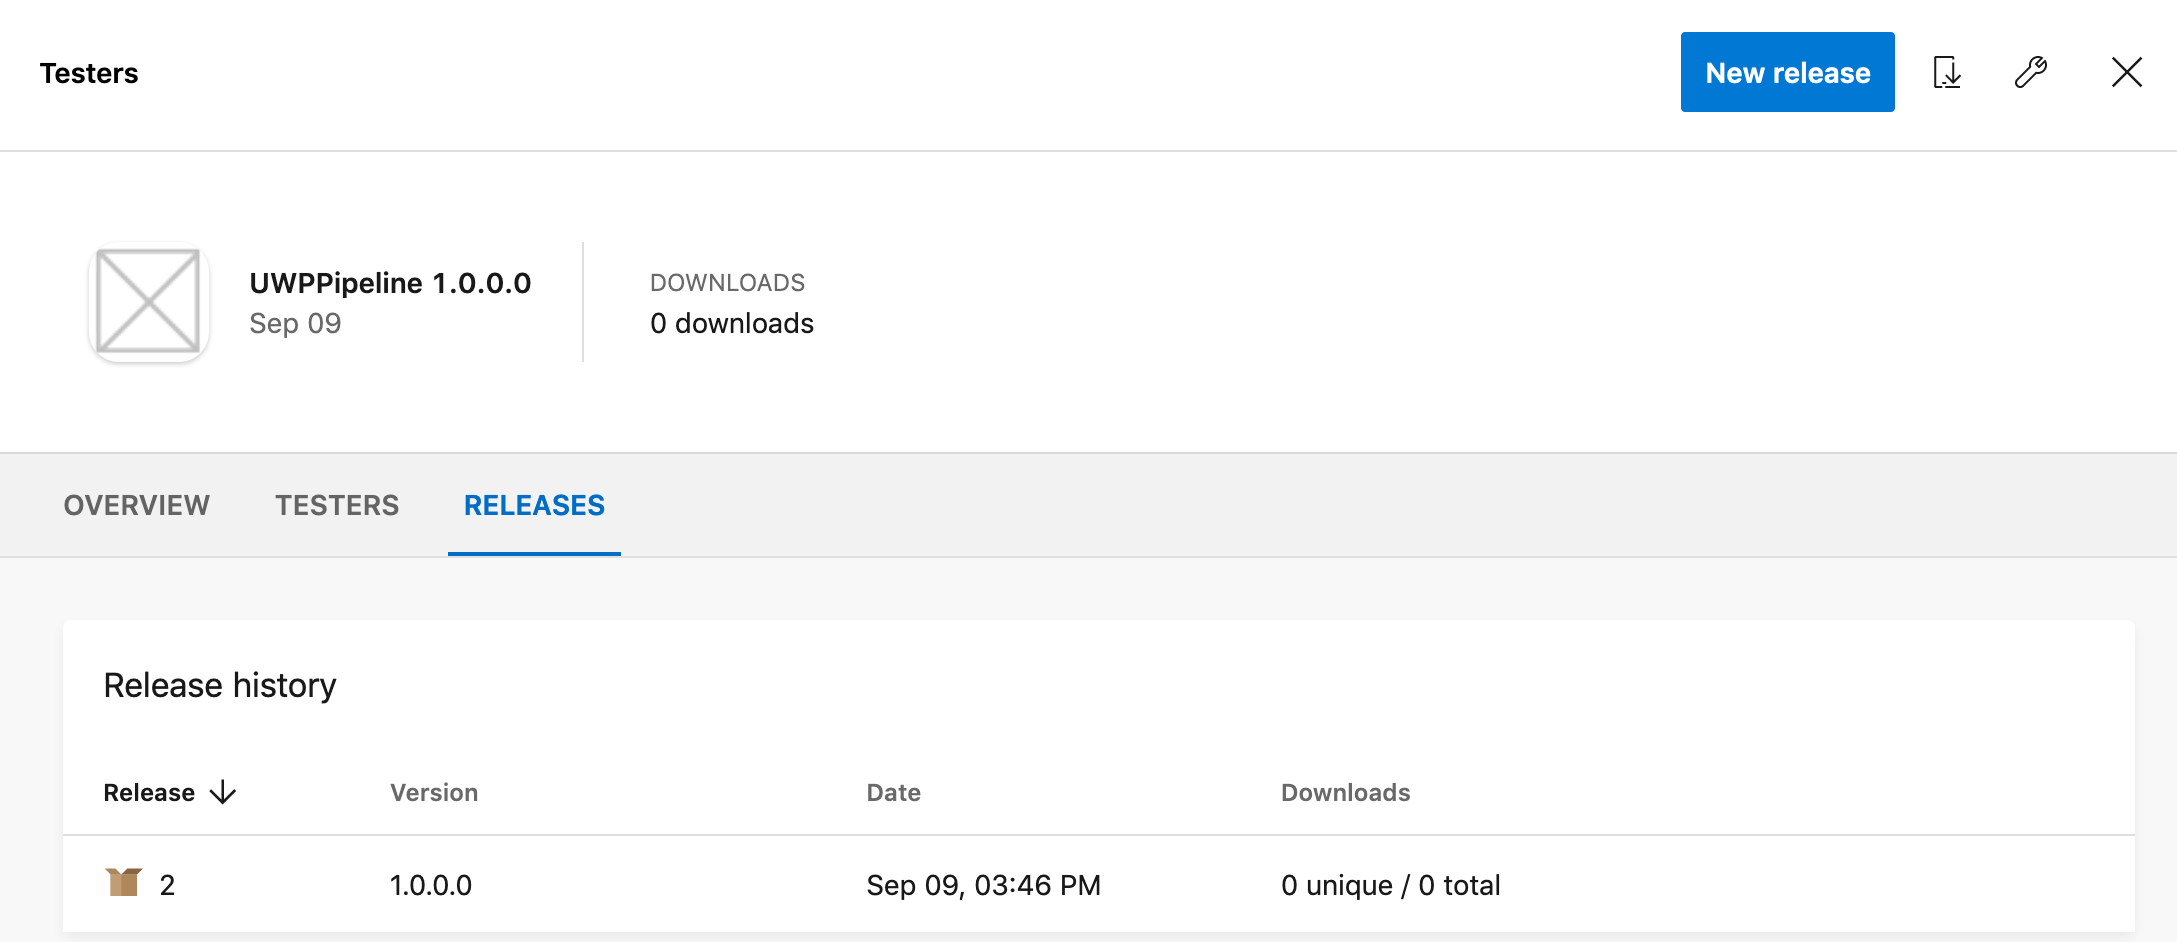
You can now download it to in your Windows machine and test it!
Sources:
- NuGet Tool Installer task
- Nuget task
- Download secure file task
- PowerShell task
- Visual Studio Build task
- Copy Files task
- Publish Build Artifacts task
- App Center Distribute task
You will find full source code in this Github repository.
Happy coding !
You liked this tutorial ? Leave a star in the associated Github repository!