Edit: This blog post was originally written in 2014 but we have updated it for ExpressionEngine 3.x as of 2/2/17. Hope you enjoy!
Welcome back to the Blue Fish ExpressionEngine Tutorial - Create a blog series. Part 3 is about publishing entries. Before we begin, if you haven't read Part 1: Installation, you can do so here and Part 2: Channel Fields, Categories, Channels, you can do so here.
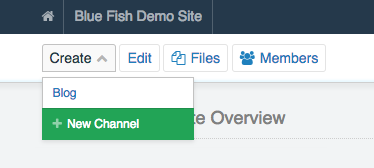
Now that we've set up the channel fields, categories and channel its time to publish a few entries. To do so, click Create and click Blog.
You are at the 'New Entry: Blog' page. Here you'll create the entry you'd like to publish to your blog. For this entry will give it a title of MLB Playoffs are Set for 2017. You may have noticed that the URL Title is automatically filled out depending on your title. Next is the 'Title Tag' field. This field will be what appears in the browser window when viewing the entry. We will leave this blank for the time being. Next field is the 'Meta Description' field. Here you'll briefly describe the entry, but remember it is set to only display 160 characters, spaces included. Both of these fields are designed to give you more control for SEO (or Search Engine Optimization). We will cover more of that in our next post.
The next field is the 'Blog Images' using the Channel Images add-on. Within this field, you'll upload any images you may want to appear within the blog entry. Channel Images allows you to upload multiple images at once and will upload them with the settings you create. The first image that is uploaded is known as the 'Cover Image'. This will come into play in the next installment as well. Proceed to upload a couple of images.
The last field is the 'Content' field. This field will contain the actual entry itself. Go ahead and type in some content. You'll see from the image below what we did for this entry example.
And here is what our entry should look like:

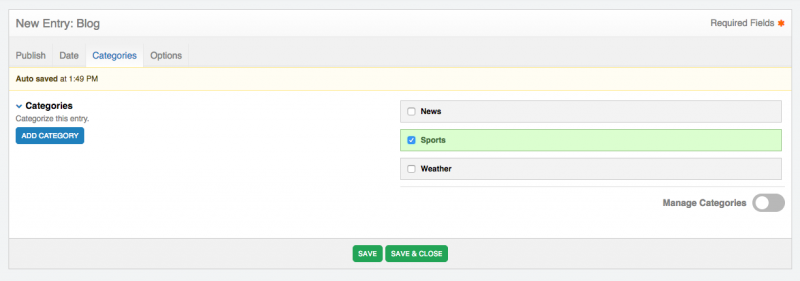
Now we need to place this entry into a category. So at the top of the 'New Entry: Blog' page you'll see 4 tabs - click the one titled Categories. There you'll see a list of the 3 categories we created in here, and for this entry we will choose Sports by checking the box to its left.
After selecting the category, click the green 'Save & Close' button at the bottom to save this entry.
That's it! We've created our first entry in the Blog channel. You can follow the steps listed above again to create more entries. For this example we will create 5 more placed within different categories.
Once you've created an entry it can be edited by clicking on the Edit button in the main menu. You will be presented with a list of entries you've published. You can edit any entry by clicking the blue Title.
That's all there is to it! Publishing and Editing entries in ExpressionEngine is simple and user-friendly. As always, if you need any help with ExpressionEngine; drop us a line.